Advanced prompting techniques for the Vibe Coding block


When most people start using the Vibe Coding block, they simply describe what they want, hit send, and see what comes out. That works well for a first version, but getting from a first version to something production-ready requires a different, more intentional approach.
The builders who get the best results out of the Vibe Coding block share a set of habits. They write specific prompts, iterate on one problem at a time, use visual inputs to anchor the design, and avoid re-prompting for things that can be controlled directly. They also know when to dive into the code rather than firing another prompt.
This guide shows you how to apply these and other techniques, so you can start vibe coding like a pro.
What is Softr's Vibe Coding block?
Softr is a full-stack app builder combining Softr Databases, an interface builder, and Softr Workflows. The Vibe Coding block is part of the interface builder, and it lets users generates custom React/CSS/JS components from plain-language prompts. It connects natively to your data, inherits your app's theme, and respects your permission rules.
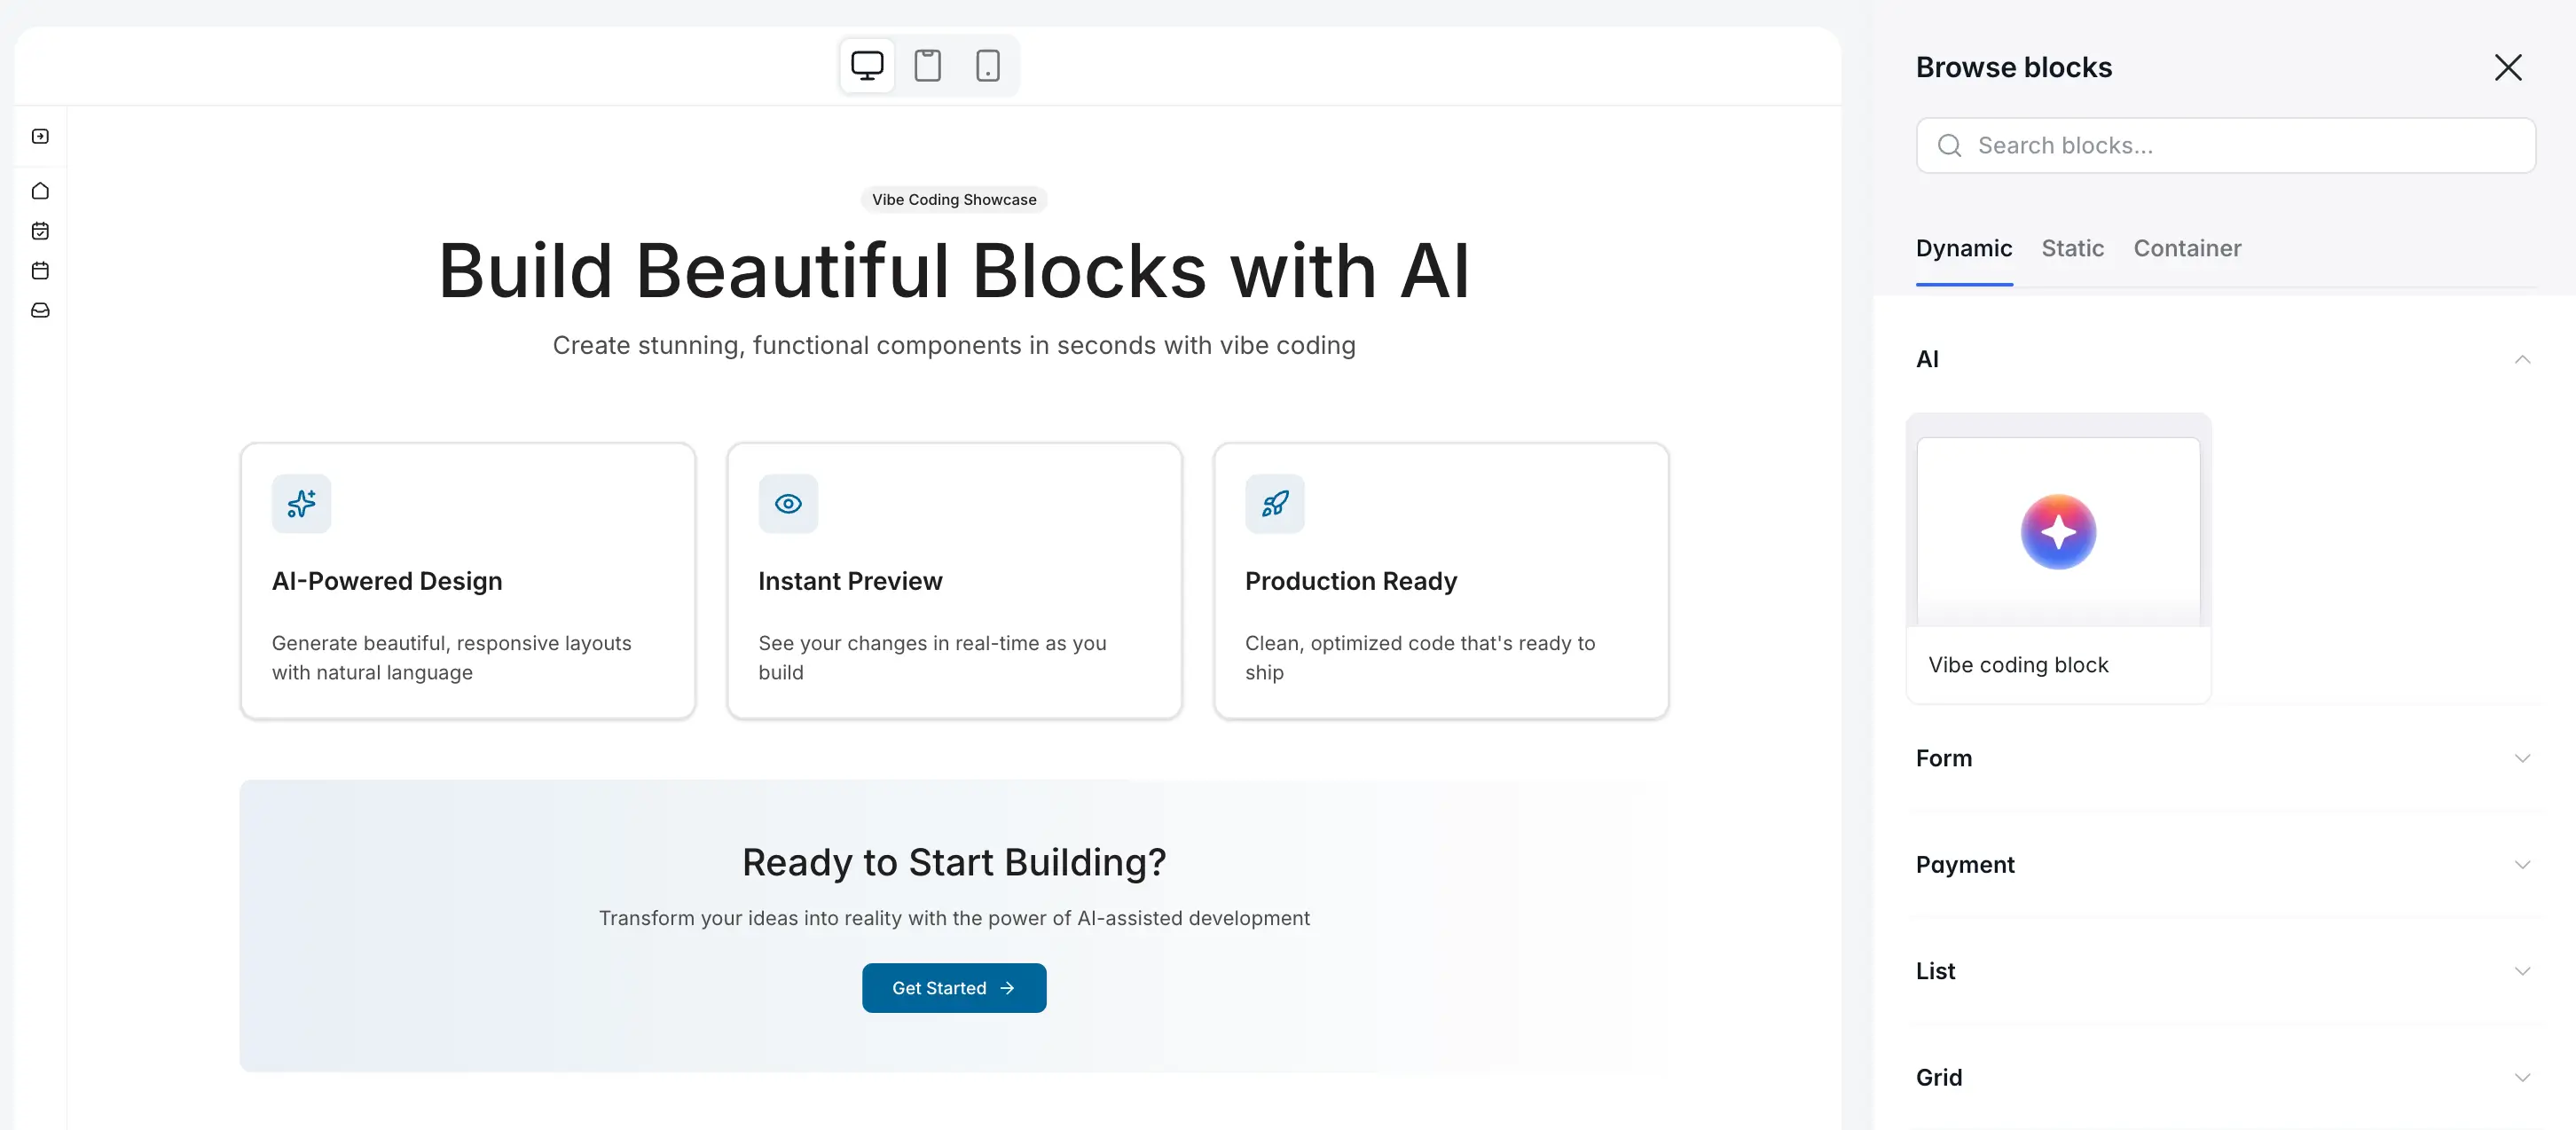
The block is designed for areas of your app that standard blocks don't cover: custom visualizations, bespoke interactions, or specific UI patterns that don't exist as native components.
Who is this advanced prompting guide for?
This guide is for Softr builders who've already generated their first Vibe Coding block and want to get consistently better results with less back-and-forth. It assumes you're comfortable adding blocks to a page and connecting them to a data source.
If you’re just getting started, check out our step-by-step guide to using the Vibe Coding block.
Technique 1: Specificity is the most important variable
The single biggest driver of vibe coding output quality is how specific your prompt is. A vague prompt produces a vague block. A prompt that describes exactly what you need—down to the interactions, the data flow, and the edge cases—will get you something far closer to what you had in mind from the first output.
Here's what this difference looks like in practice.
Vague prompt:
I need a booking form for my rooms.
Specific prompt:
I need a component that displays a weekly calendar for a meeting room. Time slots should run from 8:00 AM to 6:00 PM in one-hour increments. For each hour, check the connected Bookings table: if a booking record exists for that room and that time, mark the slot as "booked" and make it unclickable. If no record exists, show it as "available" and let the user click it. When clicked, show a duration picker (1 hour or 3 hours). On confirm, create a new record in the Bookings table with the start time, end time, the current user's email, and a status of "Pending." Include forward and back navigation to move between weeks.
Both prompts ask for a booking form. The second one generates the correct behavior on the first try, while the vague example generates something that will take four or five follow-up prompts to get right.
What to include in a detailed prompt:
- The UI layout: what the user sees and where
- The data flow: what the block reads, what it writes, and to which table
- The interactions: what happens when the user clicks, hovers, or submits
- The edge cases: what shows when a slot is taken, when a list is empty, or when validation fails
- The loading and error states: a spinner while a webhook responds, a message when no results are found
Pro Tip: Use voice dictation. Describing a complex UI verbally is naturally faster and more conversational than typing it, and conversational language often produces clearer instructions for the AI. Tools like Whisper-based dictation apps let you record a 3-minute description and have it transcribed in seconds.
Technique 2: Use Content Controls to avoid re-prompting
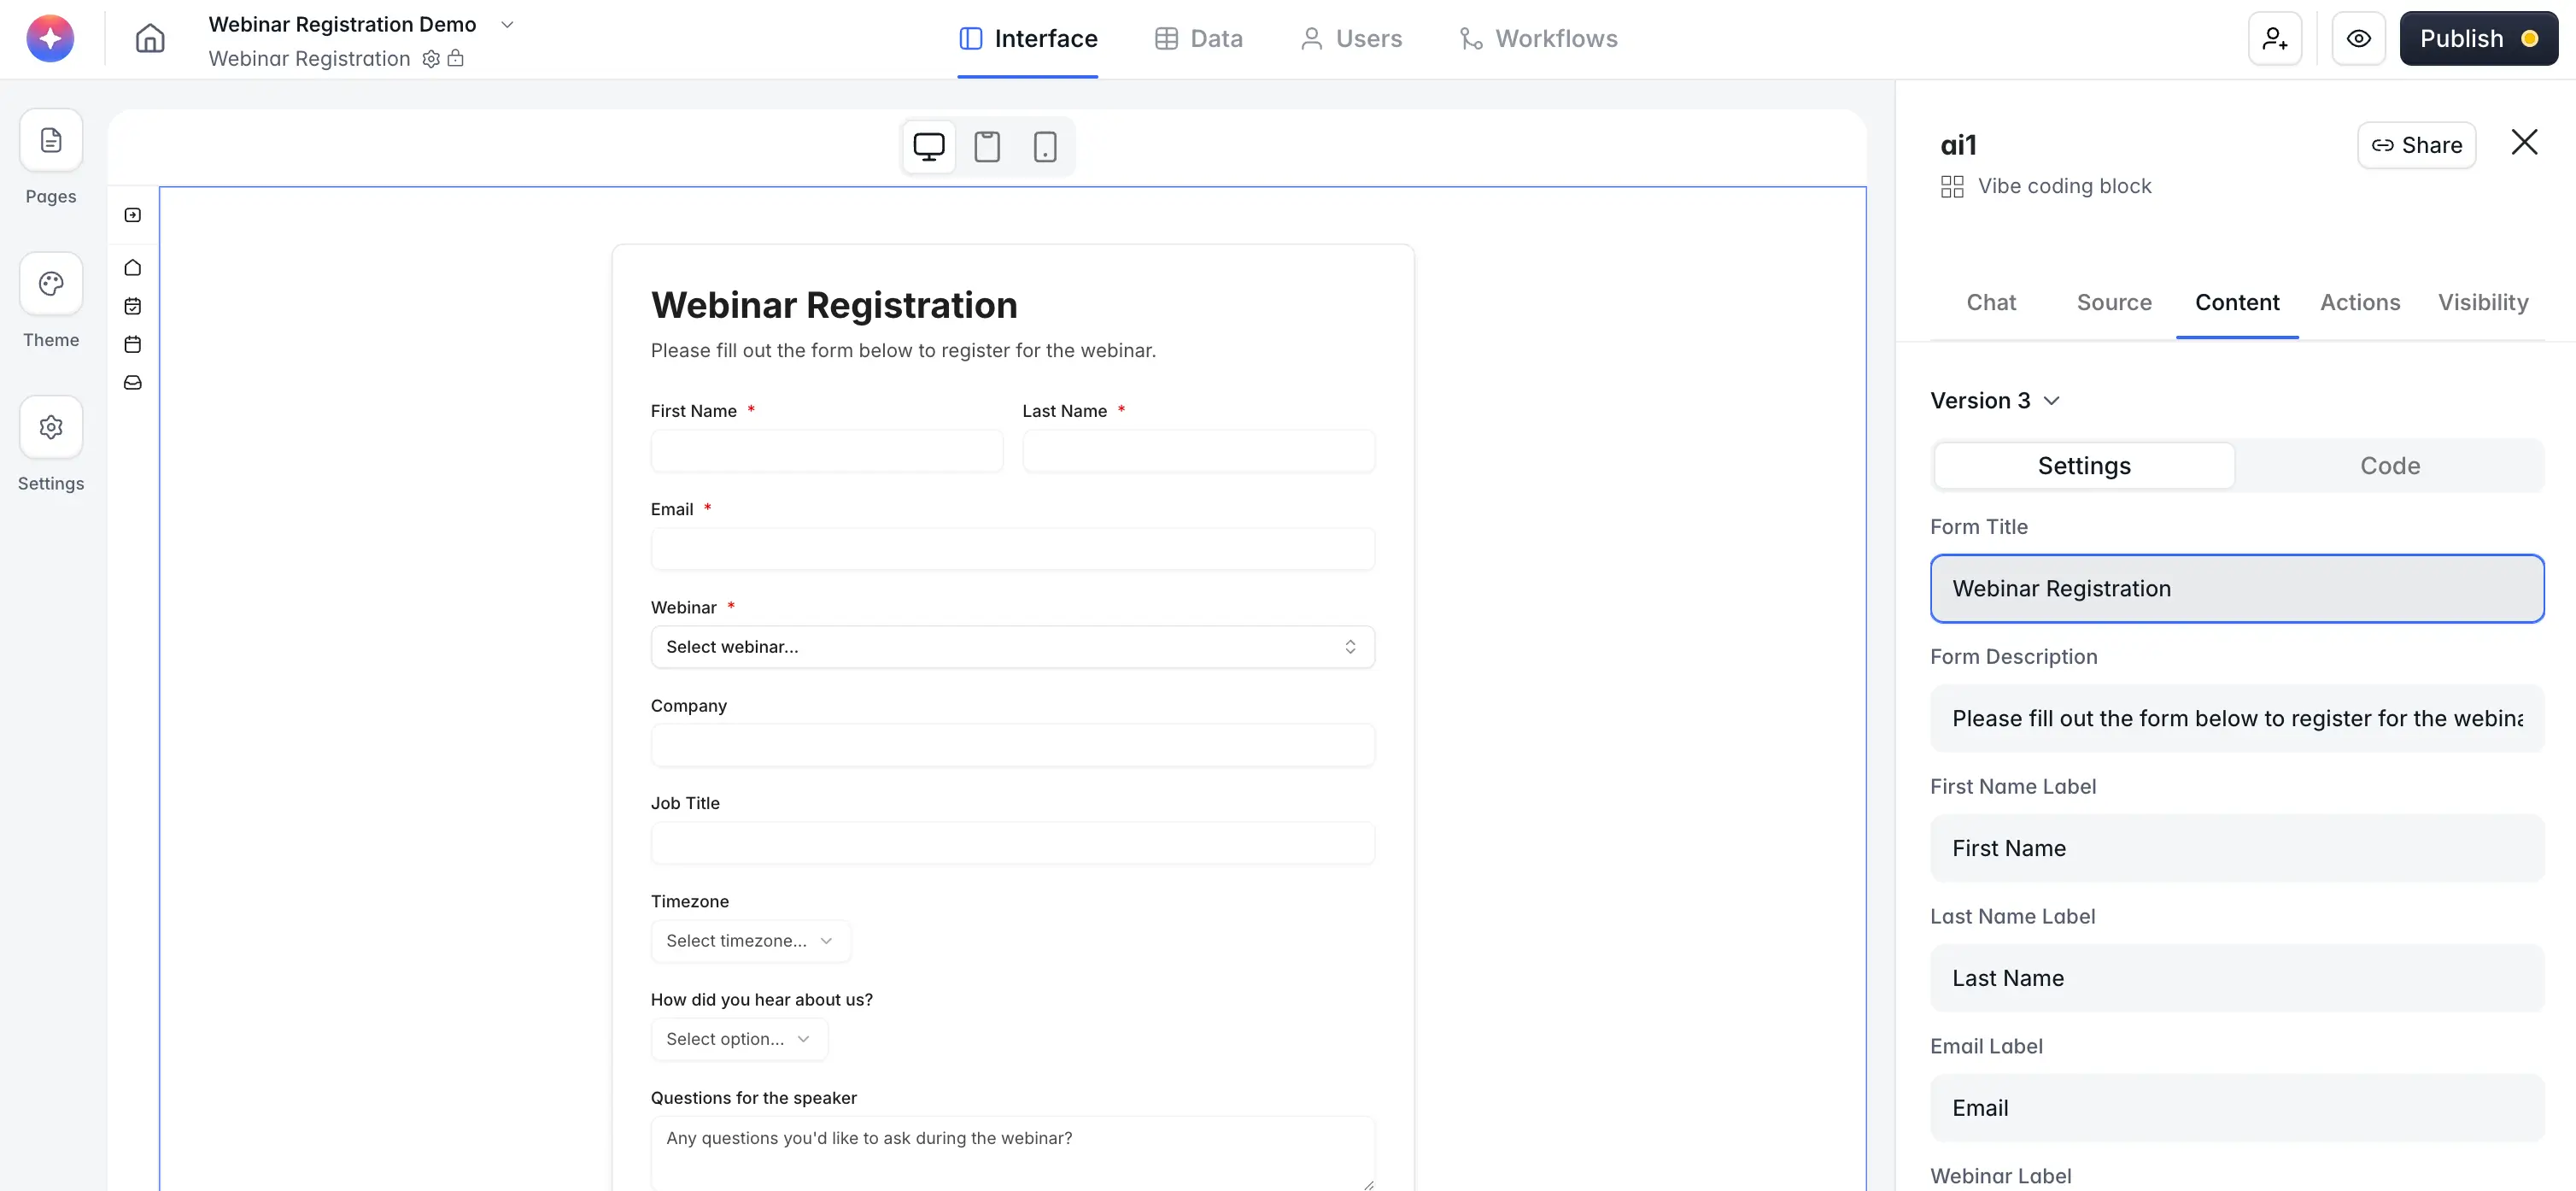
One of the most useful features of the Vibe Coding block is Content Controls: a panel of editable settings the AI extracts from the generated code, letting you change labels, images, colors, and button text without sending a new prompt.
After the block is generated, look at the Content tab in the block settings panel. The AI automatically identifies elements it expects you'll want to tweak, things like:
- Titles and subtitles
- Button labels and placeholder text
- Colors and accent values
- Images or icons
- Repeating sections (e.g., three feature cards with editable text and images each)
You can adjust any of these directly. Change the title, swap the icon, update a URL. None of these edits requires a prompt.
And if vibe-coded block contains a repeating pattern (three testimonial cards, four FAQ entries), Softr will surface drag-and-drop reordering and a "add new item" button in the Content panel. You can add additional cards without re-generating the entire block.
Note that there are cases when Content Controls aren't enough. If the element you want to adjust isn't visible in the Content tab, you can ask the block to make it editable explicitly:
Make the section header text and the button URL editable as content settings.
The block will update the code to surface those properties as editable controls.
This pattern saves AI credits and avoids the risk that a minor change prompt accidentally breaks something else in the block. Use prompts for structural changes and Content Controls for everything else.
Technique 3: Use screenshots and images as visual input
The Vibe Coding block accepts image attachments alongside your text prompt. This is one of the fastest ways to anchor the visual direction of a new block.
How to use it:
- Find a screenshot, mockup, or existing design that captures what you want. This could be from a website you admire, a Figma file, or a screenshot of another block in your app.
- Attach the image to your prompt in the block chat.
- Write a prompt that references the image: "Create a metric card like the one in this screenshot. I want the same layout, with title, value, and percentage change displayed."
The AI will generate code using the image as a design reference, adapting colors to your app's theme and connecting the fields to your data.
Caveats to keep in mind:
- Cleaner screenshots produce better results. A screenshot with a single, clearly bounded component works better than a complex full-page screenshot with multiple overlapping elements.
- Image inputs are better for layout, text prompts are better for behavior. If you want a specific interaction (like a click-to-expand accordion), describe it in text. The image input works best for establishing visual structure.
- Create a duplicate before using image input for iteration. Uploading an image with a follow-up prompt replaces the AI's understanding of the current block. If you have a working version, duplicate it before experimenting.
Technique 4: Reference open-source component libraries
Instead of describing a UI from scratch, you can point the Vibe Coding block at an existing, working component from an open-source library. This approach gives the AI a head start: the component already has the right behavior, interactions, and accessibility patterns. The block can then just adapt it to your app's theme and data connection.
Here are some good component sources to explore:
- ShadCN/UI: React components with clean, modern design. Copy the component code and paste it directly into the prompt, or just reference the component name.
- Radix UI: Unstyled, accessible components. Useful for menus, dialogs, and popovers.
- Layers: A design community where builders share UI patterns and inspiration. Great for visual direction.
Prompt example using a library reference:
Build me a combobox search input similar to the ShadCN Combobox component. It should search the Products table by name as the user types and display matches in a dropdown. Clicking an item should create a new record in the Requests table with the selected product ID.
Even without pasting the full component code, referencing a library component by name gives the AI a strong mental model of what you're asking for.
Technique 5: Atomic iteration — one problem per prompt
A common mistake when a block doesn't look quite right is to send a prompt that tries to fix everything at once: "The grid is broken, the button is the wrong color, and clicking it doesn't show the modal." This overloads the AI's focus and often produces a new version that fixes some things while breaking others.
A much better approach is to fix one thing at a time.
- Start with structure. Get the layout right before worrying about colors or behavior.
- Then refine interactions. Add click handlers, hover states, and transitions.
- Then polish visuals. Adjust spacing, font size, and color only after behavior works.
Each prompt creates a new version in the version history. You can always restore a previous version if a follow-up prompt makes things worse. This makes experimentation safe, but it also means you have a full record of what changed and why.
Let’s look at a practical example:
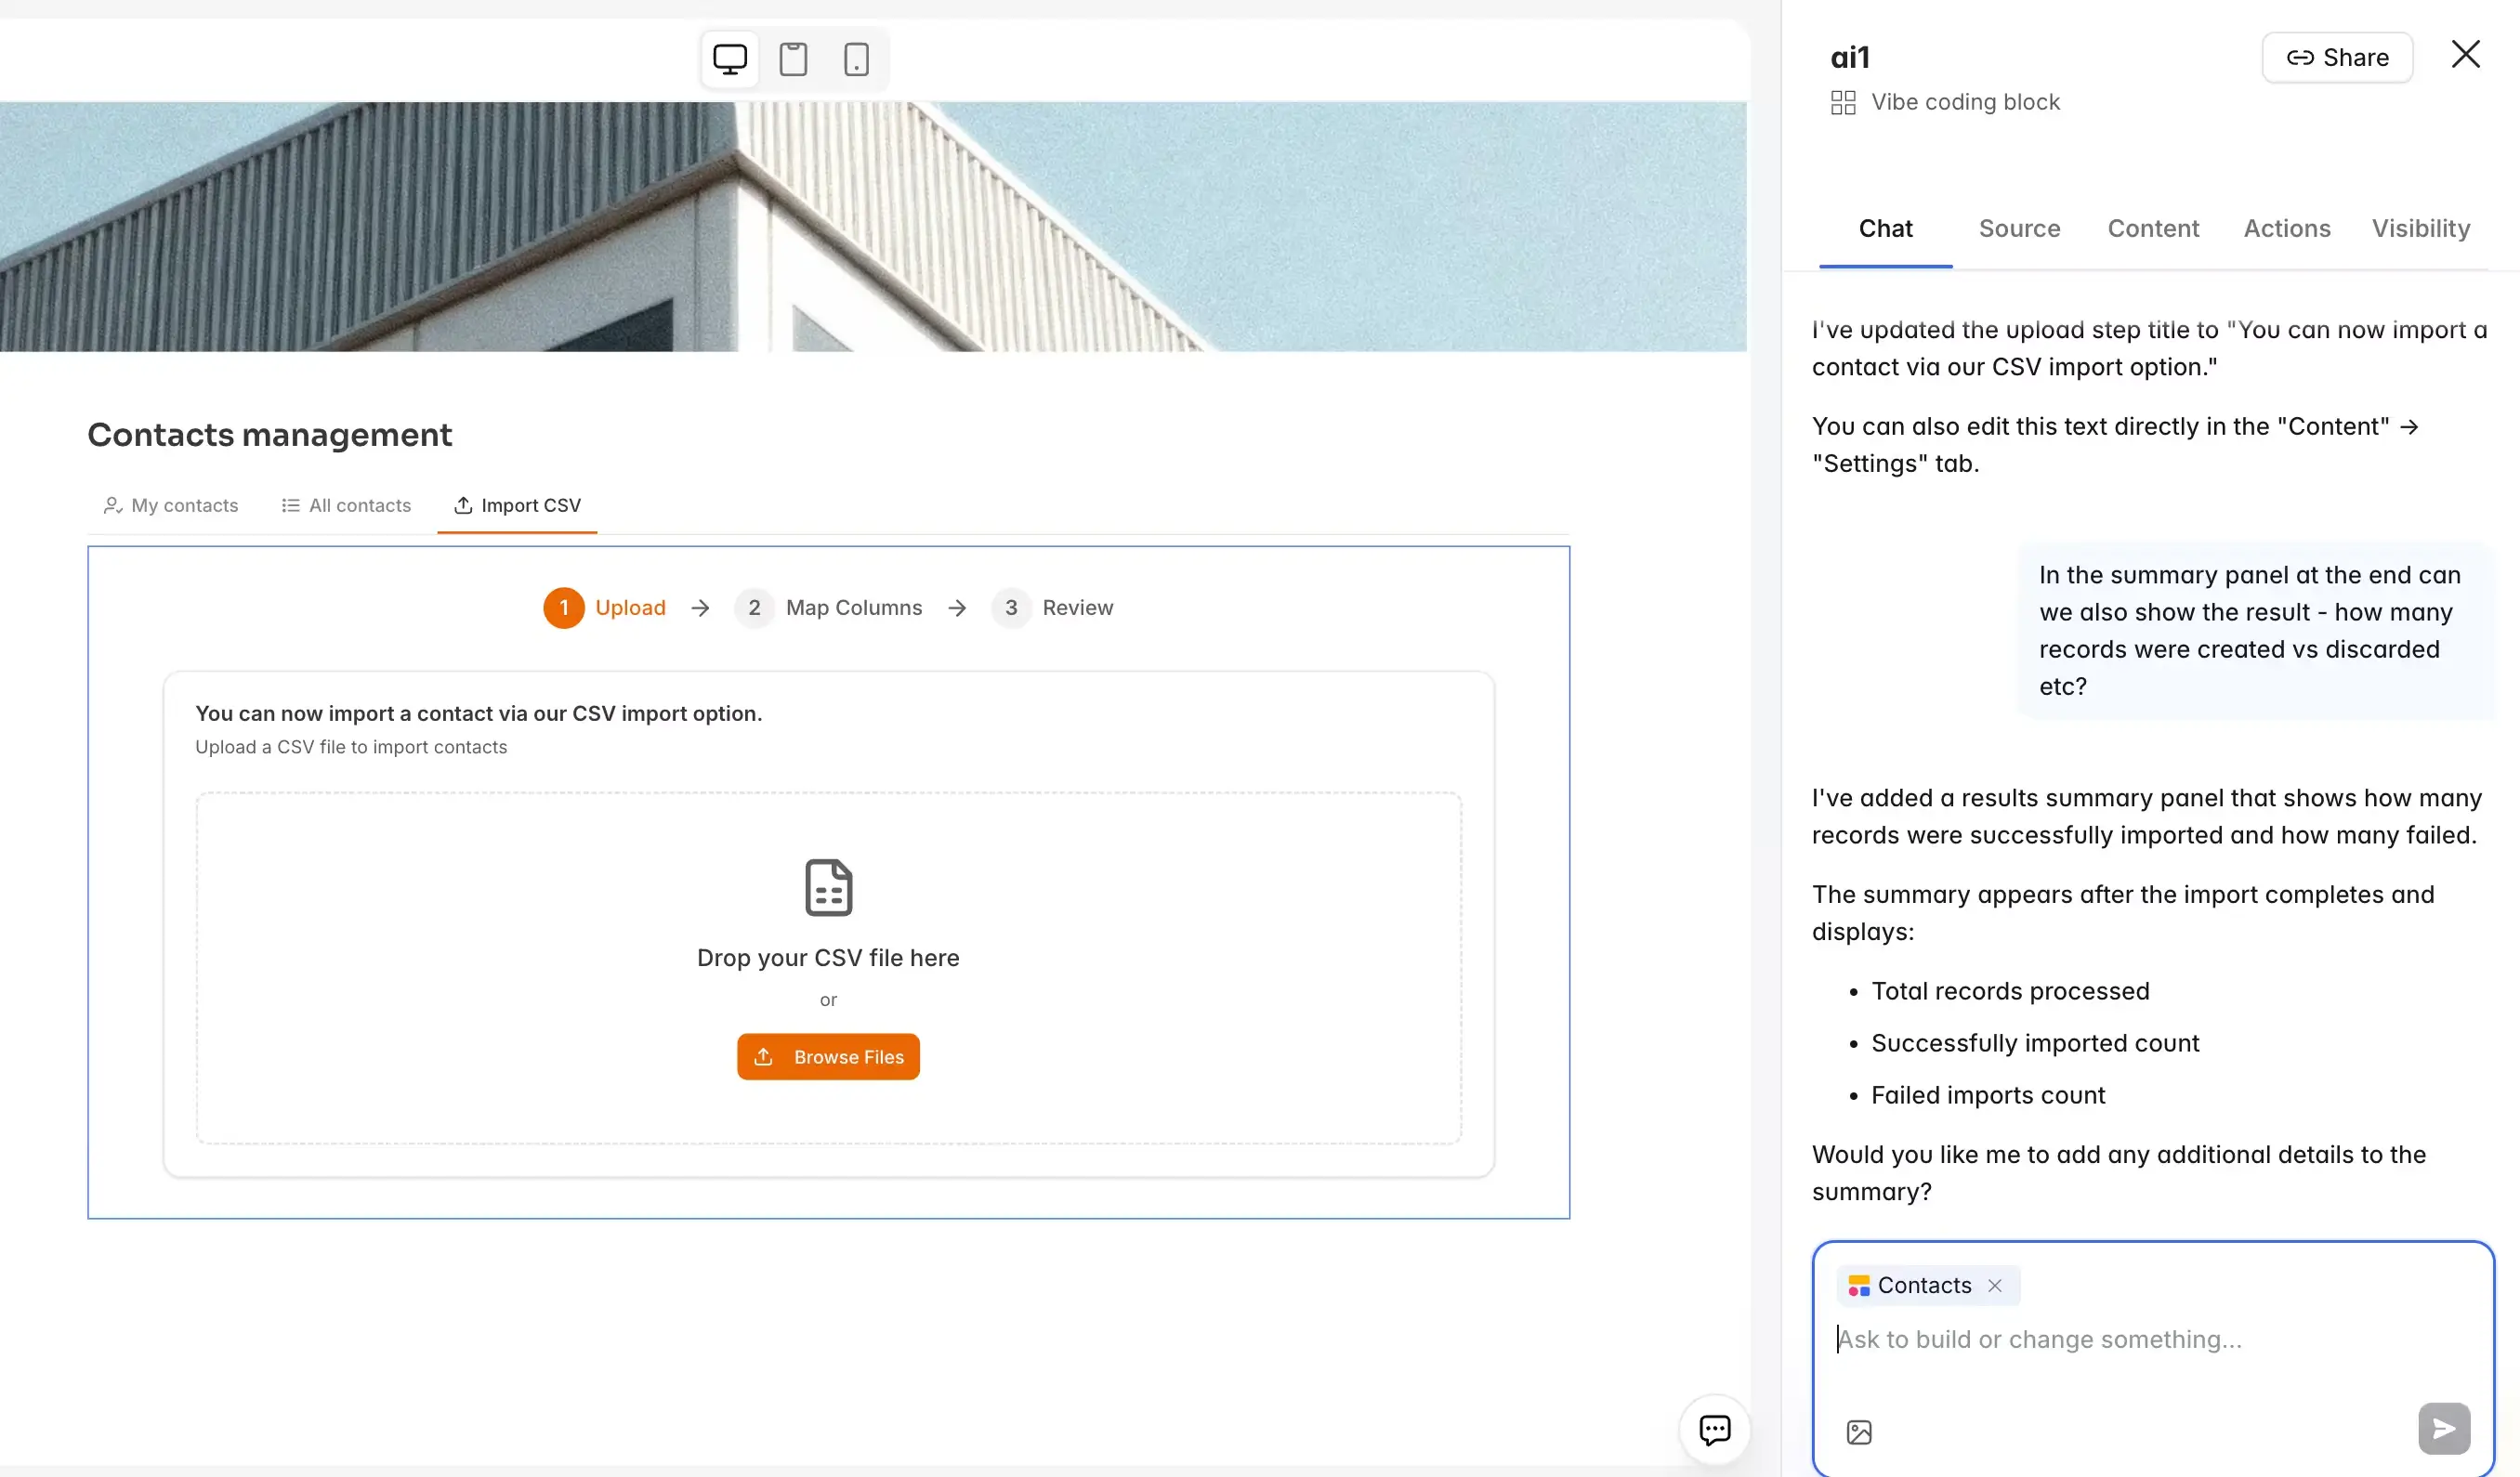
- Prompt 1: "Generate a CSV importer with a drag-and-drop upload zone and a column mapping step."
- Preview and test. Mapping works, but there's no confirmation message after import.
- Prompt 2: "After the import completes, show a green success banner with the count of imported records."
- Preview and test. Success.
Two focused prompts gets you two working iterations with zero broken features.
Keep each block specialized. If you're tempted to have one block handle a product form, a barcode scanner, and a metrics chart, split them into separate blocks. A block that does too many unrelated things becomes harder to prompt accurately and harder to debug when something breaks. As a rule of thumb: one block, one job.
Technique 6: Go into the code when the prompt isn't the right tool
There are situations where editing source code directly is faster and more precise than sending another prompt.
The Vibe Coding block exposes the generated React/CSS/JS code in a built-in editor. You can view it, edit it manually, and save your changes as a new version. Any change you make is just another version in the history, so you can always roll it back.
When to edit the code directly:
- You know exactly what to change. If you need to adjust a padding value from 16px to 24px, editing the CSS directly is faster than describing it in a prompt.
- A tiny change keeps breaking with prompts. If you've sent three prompts trying to move an element slightly and the AI keeps misunderstanding, just find the element in the code and adjust the value.
- You want to understand what was generated. Reading the code helps you understand how the block works and gives you confidence in what it's doing with your data.
- You're combining with externally generated code. If you used Claude, ChatGPT, or another tool to write or refine a component, you can paste the code directly into the editor.
You don't need to be a developer to do this. Simple adjustments (a color value, a text string, a CSS spacing unit) are readable even without coding experience. And if you're not sure, you can always ask another AI assistant to explain a specific line before changing it.
Technique 7: Set the design direction up front
If the visual quality of the output matters, invest time in the design direction at the start rather than iterating on aesthetics after the fact.
In your initial prompt, you can:
- Reference a color palette: "Use these brand colors: primary #2563EB, background #F8FAFC."
- Specify a design style: "Use a minimal, clean design with generous whitespace and no borders. Cards should have a subtle shadow."
- Reference a specific component: "Model this after ShadCN's Card component styling."
- Request a gradient or visual effect: "Add a gradient fade at the bottom of the image, going from transparent to the card background color." (Technique Shiran used to build a gradient banner block.)
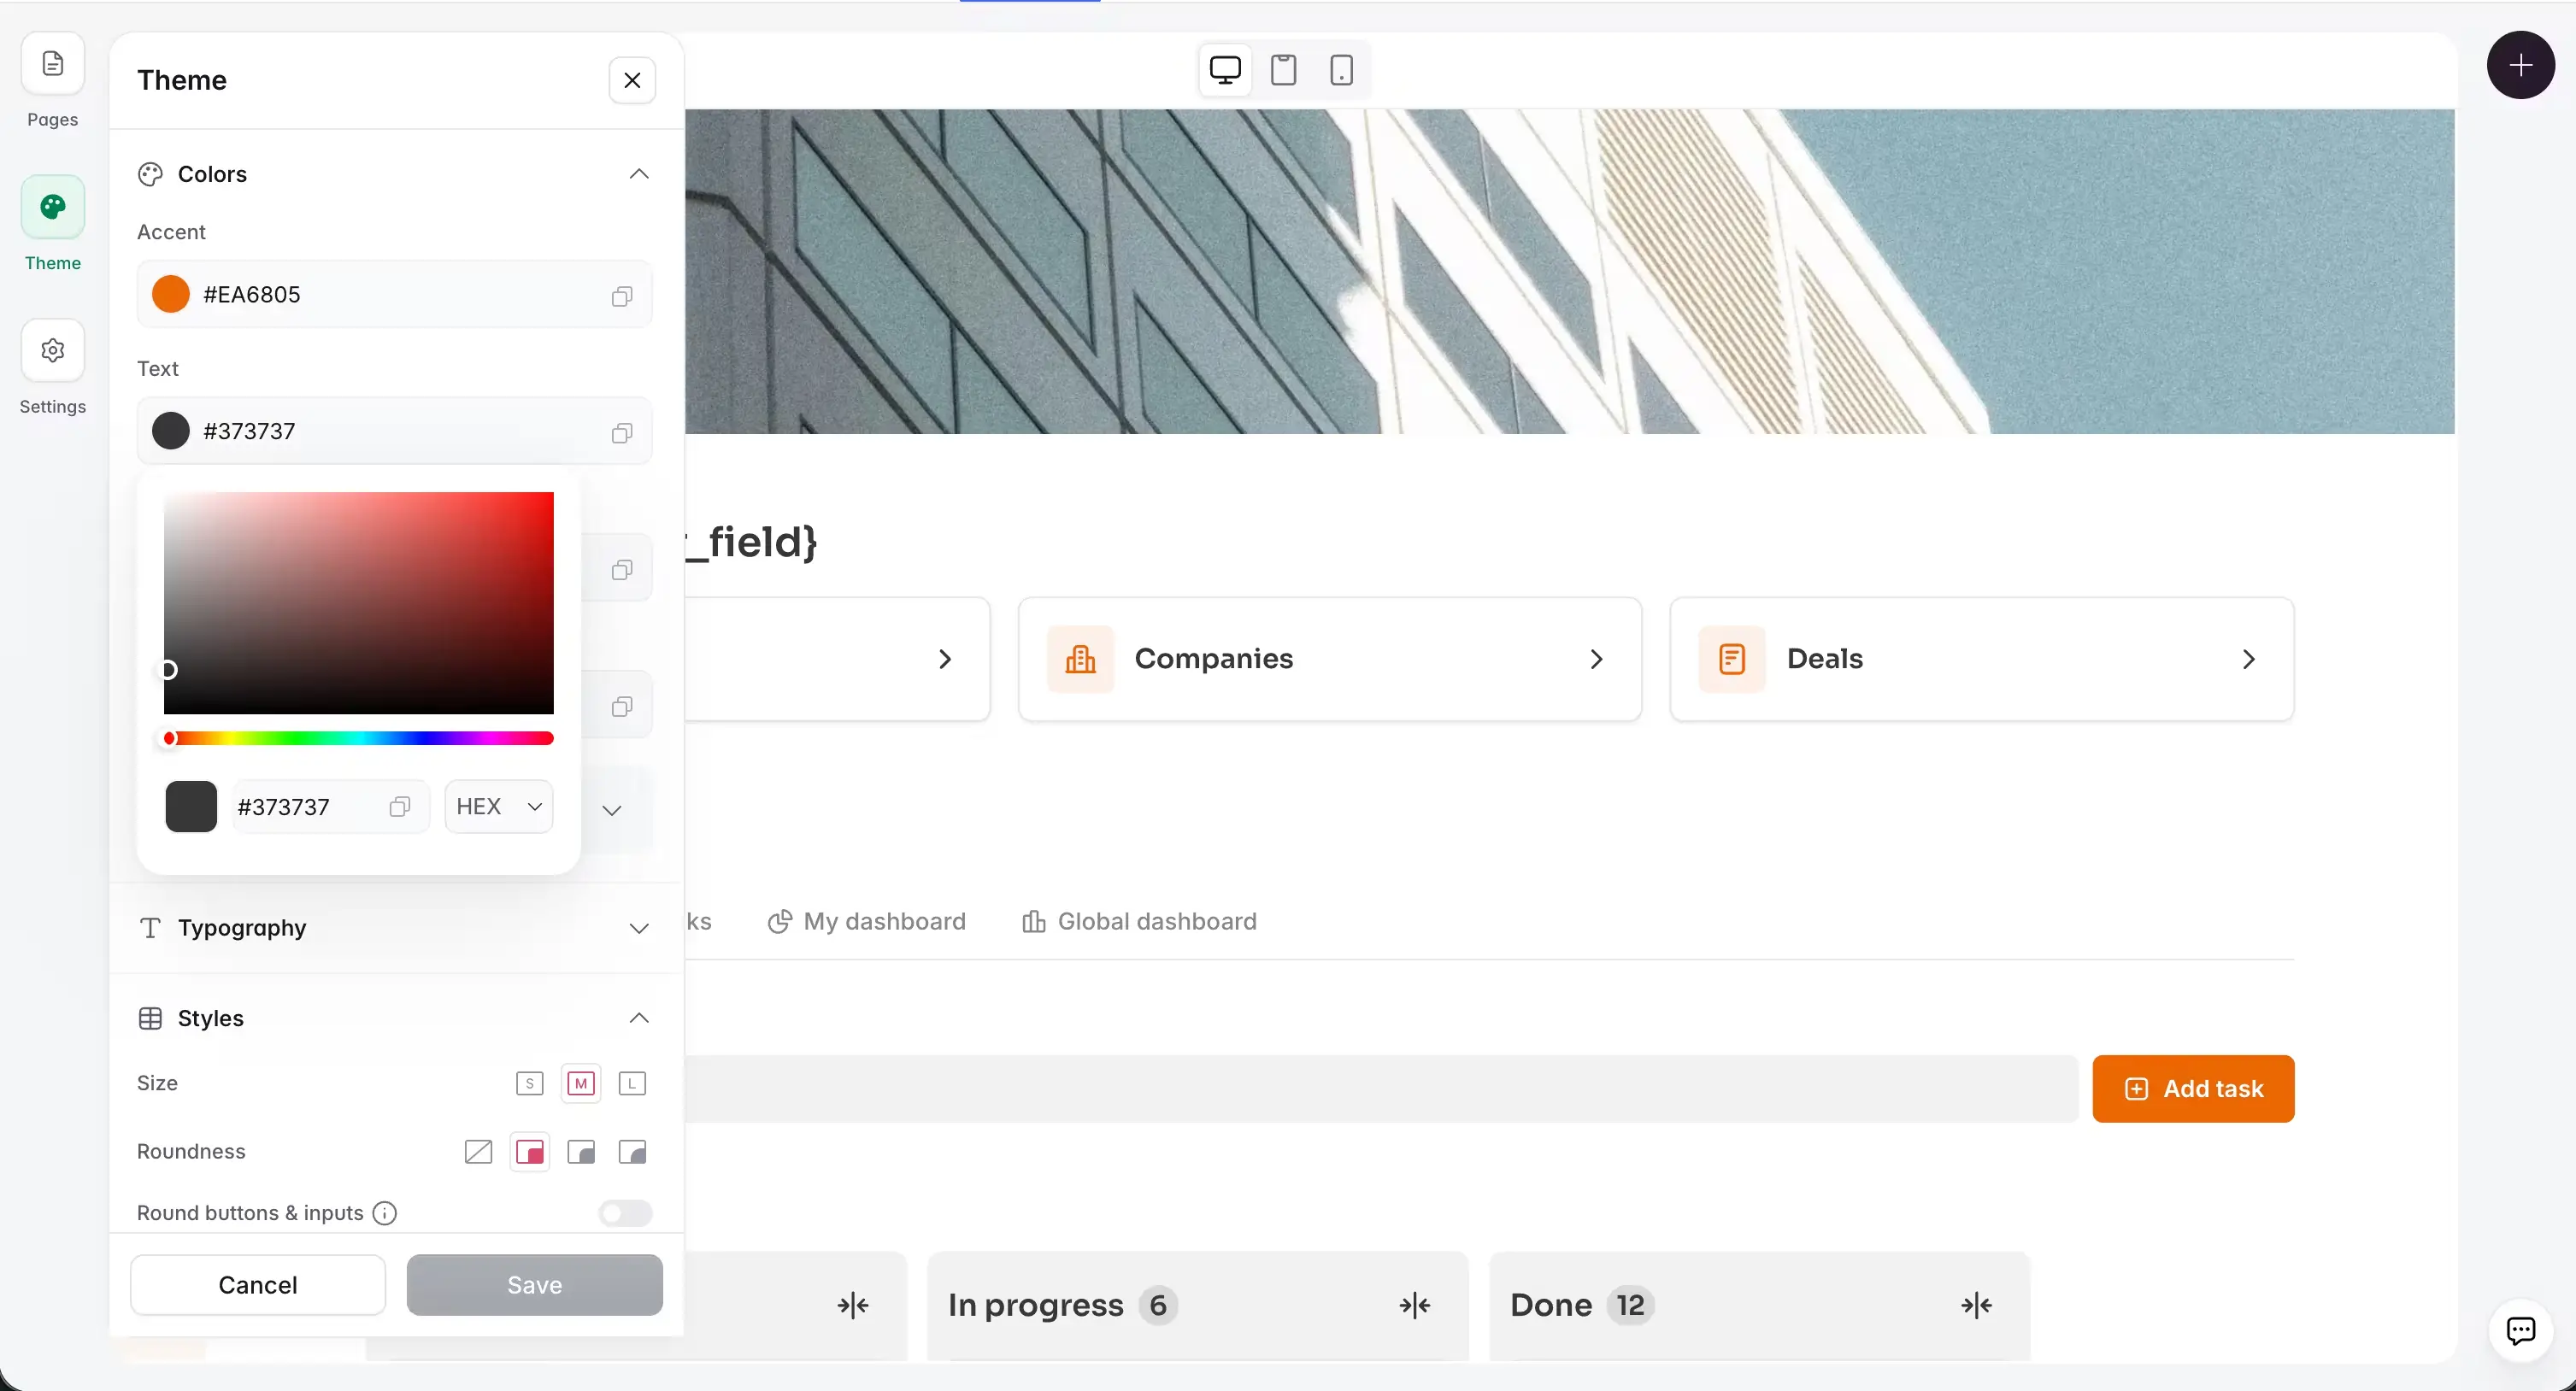
The block automatically inherits your app's global theme (accent color, fonts, border radius), so you don't need to re-specify those. But for design elements beyond the theme defaults, describe them clearly in the initial prompt.
Putting it together: a workflow for reliable results
- Define the behavior before the aesthetic. Write out what the block needs to do (read from table X, filter by Y, create records when Z is clicked) before worrying about colors or layout.
- Write a detailed prompt. Use voice dictation to speak it naturally. Cover the data flow, interactions, and edge cases.
- Attach a visual reference if you have a design direction in mind.
- Preview and test the core behavior before iterating on visuals.
- Use atomic follow-up prompts for adjustments. Fix one thing at a time.
- Surface variables as Content Controls for anything you or your team will adjust frequently.
- Edit the code directly for precision tweaks that prompts keep getting wrong.
None of these steps are difficult. The difference between good and disappointing results is simply applying them every time (especially points 2 and 5). After a few builds, it should become second nature.
Ready to build?
Frequently asked questions
- How long should a Vibe Coding block prompt be?
- What are Content Controls and when should I use them?
- Can I use code from another AI tool (like Claude or ChatGPT) inside the Vibe Coding block?
- What's the best way to fix spacing or small visual issues?

.webp)