The complete guide to Airtable views: Unlock data multiverse

[.blog-callout]
TL;DR
- Airtable has 6 view types, Grid, Calendar, Kanban, Gallery, Timeline, and Gantt, each built for a different way of looking at the same records.
- Every view reads from the same underlying data, so editing a record in one view updates it everywhere else.
- Personal and Locked views control who can change a view's configuration, useful for keeping shared bases organized once more than a few people are editing.
- Want that data to power a real app instead of a shared base? Softr connects to your Airtable data and turns your views into portals, dashboards, and internal tools. [.blog-callout]
Different teams need to look at the same data in different ways. A project manager wants deadlines, a salesperson wants totals, and an ops lead wants status at a glance. Airtable views solve this by letting you display the exact same records in a layout that matches how each team actually works.
There are six Airtable views, each with its own settings, configuration, and use case. When people hear "Airtable view," they usually picture the Grid view. It's a solid default, but sticking to it means missing out on layouts built specifically for scheduling, pipelines, and timelines.
Pro tip: Whenever you edit data in one view, it updates in every other view too, since they all pull from the same underlying records.
6 Airtable view types
Grid view

The Grid view is Airtable's default view and the most commonly used one. It displays your data in rows and columns, the same layout most spreadsheet tools use, which makes it the easiest starting point when you import data from Google Sheets or Excel.
Grid view also has the most functionality of any Airtable view. You can group records based on shared values in one or more fields, which is useful whenever you need to visually cluster related records.
{{cta-1}}
Group records in the Grid view
Step 1: Go to your Airtable table.
Step 2: Click "Group records" in the view bar.
Step 3: Click the "Pick a field" to group by dropdown.
Change row height in Grid view
Rows in Grid view are short by default, to display as many records as possible. If you're showing larger attachments or more text per record, increase the row height so it's easier to read.
Here's how:
Frozen fields
The primary field in Grid view is always frozen, so it stays visible as you scroll. You're not limited to just that one field either. Drag the frozen column separator to the right to freeze as many additional fields as you need.
Calendar view

The Calendar view displays your records as event cards laid out in a calendar. It's a natural fit for schedules, to-do lists, and event planning. You need at least one date field in your table to create a Calendar view.
How to create a new Calendar view
Step 1: Open the view sidebar by clicking the dropdown arrow.
Step 2: Click Calendar in the "Add a view" section.
Step 3: In the configuration window, select the date field that should drive the calendar.
Your Calendar view populates based on that date field. You can drag and drop event cards to reschedule them, and clicking any card opens a mini-editor where you can update its fields directly.
Kanban view

The Kanban view visualizes your data as cards on a board. Where the Calendar view needs a date field, the Kanban view needs a single select field to determine how cards are stacked into columns.
Kanban is a widely used project management method for visualizing work as it moves through stages. Each column represents a stage (like "To do," "In progress," or "Done"), so it's easy to see where every task or deal stands at a glance across a team.
Making a new Kanban view
Step 1: Open the view sidebar.
Step 2: Choose the Kanban option.
Step 3: Choose a single select field to configure how record cards will be stacked.
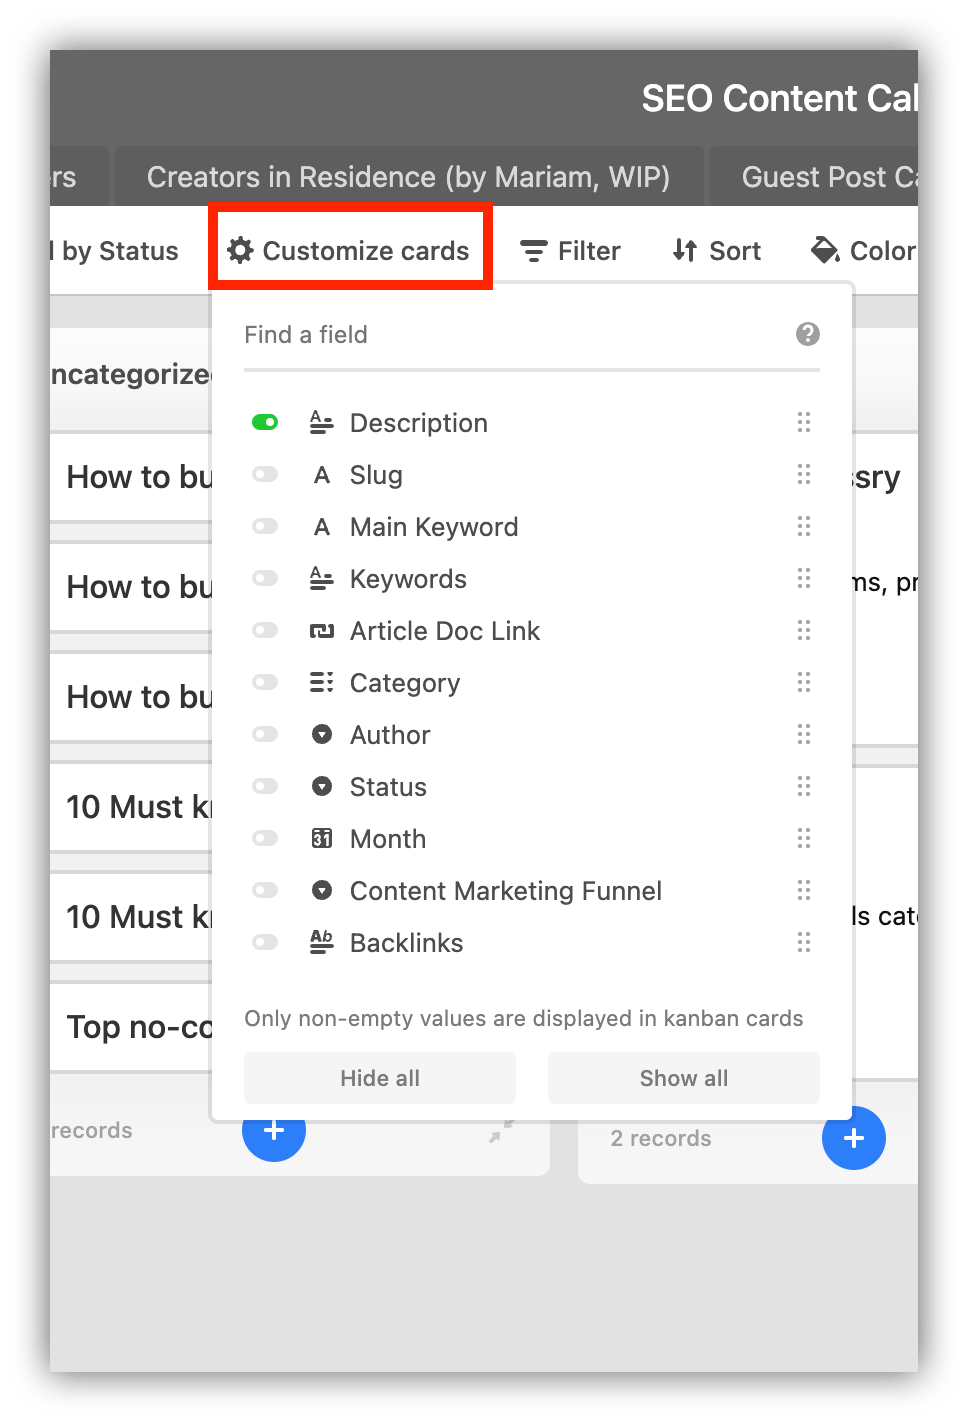
You can customize the record cards by clicking Customize cards, control which fields are visible, collapse stacks with the Collapse icon, and drag cards between stacks as work progresses.
Gallery view

The Gallery view displays your records as large cards in a grid. There's no required field type to create one, but it works best when you group records around an attachment field, which makes it a good fit for mood boards, team directories, or product catalogs.
Gallery view is designed to highlight any type of attachment, including images and documents.
Creating a new Gallery view
Step 1: Click the dropdown arrow in the view bar.
Step 2: Click the Gallery view button.
Step 3: In the configuration dialog, choose a field to group your base data.
Timeline view
Many teams struggle when projects overlap, and clear deadlines are what keeps things moving. It's important to have a grip on timing: when a feature ships, when a product launches, and how those events relate to each other.
The Timeline view is a premium Airtable view built for managing time-based projects. It displays your records on a customizable, horizontal scrolling timeline.
One of its most useful features is the ability to group records by any field into distinct "swimlanes." The Timeline view is well suited for allocating resources, coordinating tasks across a team, and pre-planning content calendars.
Gantt view
The Gantt view is a paid Airtable view favored by project and product managers, since it lets you schedule and visualize tasks, projects, events, and product releases in one place.
A Gantt chart is a type of bar chart that depicts a project schedule. It's named after Henry Gantt, who popularized the format in the early 1900s. Modern Gantt charts also show dependencies between activities and current schedule status.
The core of a Gantt chart is a horizontal bar chart: each bar's length and position show the start, end, and duration of an activity, and bars are stacked into rows so you can see which activities overlap at any given time.

To create a Gantt view, go to the view menu and select Gantt from the "Create a view" section.

One of the best things about the Gantt view is how much you can customize it, including the specific date fields it uses to plot each activity.
Gantt settings
Data settings
The first group of settings covers which table and view to pull records from, and which start and end date fields the Gantt view should use.

Label field
The "Label field" setting lets you choose which field is used as the display name for each record in the view.

These are the main settings you'll configure in the Gantt view. For more advanced customization, check out Airtable's own guide on customizing the appearance of the Gantt view.
Personal views
Airtable views have three permission types:
Collaborative - all collaborators can edit the configuration
Personal - only the view's owner can edit the configuration
Locked - nobody can edit the configuration
Personal views let only their owner adjust filters, grouping, field visibility, field order, sorts, row heights, and record colors.


By default, personal views are hidden from other collaborators' view sidebars, which makes them a good way to experiment with a table's data without disrupting anyone else's setup.
Locked views
Locked views prevent anyone, including the view's original creator, from changing the configuration.
You can lock a view if your base is in a workspace with the right plan tier and you have creator- or owner-level access to that base. Here's how:
Step 1: Go to the view switcher and select the view you want to lock.
Step 2: Click the view mode button next to the view name.
Step 3: In the view mode menu, select the lock view option for the current view.
To unlock a view
Step 1: Click the view mode button next to the name of the view.
Step 2: In the view mode menu, select the Collaborative view option to unlock the view.
Turn your Airtable views into a real app with Softr
Airtable views are a great way to visualize your data inside Airtable, but they stay inside Airtable. If you need that same data to power a client-facing portal, an internal tool, or a dashboard your whole team can use, Softr turns your Airtable base into a secure, branded web app.
Connect your existing Airtable base, or start fresh with a native Softr Database if you'd rather have faster, AI-ready native storage. Either way, Softr keeps the sorting and filtering logic you already configured: your Grid views become Table blocks, your Kanban views become Kanban blocks, and so on, so you don't have to rebuild that logic from scratch.
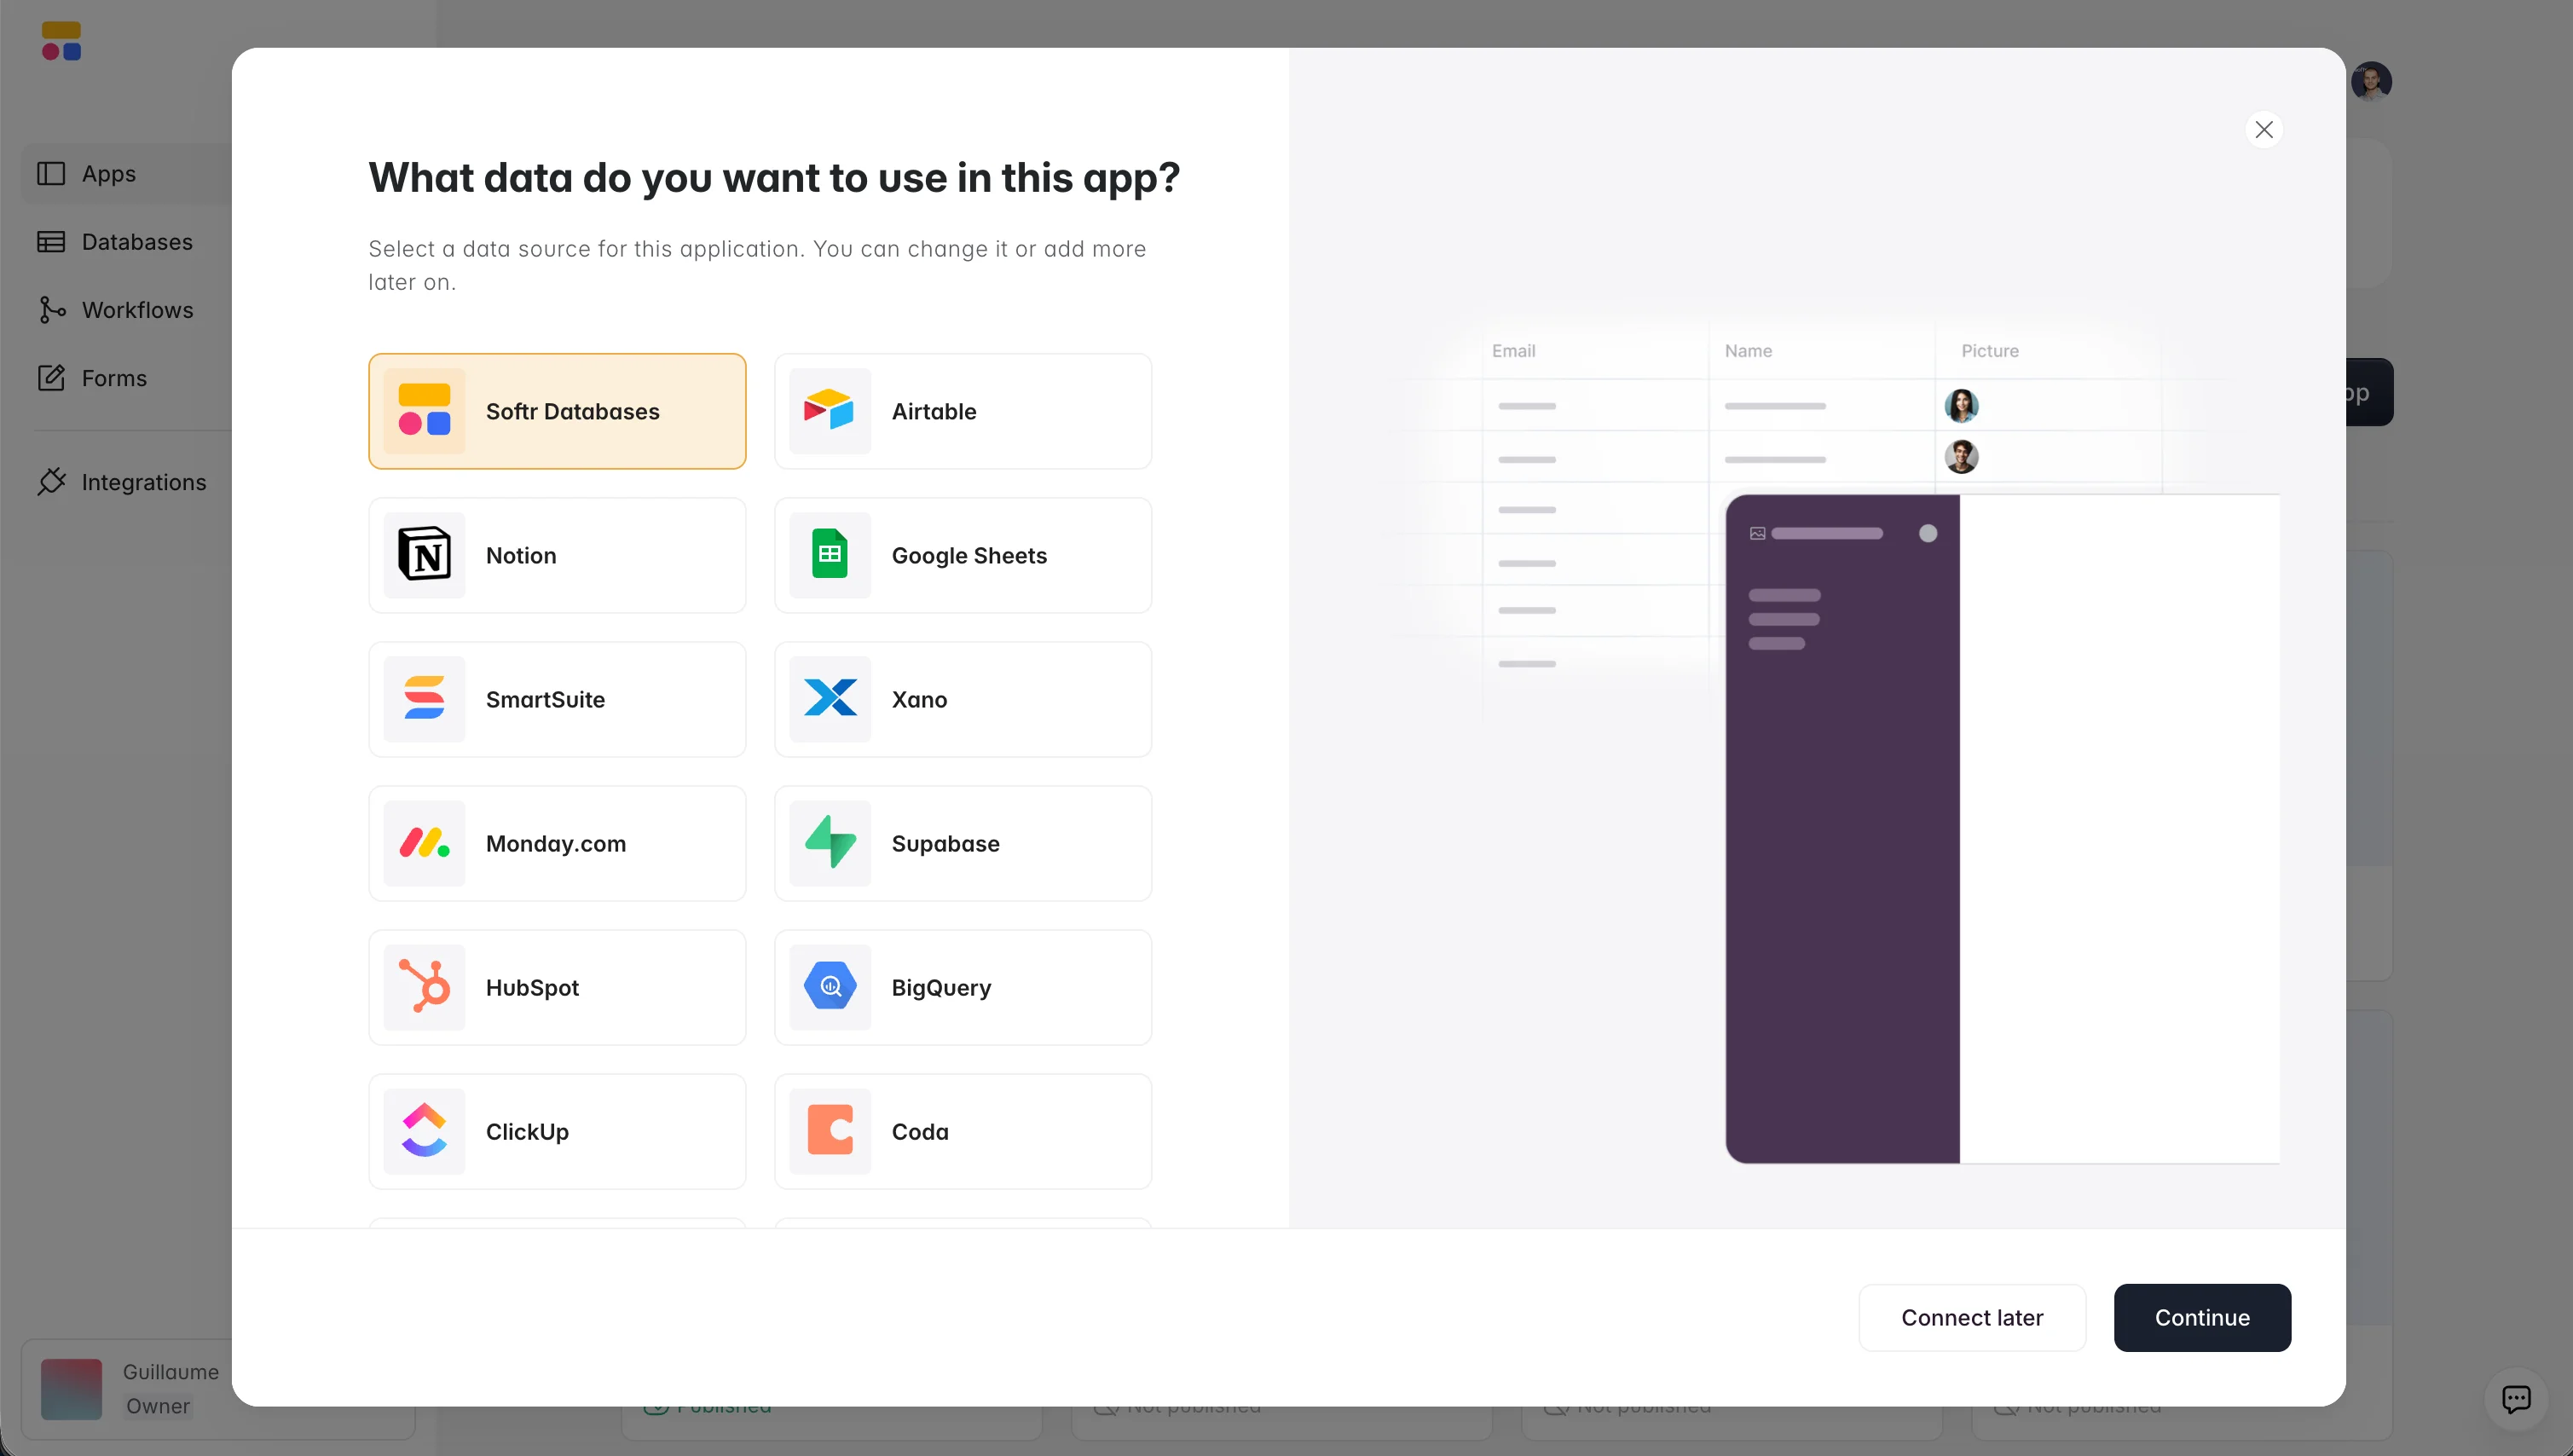
From there, users and permissions let you decide exactly which people can see or edit which data, similar in spirit to Airtable's Collaborative, Personal, and Locked views, but scoped to your entire app rather than a single table. If you'd rather skip the manual setup, describe the app you need to Softr's AI Co-Builder, and it builds the pages, blocks, and permissions structure for you based on your connected base.
"I love how seamlessly Softr connects with Airtable, as we are heavily reliant on it. It works perfectly, like magic. Softr centralizes client communication, eliminating back and forth through multiple tools. It provides clients with a branded, personal space." - Mohamed B., Director of Operations, G2 review
Once your data lives inside a real app instead of a shared base, you can explore client portal examples or see how teams build internal tools on top of their existing data without starting from scratch.
Frequently asked questions
How do I hide fields in an Airtable view?
How do you switch between Airtable views?
How do I create a summary view in Airtable?
Do different Airtable views change my underlying data?
Can I turn my Airtable views into a business app?