How to create a job application tracker in Google Sheets

[.blog-callout]
TL;DR
- Build a job application tracker in Google Sheets manually with headers, filters, and conditional formatting, in about 3 minutes and for $0.
- For a more visual, app-like tracker with statuses, reminders, and access control, connect your sheet to Softr and turn it into a real application.
- Softr's AI Co-Builder can generate the entire tracker app for you from a plain-language description, or you can build it manually block by block.
- Either method keeps your data in Google Sheets. Softr adds the interface, permissions, and automation on top. [.blog-callout]
Job hunting gets messy fast. Between multiple applications, interview stages, and follow-up deadlines, it's easy to lose track of where things stand with each company. A job application tracker solves this by giving you one place to see every application, its status, and what to do next.
In this article, we'll walk you through two ways to build one:
- Creating a job application tracker in Google Sheets manually.
- Turning that Google Sheets data into a full app with Softr.
The manual method is fast and free. The Softr method takes the same data and turns it into a tool you can filter, style, and share, without spreadsheet clutter.
How to create a job application tracker in Google Sheets manually
Time: 3 minutes
Cost: $0
If you prefer a hands-on approach, you can use this method to customize your job application tracker to your liking.
Step 1: Create a new spreadsheet in Google Sheets
Open a blank spreadsheet in Google Sheets, where you'll house your job application tracker.

Step 2: Set up the headers
In your newly created spreadsheet, set the headers that will serve to categorize the data of your job application tracker:
- Company: the name of the company you're applying to.
- Job Title: the title of the job you're applying for.
- Date Applied: the date you submitted your application.
- Location: the location of the job.
- Status: the current status of your application (e.g., applied, interview scheduled, rejected).
- Contact Person: the name of the person you're in contact with at the company.
- Email: the email address of the contact person.
- Phone: the phone number of the contact person.
- Website: the company's website URL.
- Deadline: the application deadline for the job offer.
- Notes: any additional notes or details about the job offer or company.

Step 3: Enter your job application information
Enter your job application information by filling in the corresponding details for each job application.

Step 4: Format your sheet
Format your sheet for better readability and organization. You can bold column text and apply different colors for rows with different statuses (for example, green for "interview scheduled" and red for "rejected"), or format the "Date Applied" and "Deadline" columns as dates for easy sorting and filtering.

Step 5: Add filters
Enable filters for your sheet to sort and filter your job applications easily. To do this, click on the small filter icon that looks like a funnel in the column headers row. This will add filter options to each column header, allowing you to sort and filter your data as needed.

Step 6: Use conditional formatting
You can apply conditional formatting to automatically highlight certain cells based on criteria you set. For example, you could set up conditional formatting to turn the "Deadline" cell red if the deadline is close.

Step 7: You've created a job application tracker
Well done! You've created a job application tracker in Google Sheets. As your job search progresses, remember to consistently update your tracker with new applications, interview dates, and any changes in application status.

A spreadsheet works fine for a first pass, but it has real limits once your job search picks up. There's no way to control who sees your data if you share it, no visual dashboard, and no automated reminders when a deadline is close. That's where turning your sheet into an app comes in.
How to create a job application tracker in Google Sheets, using Softr
Time: 5 minutes
Cost: $0
You can also use Softr to turn your Google Sheets data into a real application. Softr is an AI app builder that lets you create secure, working software without writing code, and it connects natively to Google Sheets (as well as Airtable, HubSpot, and 21+ other data sources, or its own native Softr Databases).
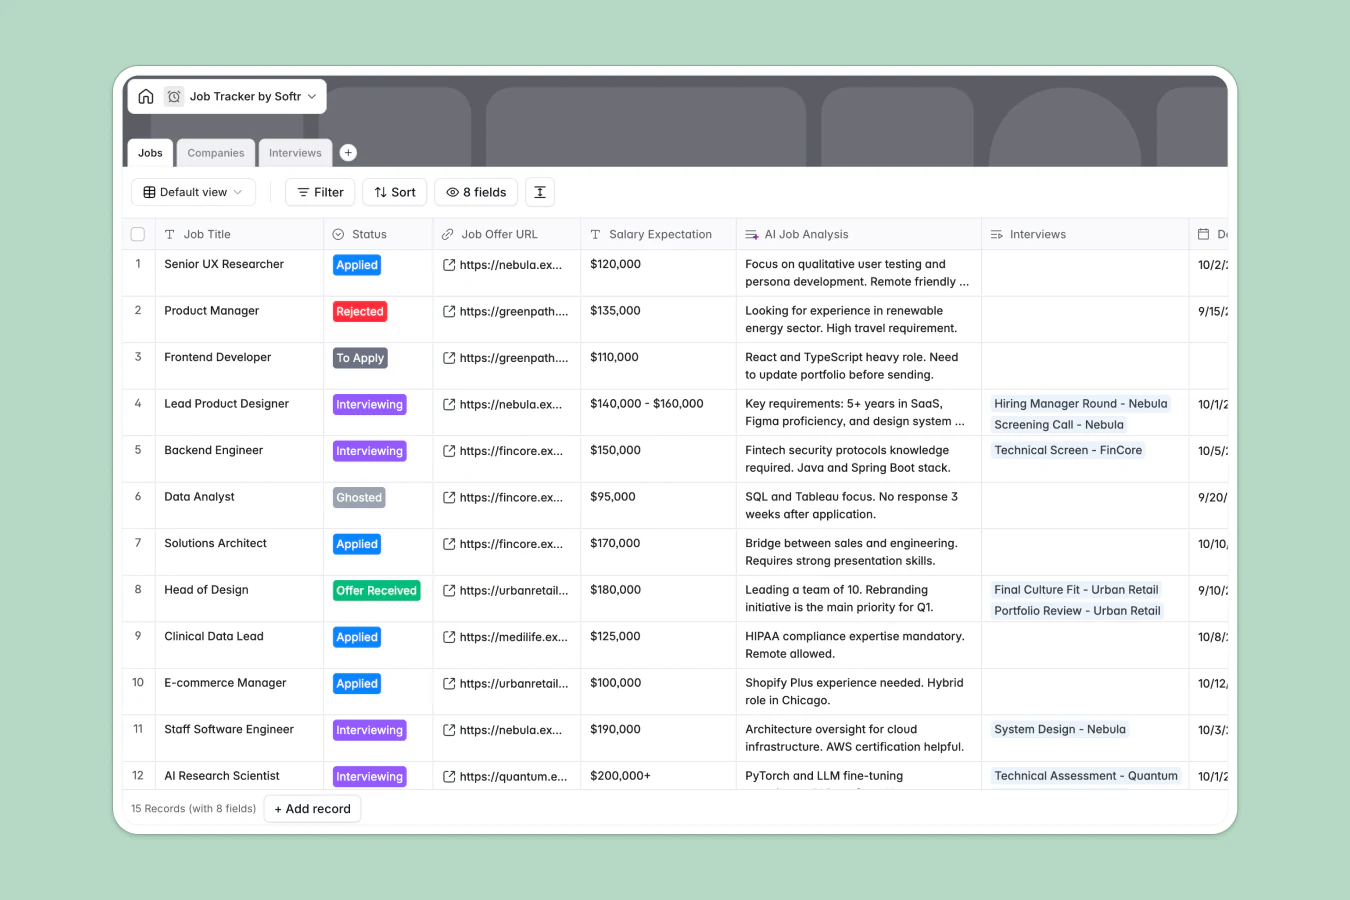
The tracker you build with Softr goes beyond what a spreadsheet can do: statuses become filterable views, records open into detail pages, and you can restrict who has access if you ever share it with a mentor or career coach.
Step 1: Log in to Softr or create an account
First, log in to Softr. If you don't have an account, you can sign up to Softr for free.
Step 2: Choose how to start your app
From your dashboard, click "New Application." You'll then have three ways to start: describe your job application tracker to the AI Co-Builder and let it generate the database, pages, and blocks for you, start from a pre-built template, or build entirely from scratch.
For a simple personal tracker, describing it to the AI Co-Builder is the fastest route. Something like "Build a job application tracker with company, job title, status, interview dates, and deadlines" is enough to get a working first draft, complete with a database, a table or kanban view, and a form to log new applications. You can then adjust anything it builds manually, exactly as you would if you'd started from scratch.
If you'd rather build manually and keep using your existing Google Sheets file, start from a blank application instead and follow the steps below.
Step 3: Add a block to display your applications
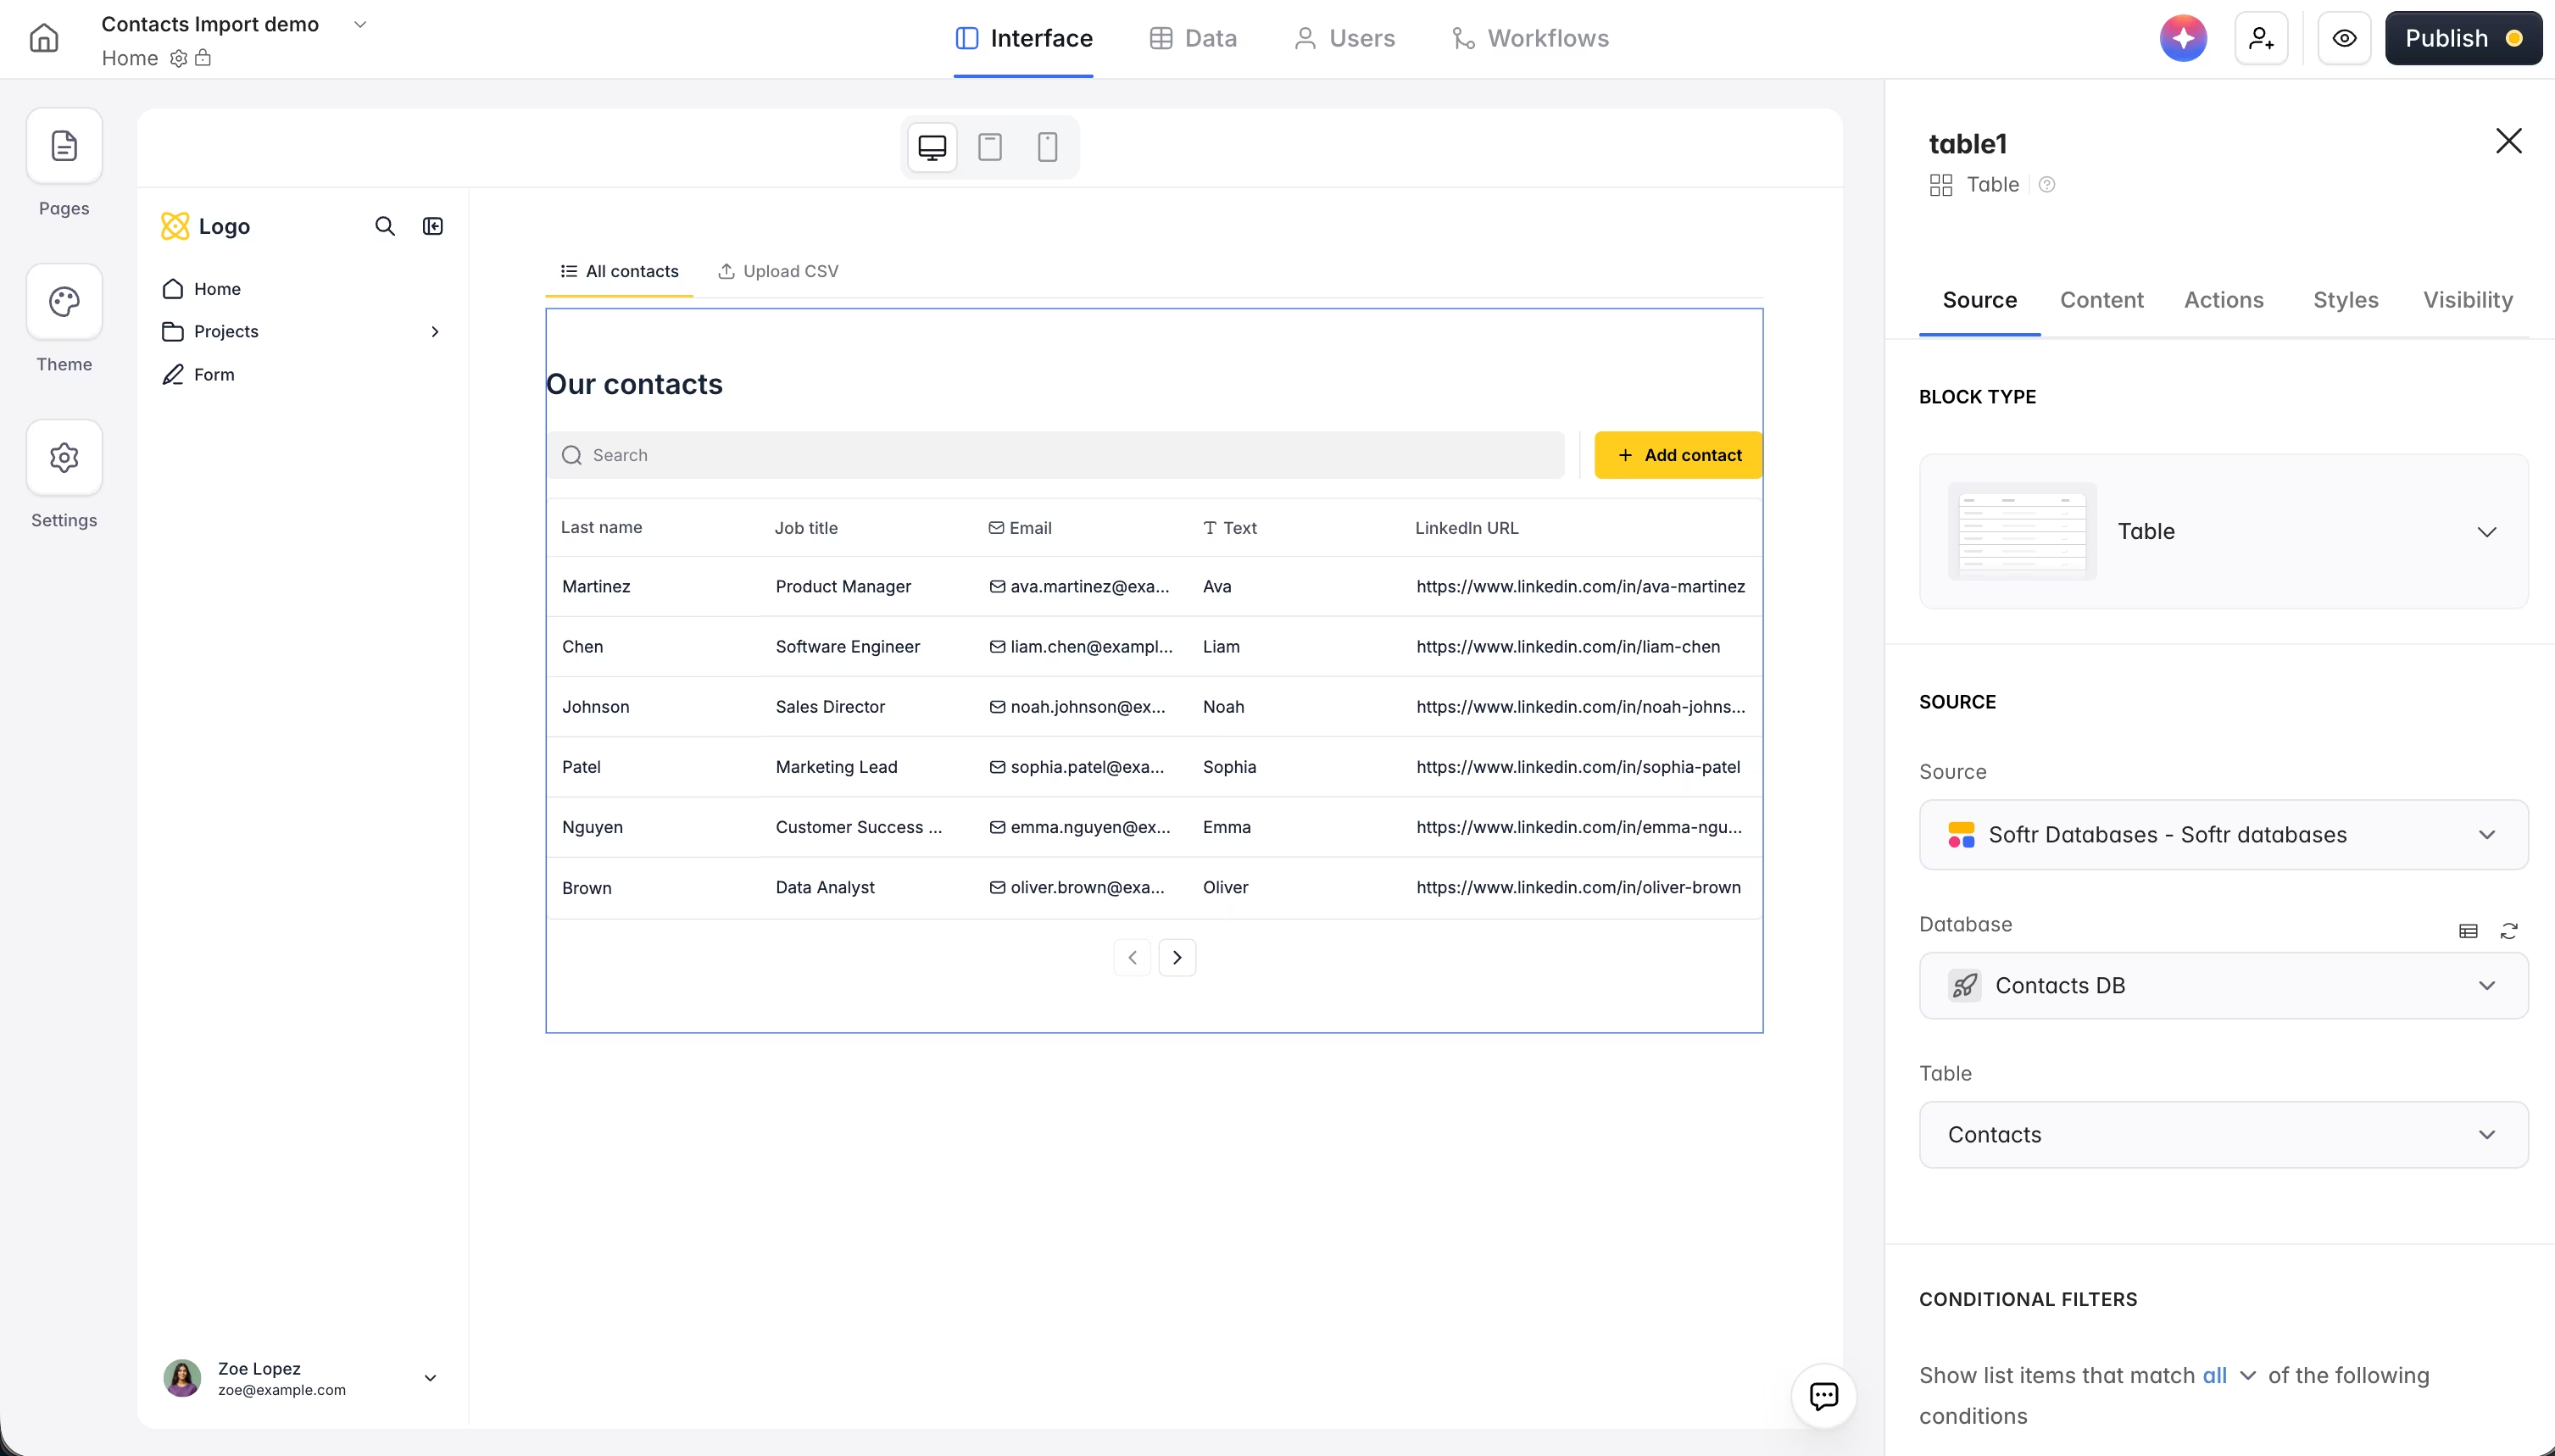
On your blank page, click "Add your first block." A Kanban block works especially well for a job tracker, since it lets you drag applications between columns like "Applied," "Interview scheduled," and "Rejected" as your status changes. A Table or List block also works if you prefer a spreadsheet-like view. You can add these manually, or describe what you want to the AI Co-Builder and it will add the block for you.

Step 4: Connect your Google Sheets file as a data source
After adding your block, open the SOURCE tab and add a data source so Softr can pull your data from Google Sheets.

Step 4.1: Select Google Sheets as a data source
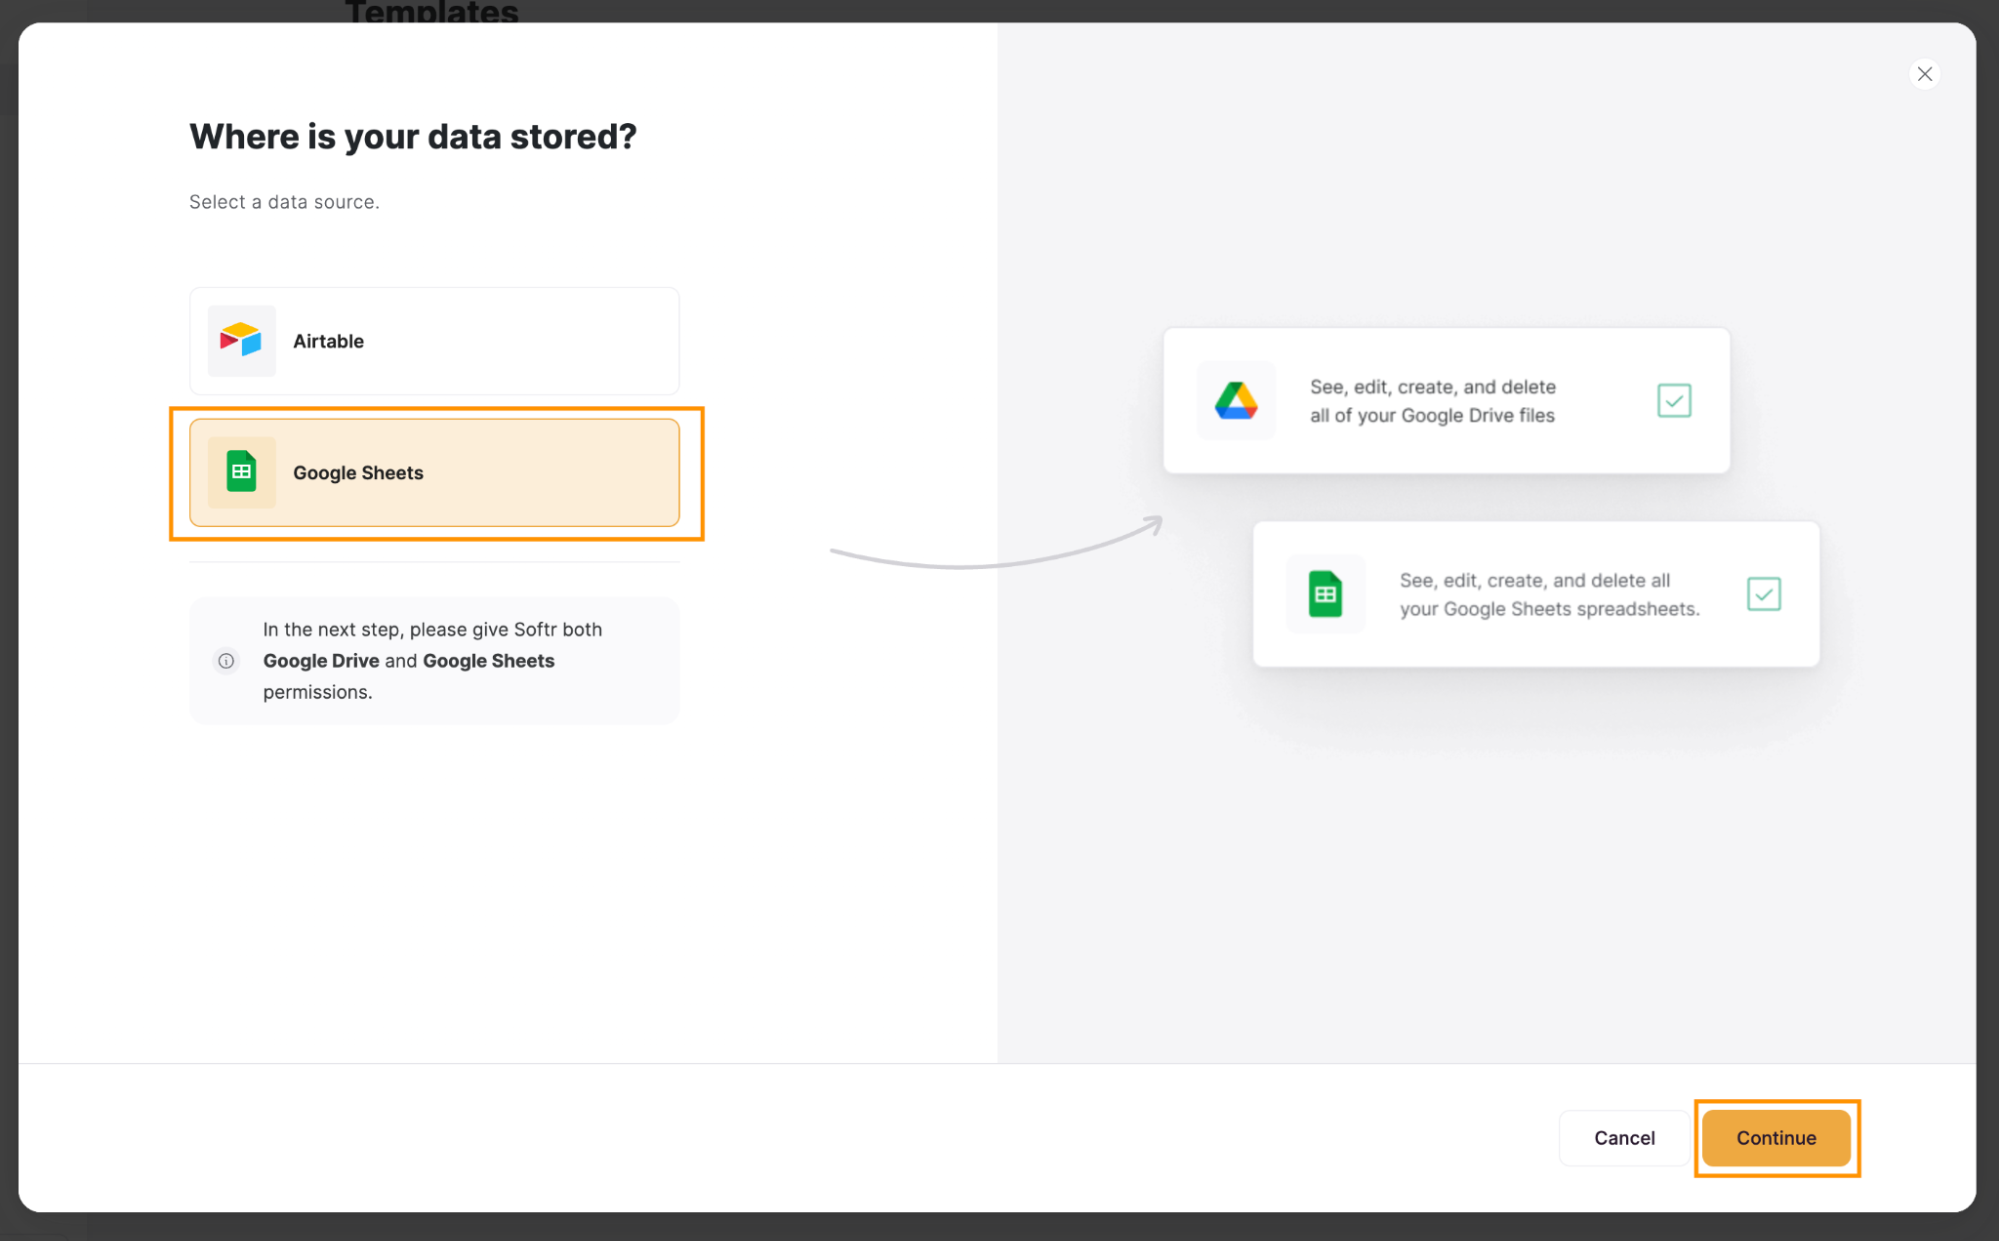
As your data is stored in Google Sheets, select "Google Sheets" and click "Continue."
Step 4.2: Select your Google account
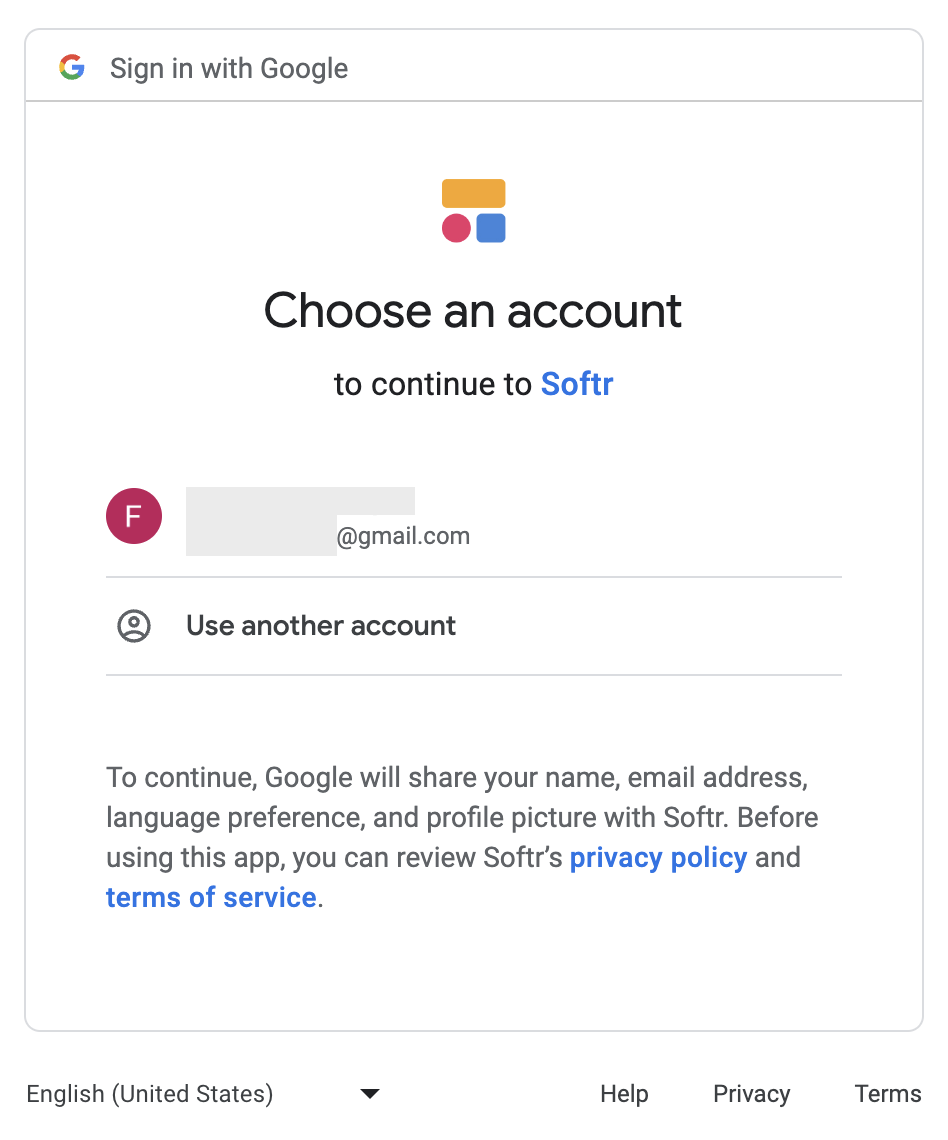
A new window will open for you to log in to or select your Google account.
Step 4.3: Grant access
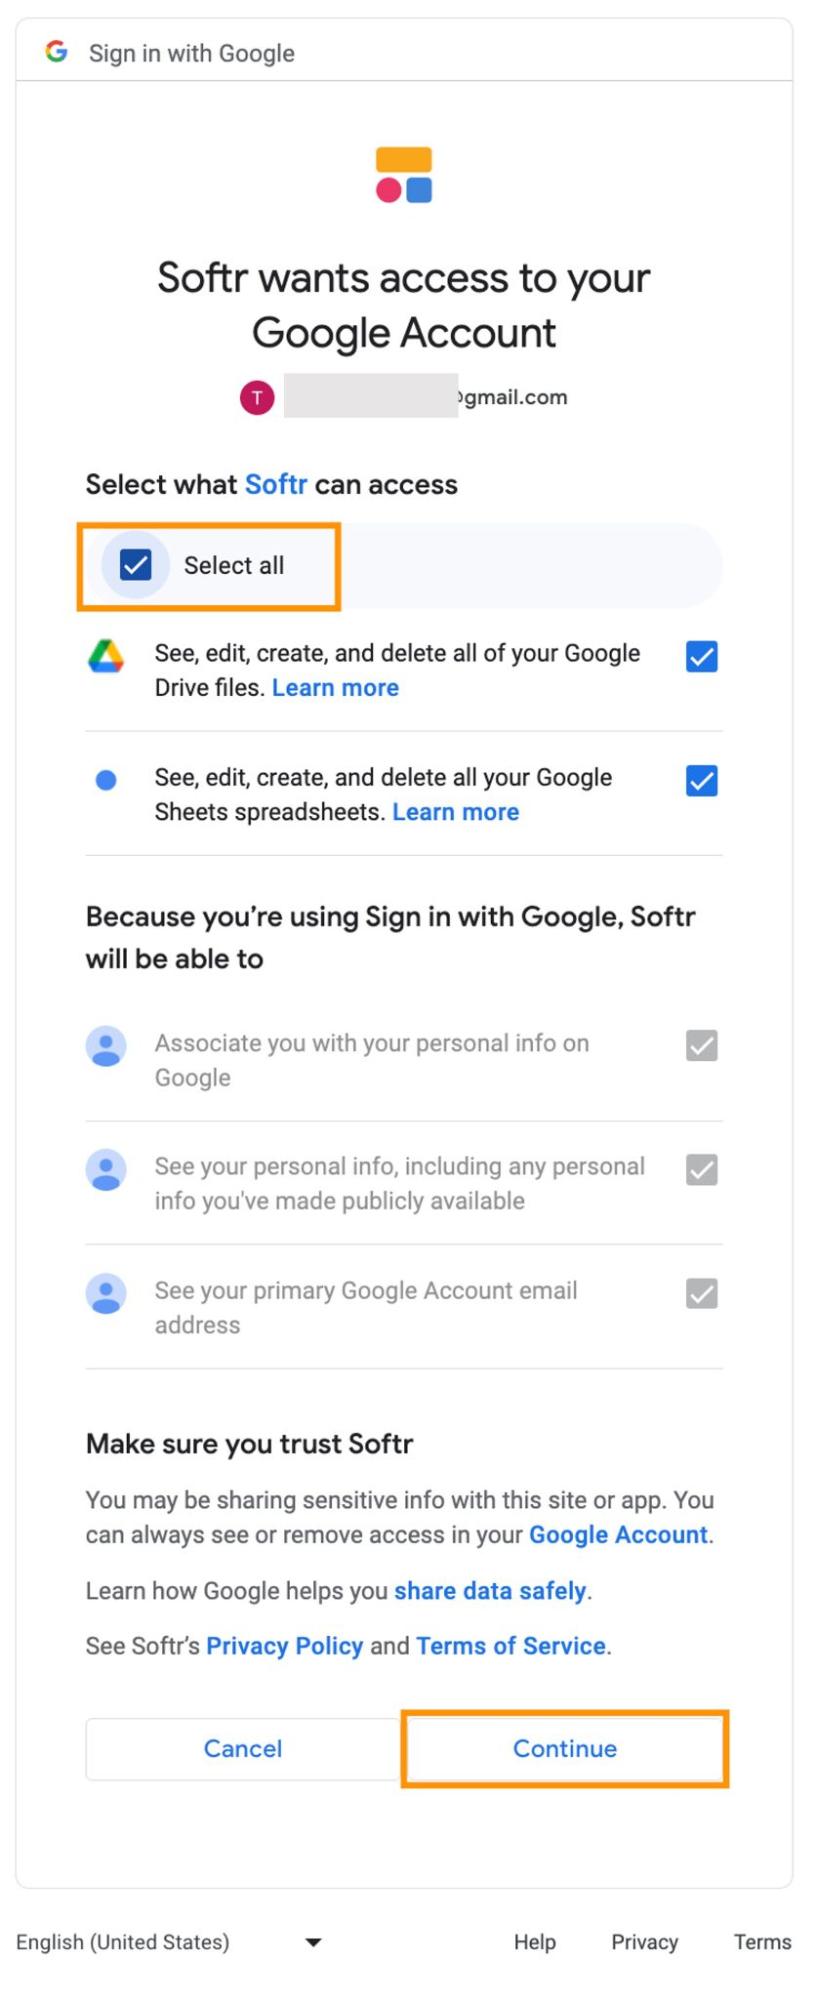
You'll need to grant Softr access to your Google Sheets data. Click "Select all," then "Continue."
Step 4.4: Go back to your app
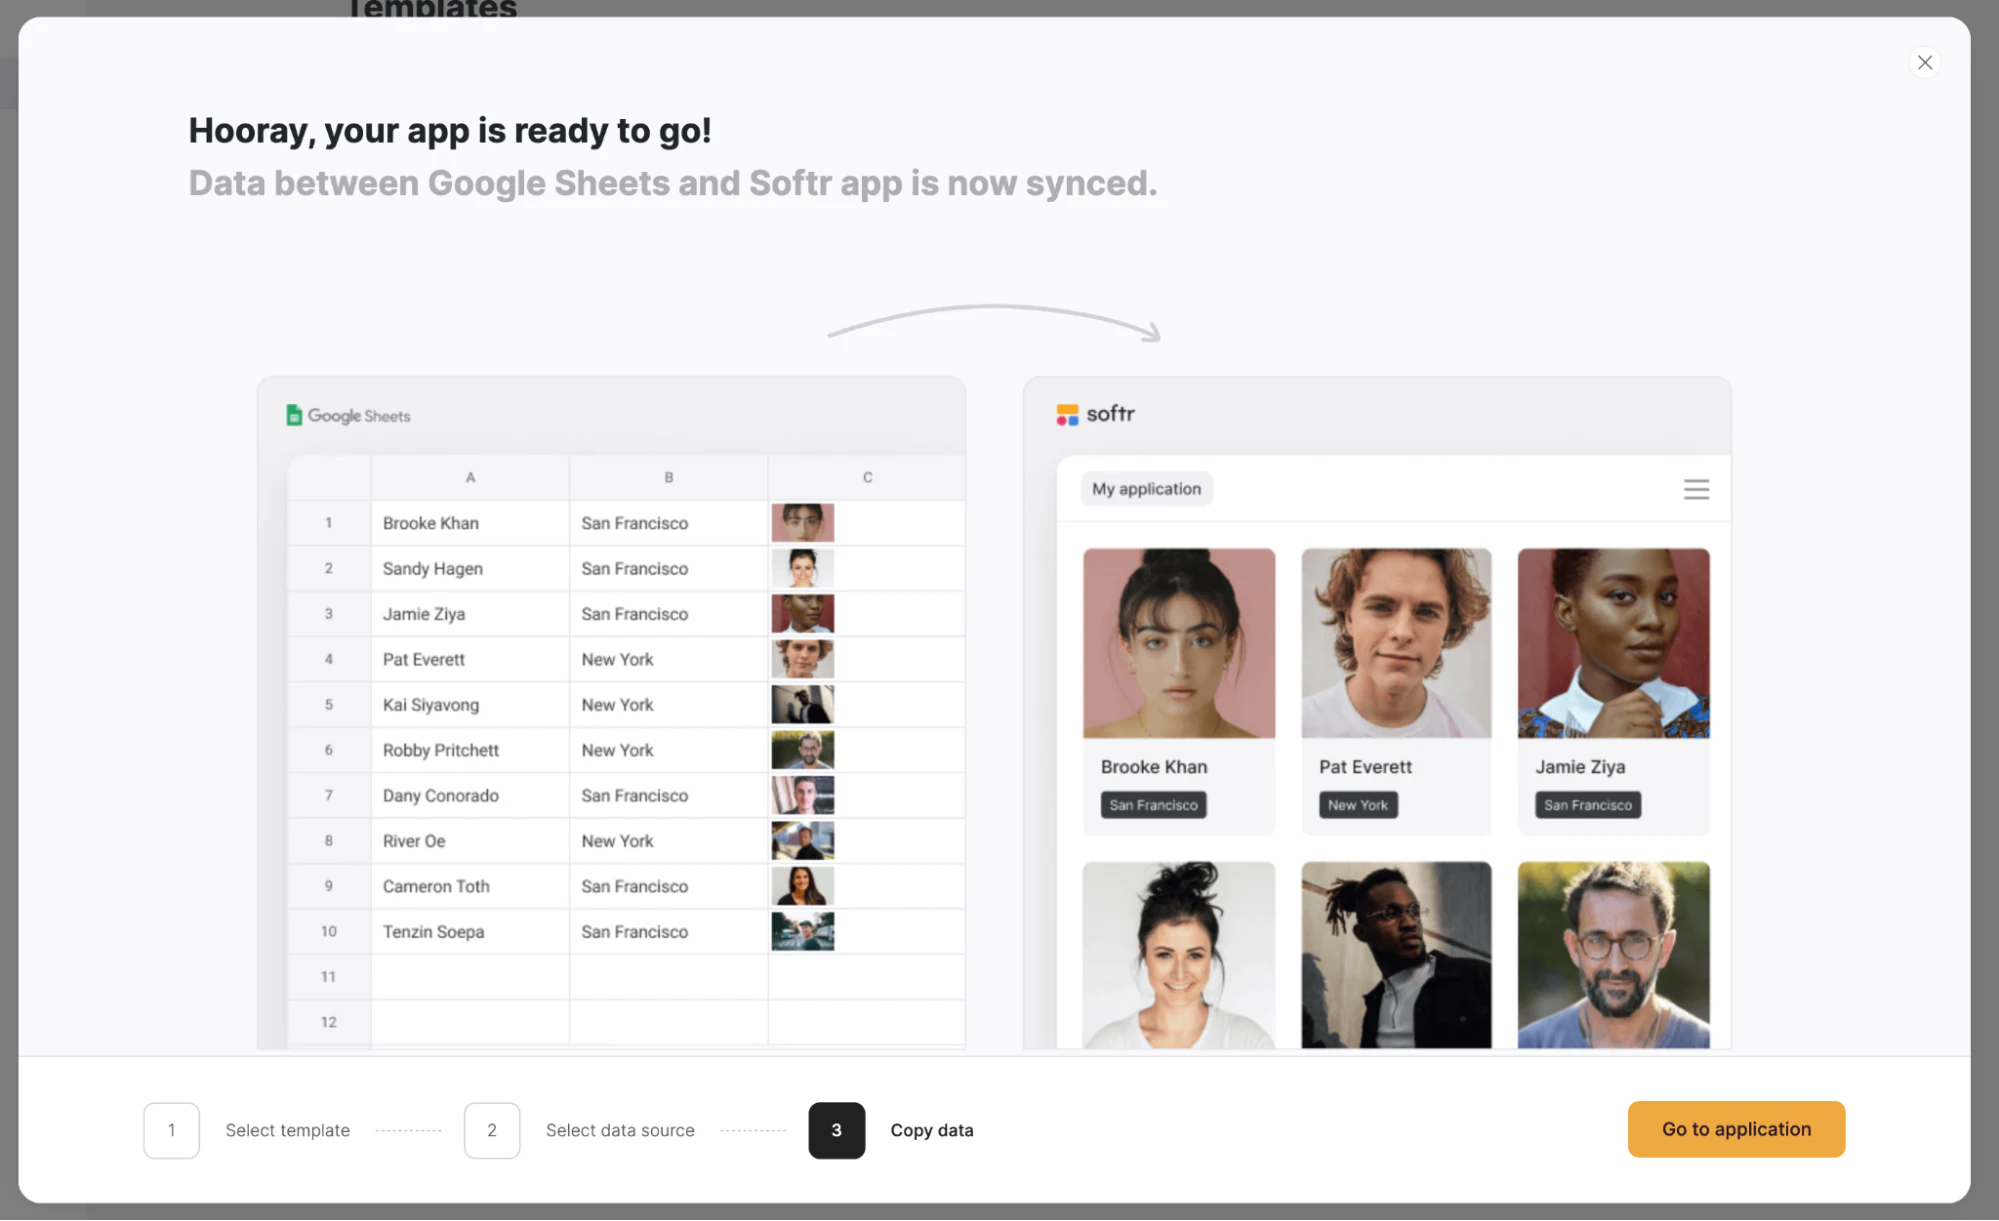
Once your Google account is connected, click "Go to application" to return to the editor.
Step 5: Point your block to the right spreadsheet and sheet
Click on your block to open the sidebar, then select the specific spreadsheet and sheet where your job application data lives, using the "Document" and "Sheet" options.

Step 6: Map your fields
In the CONTENT tab, under ITEM FIELDS, map each column from your Google Sheets file (Company, Job Title, Status, Deadline, and so on) to the corresponding field in your block.
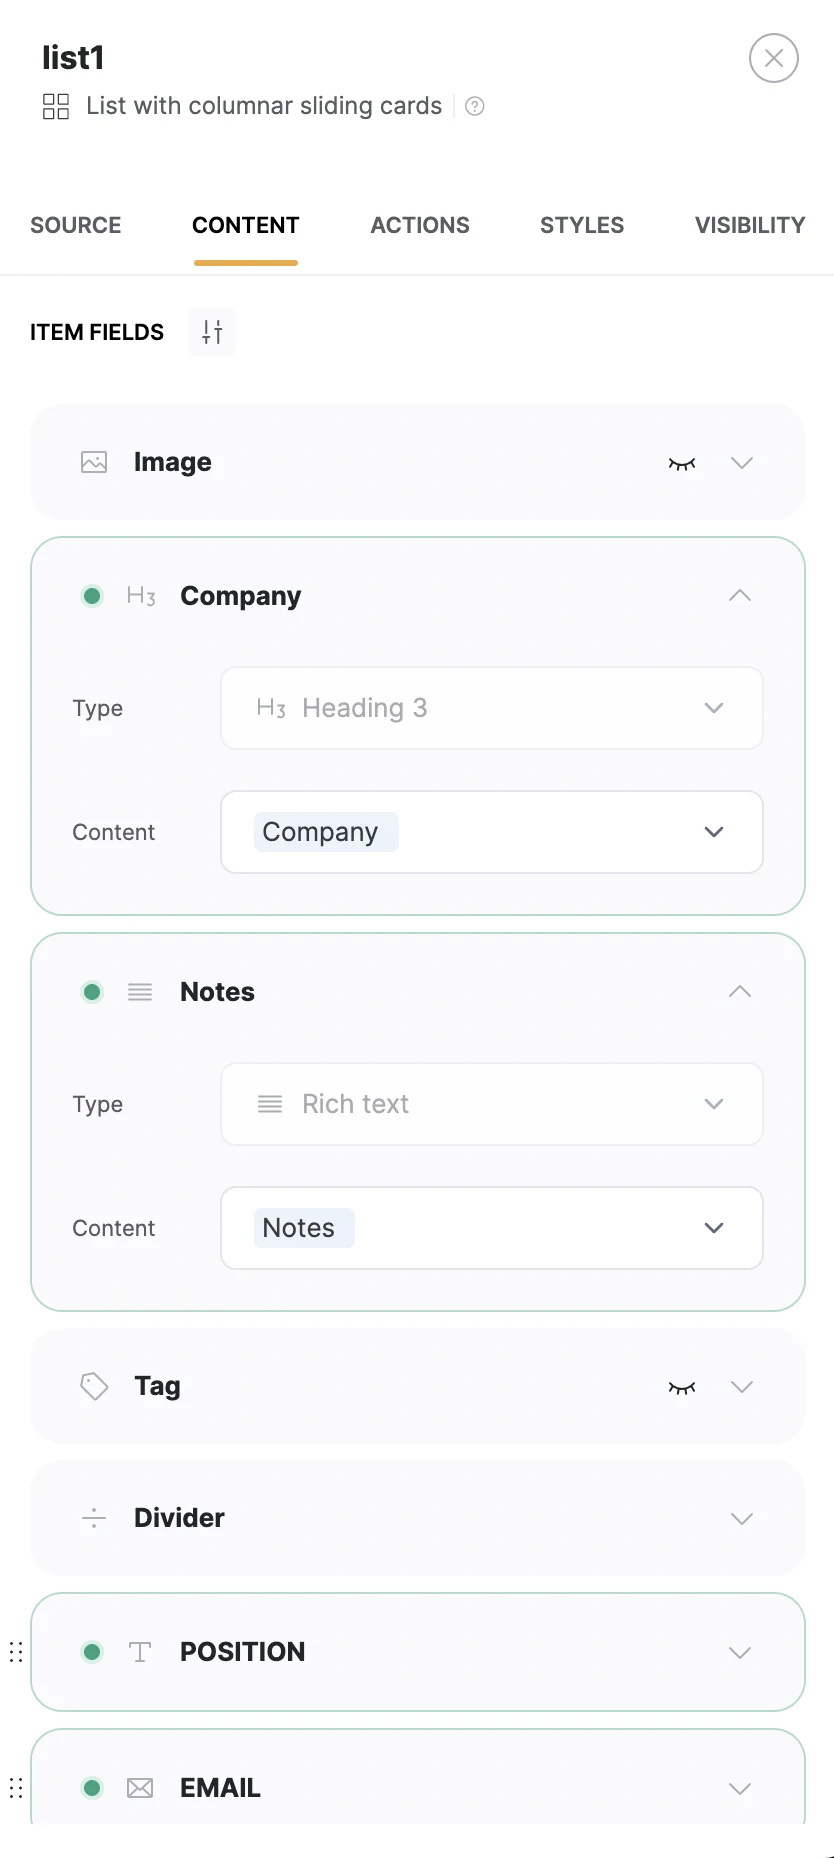
Step 7: Style your tracker
Softr lets you style your tracker to match how you like to work.
Step 7.1: Adjust padding and margins
Go to the STYLES tab and adjust the block's padding under PADDINGS & MARGINS.

Step 7.2: Customize borders and background
Scroll down in the STYLES tab to the General section to customize the block's background color and the color, type, and thickness of its borders.

Step 8: Set access permissions
If you plan to share your tracker (with a career coach or accountability partner, for example), set who can see it in the VISIBILITY tab. You can allow all visitors, only logged-in users, or restrict access to specific people using users and permissions.

Step 9: Publish your tracker
Once everything looks right, click "Publish" in the top right corner to make your changes live.

Step 10: Your tracker is live
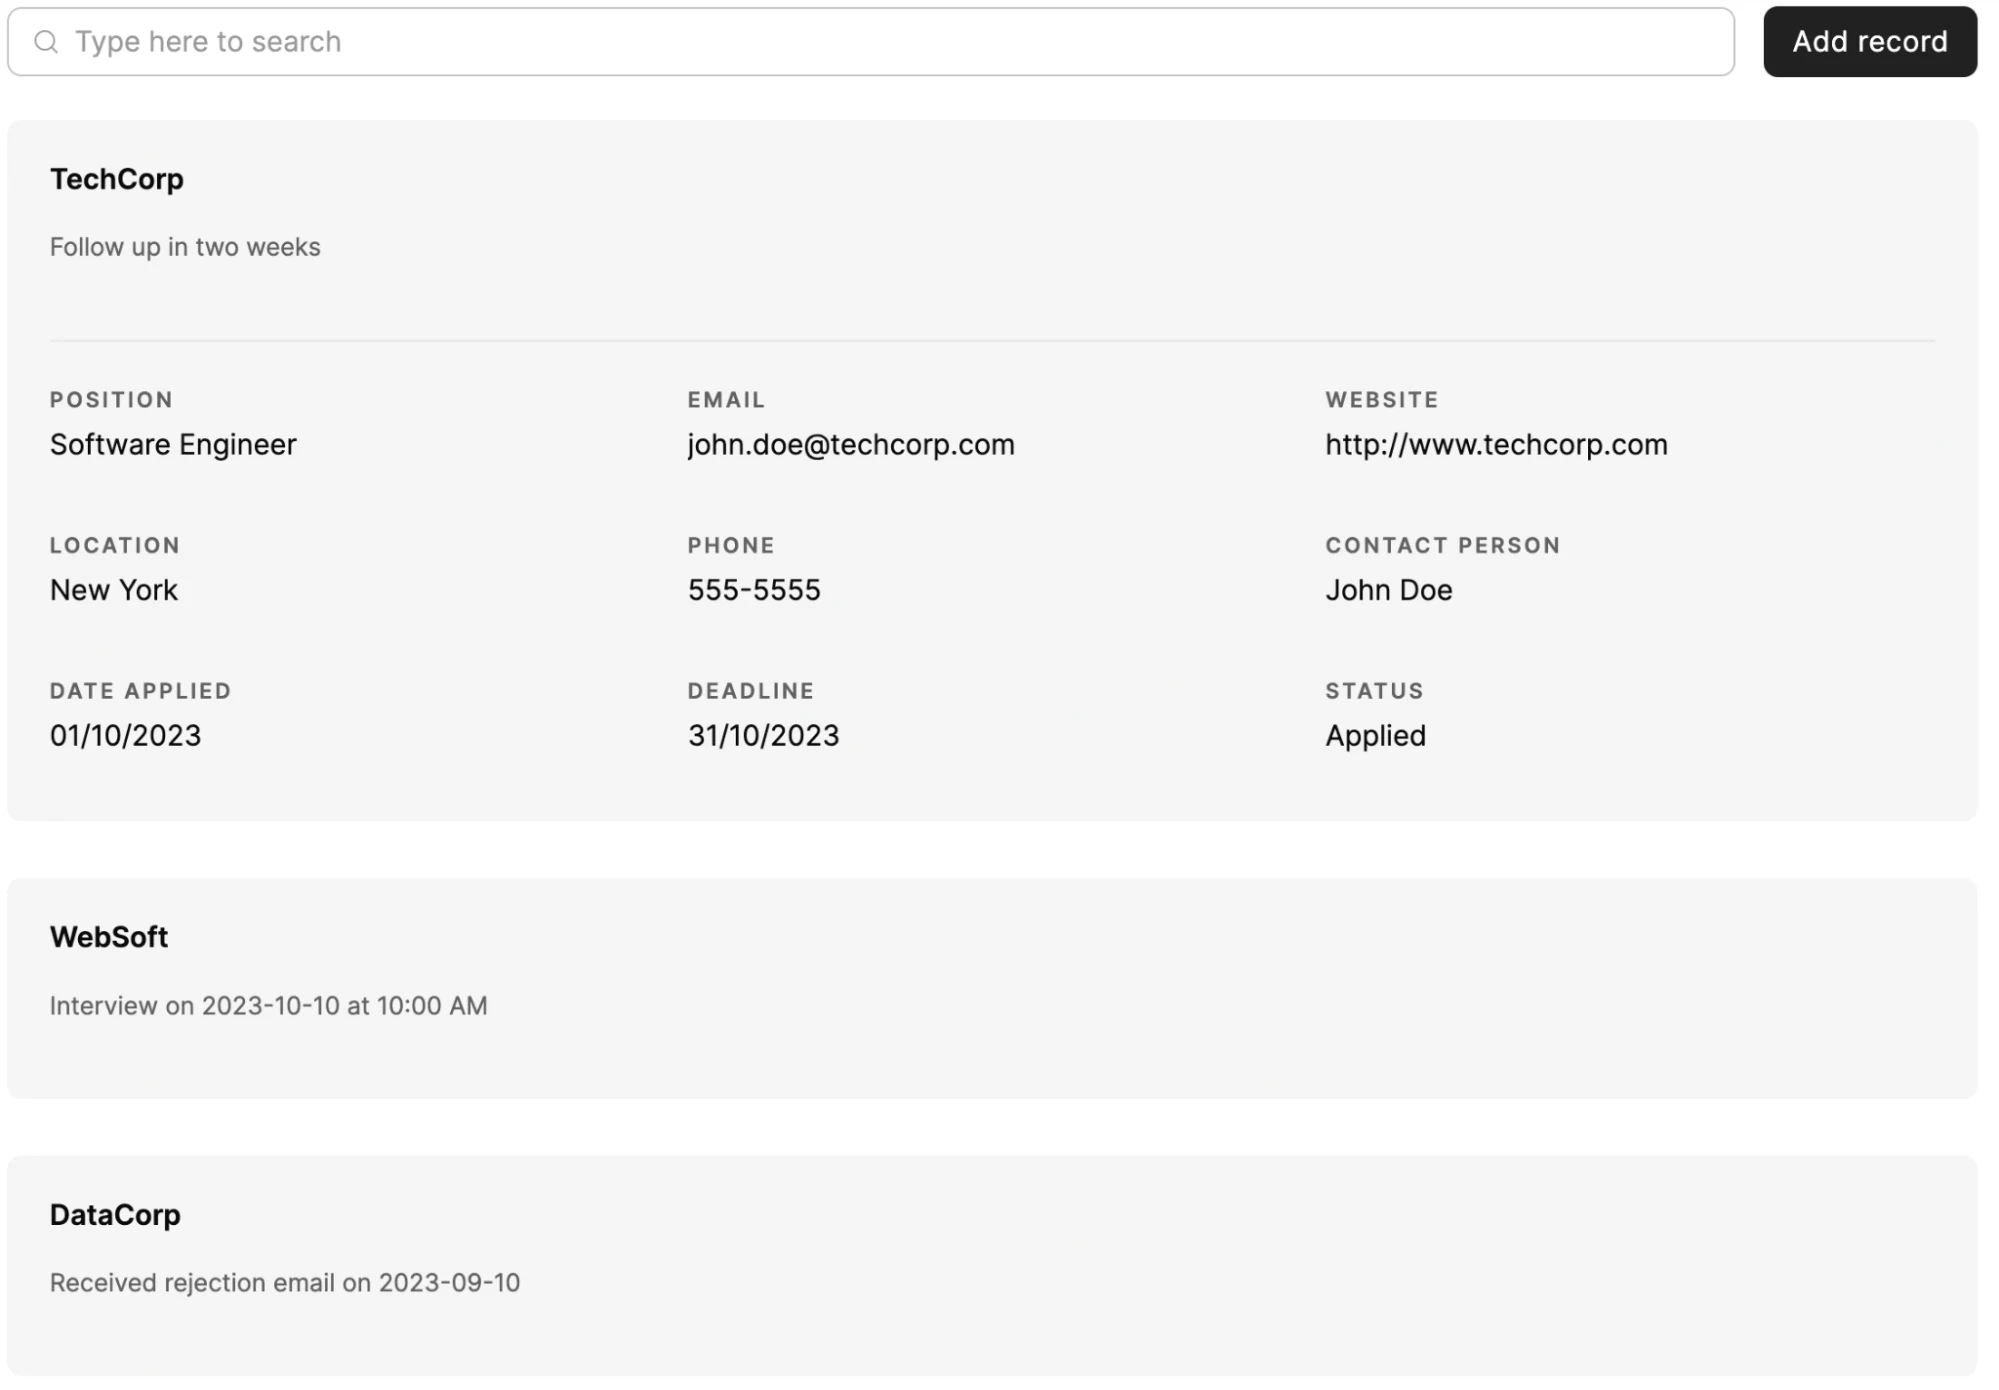
By combining Google Sheets and Softr, you now have a job application tracker that's easier to scan, filter, and update than a plain spreadsheet, and one you can extend later with reminders or an AI-generated summary of where your search stands.
Keep your job search organized, not just logged
A spreadsheet tells you what happened. A tracker built on Softr helps you act on it: filtering by status, spotting approaching deadlines at a glance, and (if you want to go further) triggering a Softr Workflow that reminds you before an interview or deadline hits. Start with whichever method matches how much time you want to spend, and move to the Softr version once you're juggling more than a handful of applications at once.
Frequently asked questions
Can I build a job application tracker without any technical skills?
Do I need to keep using Google Sheets once I connect it to Softr?
What information should I track for each job application?
Is Softr free to use for a personal job application tracker?
Can I get reminders when a job application deadline is approaching?