Import Google Search Console data to Airtable [step by step guide]

[.blog-callout]
TL;DR
- Google Search Console holds valuable SEO data, but its interface makes it hard to filter, combine, or share with a team.
- Airtable apps like Data Fetcher and Airflow let you pull Console data into Airtable automatically, without manual exports.
- You can also export Console data as a CSV and import it manually using Airtable's built-in importer or the CSV import app.
- Once your data is in Airtable, you can connect it to a tool like Softr to turn raw rows into a live, shareable reporting dashboard. [.blog-callout]
Google Search Console shows you exactly how Google interacts with your website: which queries bring in clicks, which pages rank where, and how your visibility changes over time. The problem is scanning through that data one report at a time. Between date ranges, filters, and export limits, it's easy to lose track of trends that matter.
Moving that data into Airtable solves this. You get a structured, filterable database you can sort, tag, and share with your team, instead of digging through the Console interface every time someone asks "how are we ranking this month?"
If you're unfamiliar with Airtable, check out our article about Airtable. Now let's get into the step-by-step guide.
Import Google Search Console Data to Airtable with Data Fetcher
Data Fetcher is one of the best Airtable apps perfect for syncing Airtable with platforms like Google Search Console.
Here is all you need to do to pull in the Console data to Airtable.
Step 1: Install the Data Fetcher app from the Airtable app section and sign up.
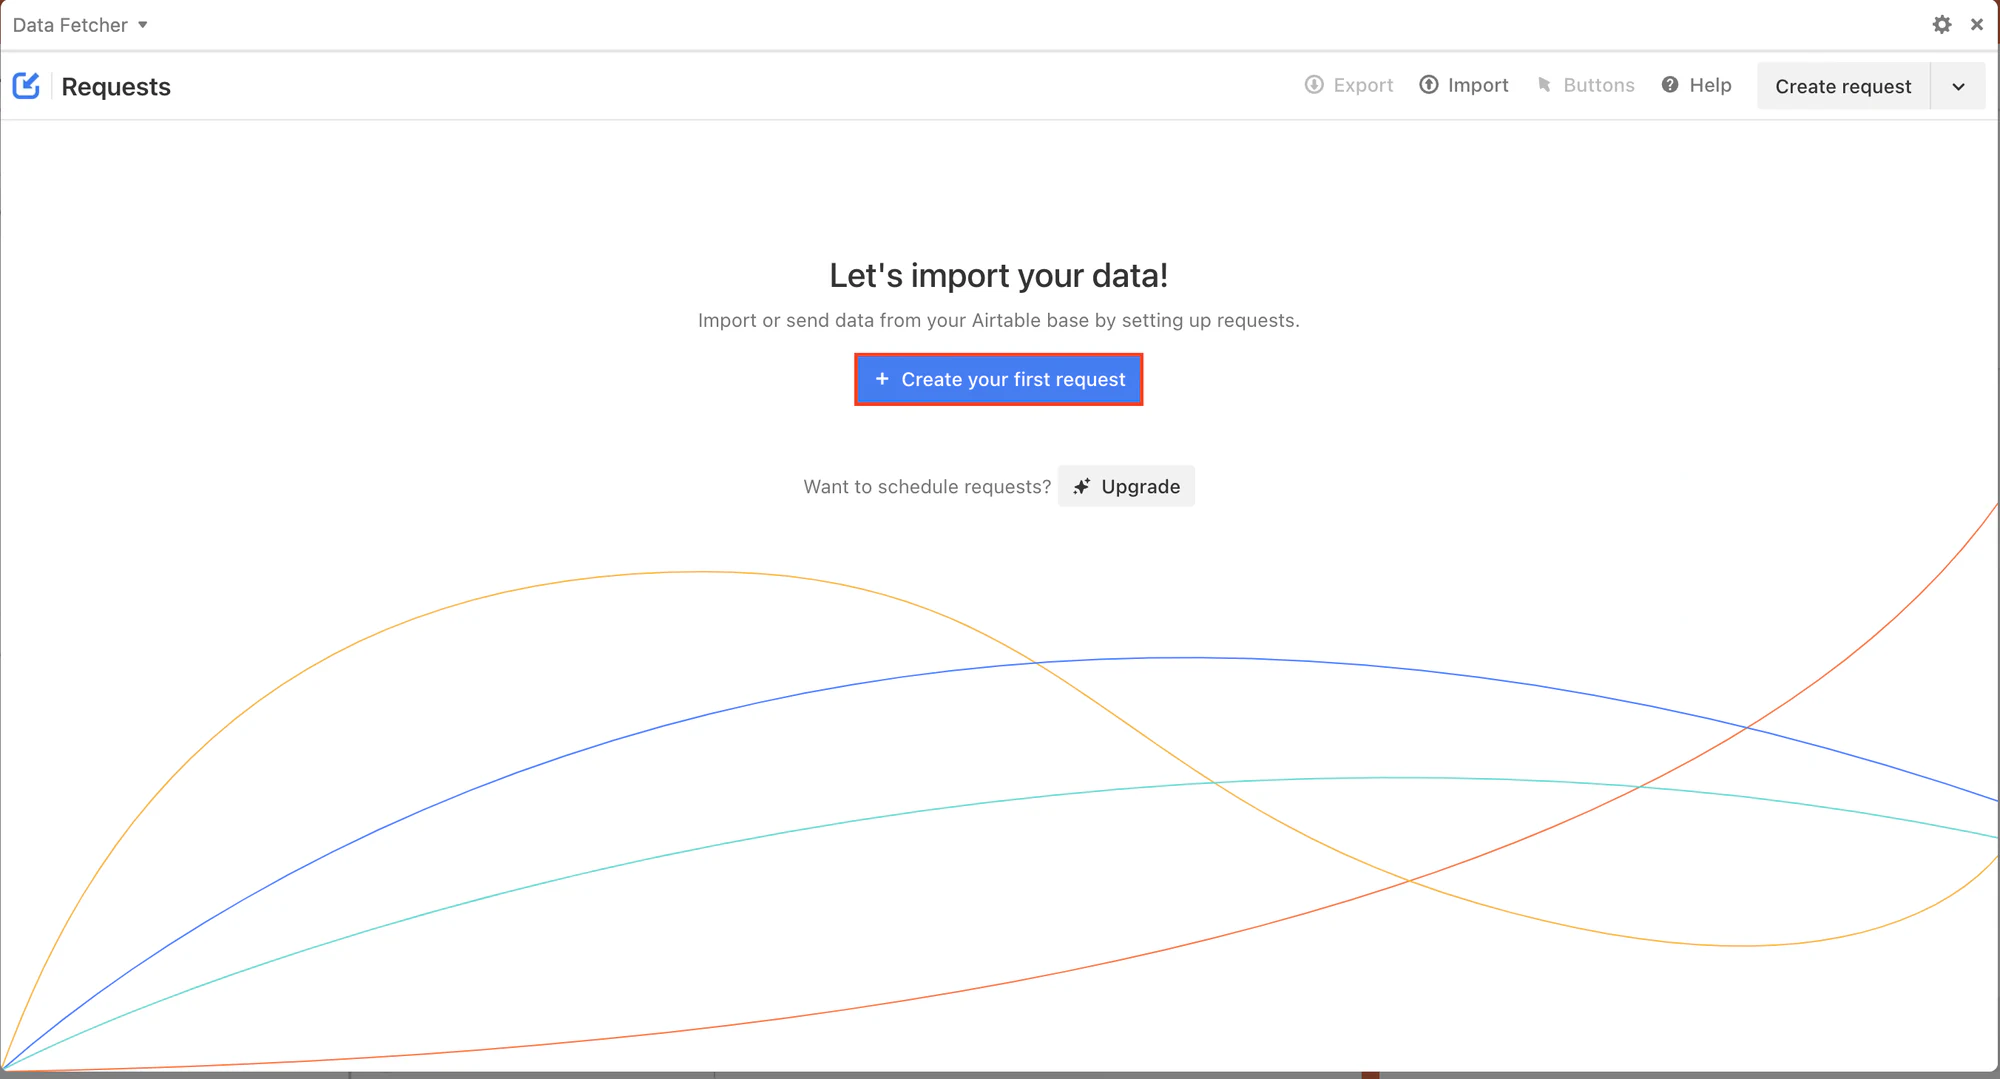
Step 2: Data Fetcher’s home screen will appear where you should click “Create your first request” to proceed with the syncing process.
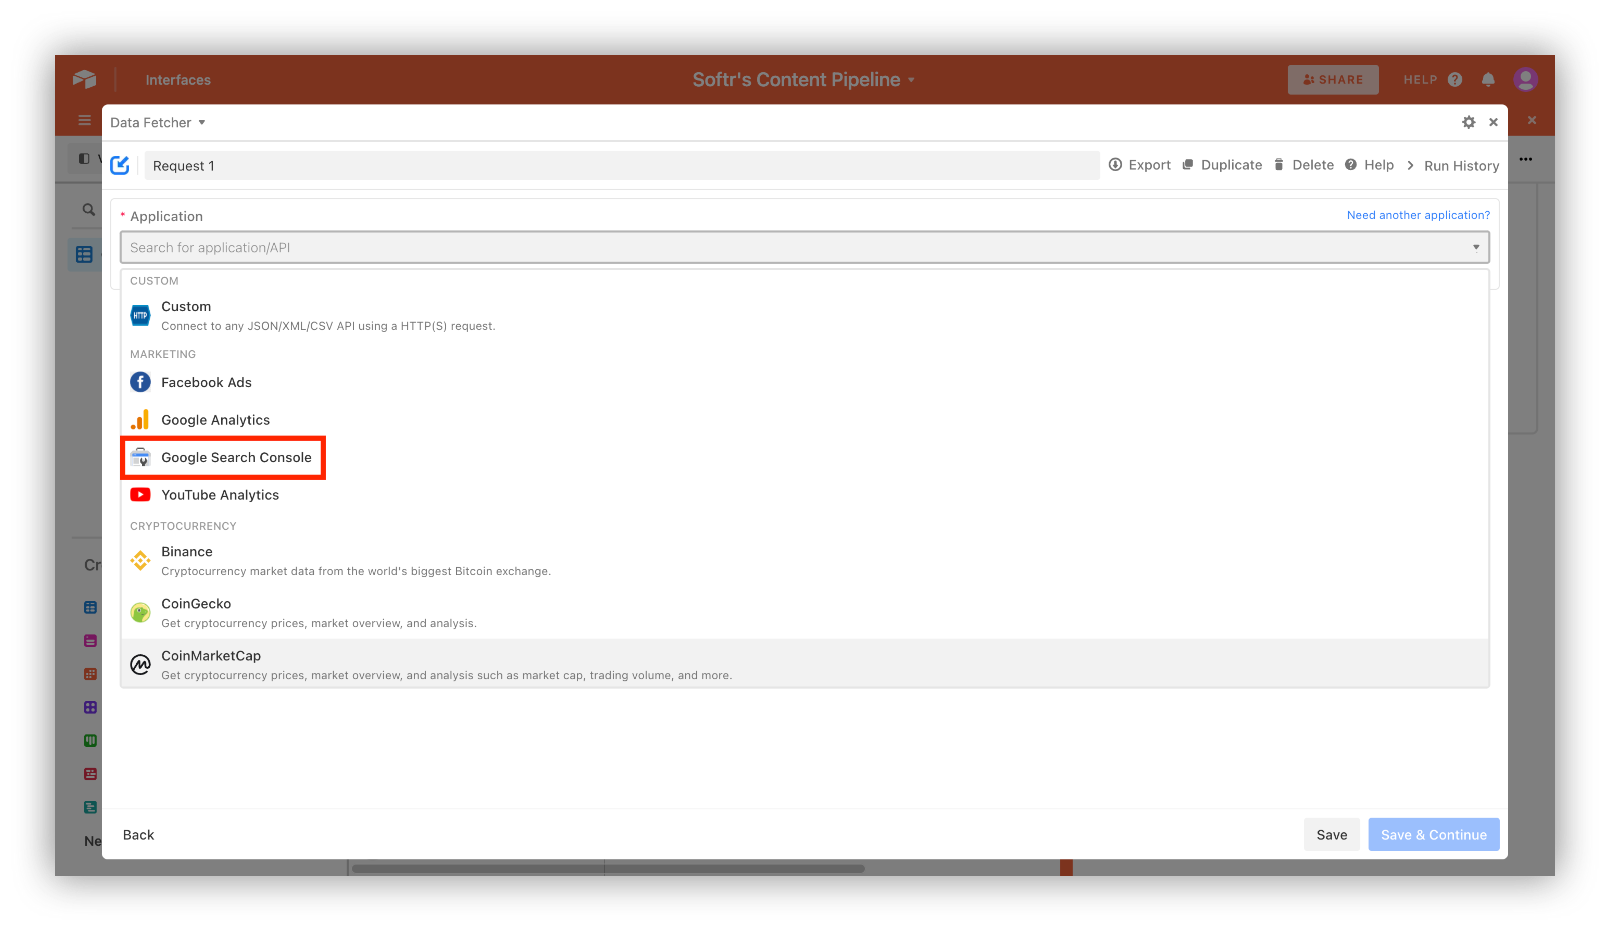
Step 3: From the opened request screen, select “Google Search Console” from the Marketing section
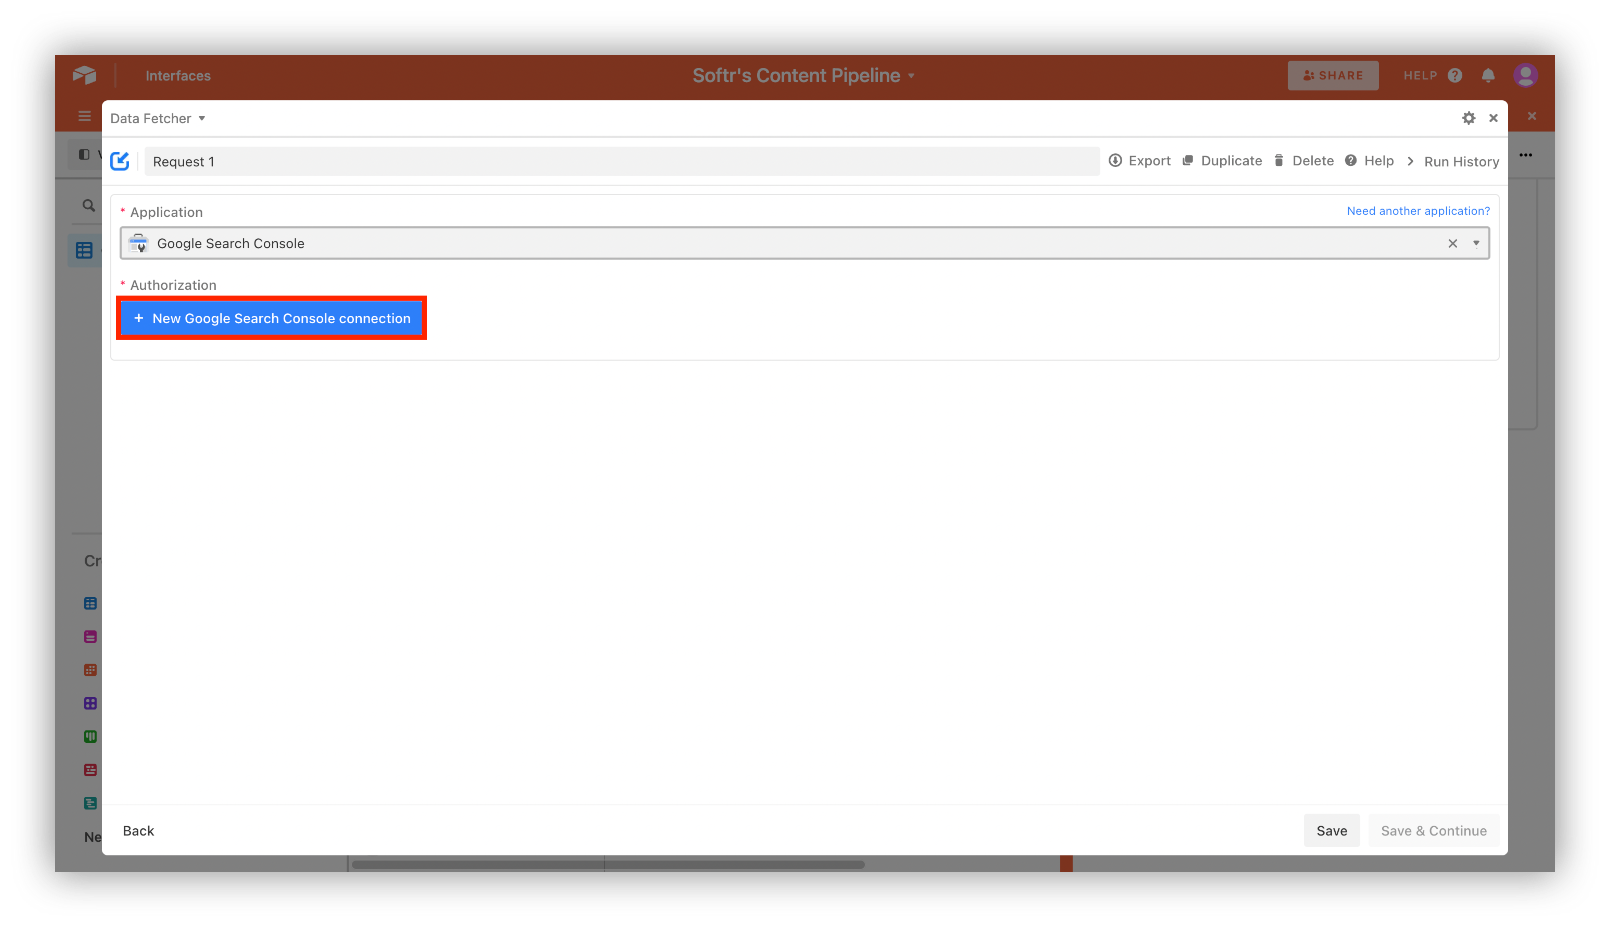
Step 4: Click “New Google Search Console connection” to connect your Search Console account with Data Fetcher.
Step 5: You will be directed to a new tab where you should sign in to your account and enable the “View Search Console data for your verified sites” checkbox for Data Fetcher to be able to access your data.
Step 6: You will be back to Data Fetcher’s home screen where you should click “Save & Continue” to proceed with the connecting process.
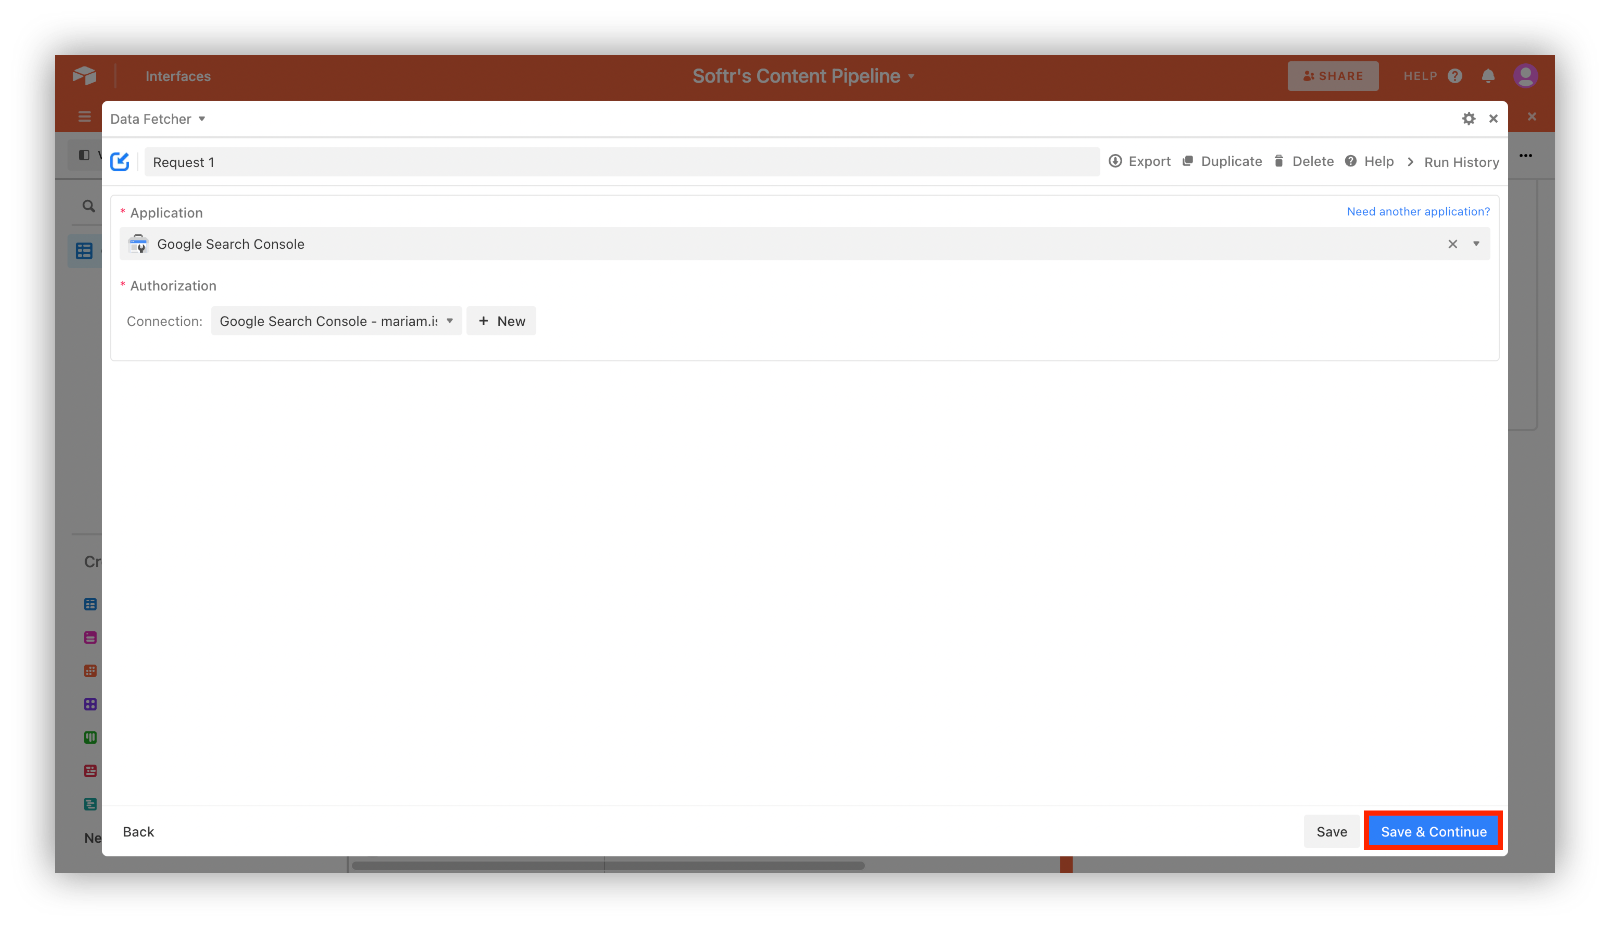
A request window will open where you should fill in all the required information for successful importing.
Sync Airtable with Google Search Console
Step 1: Select a Site and Date range to pull in data for the given period of time.
We went for the data range of the last month to be imported from Softr’s website.

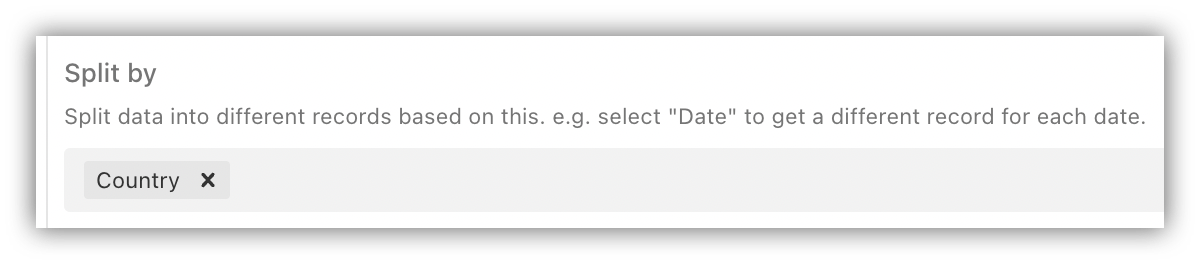
Step 2: Select a Split by for Data Fetcher to split data into different records.
We selected “Country” to get a different record for each country.
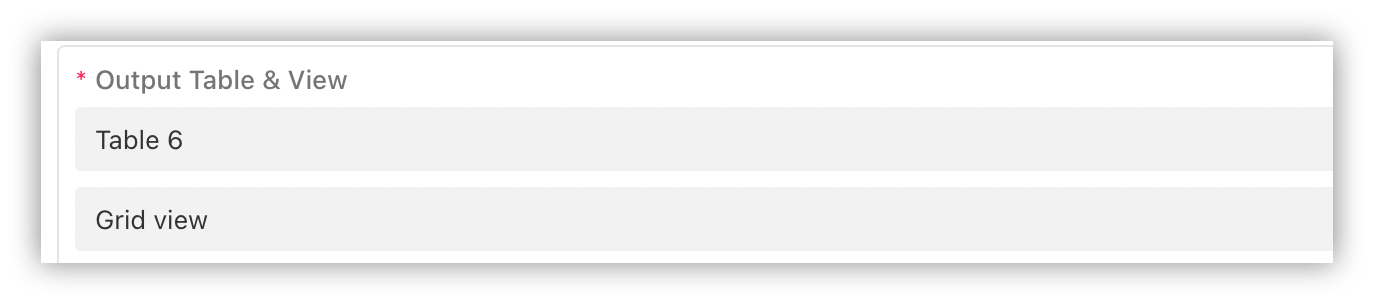
Step 3: Select an Output table and view to have your Console Data imported.
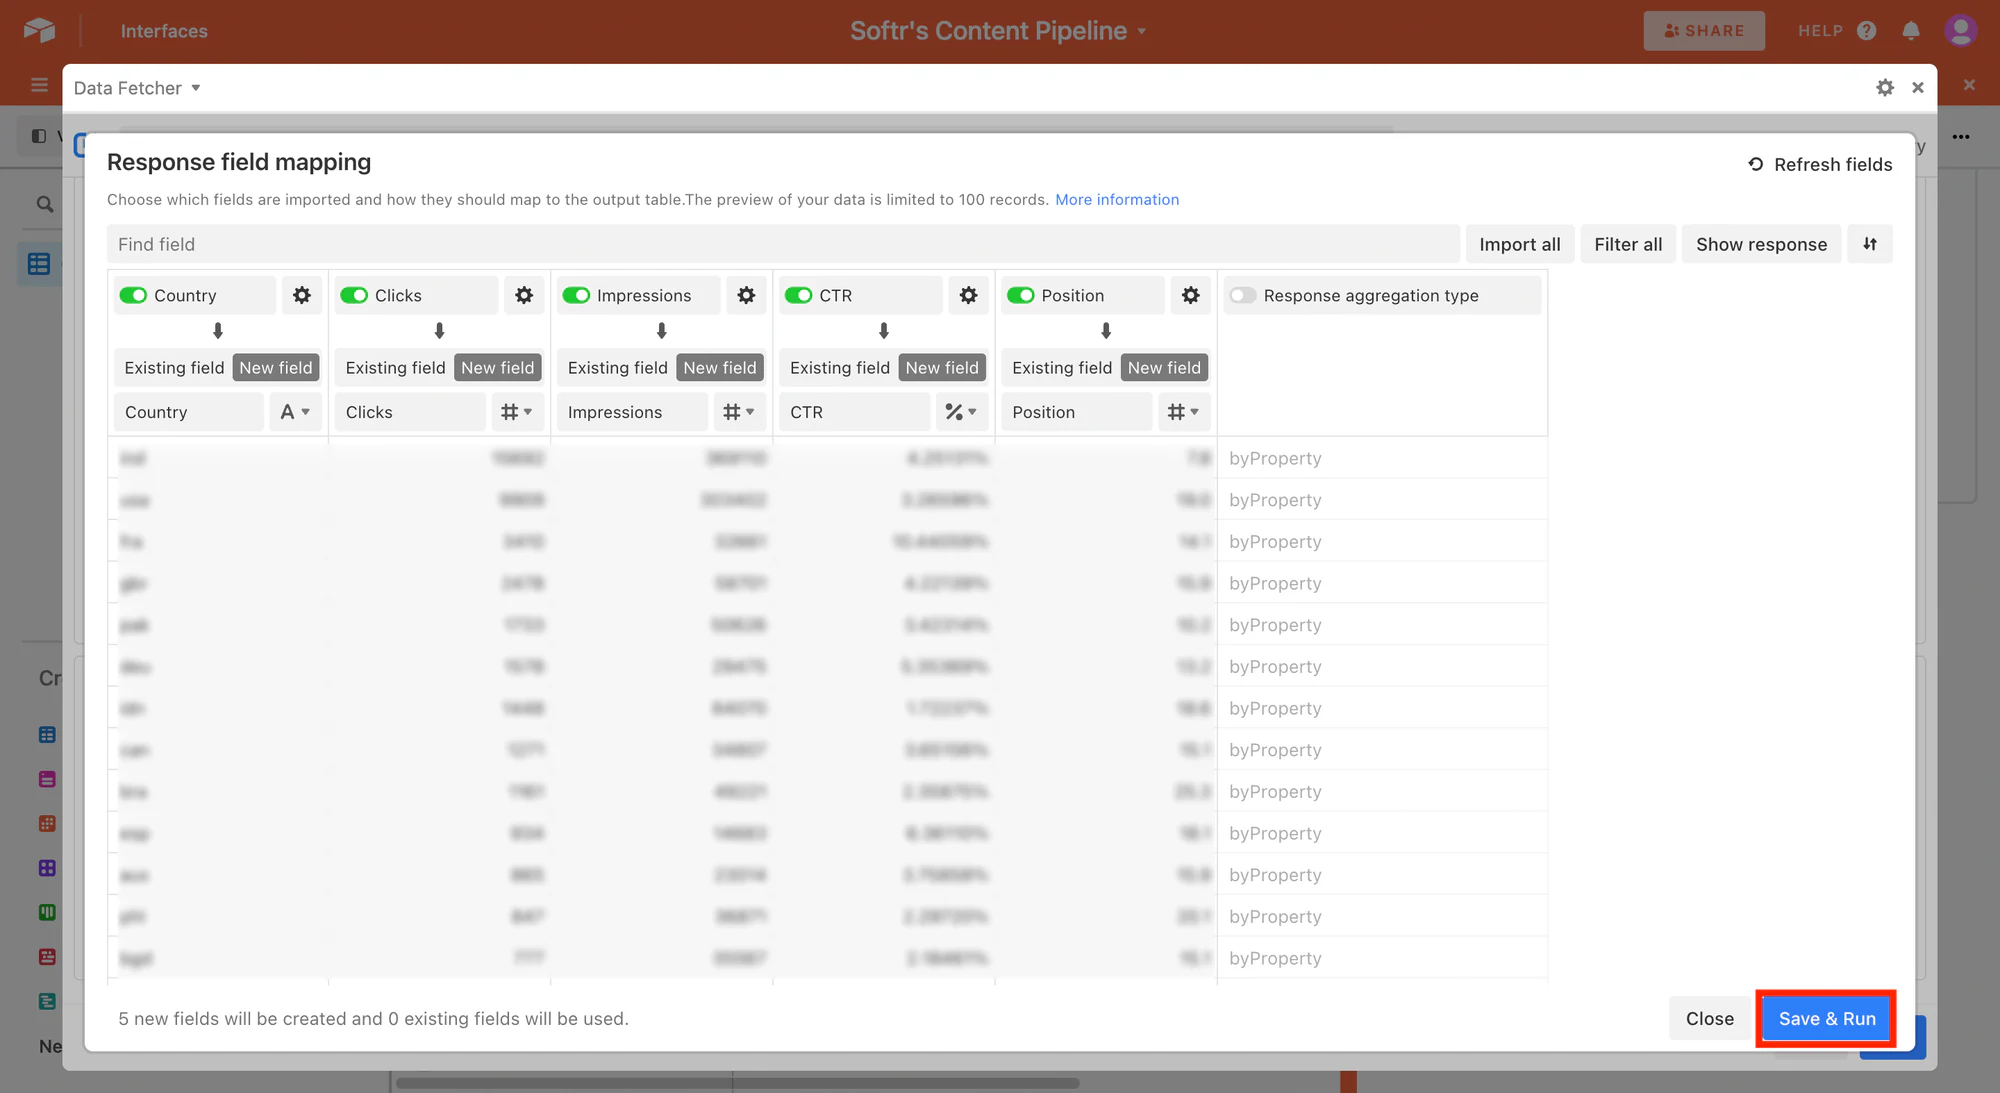
Step 4: When you’re all set up, click “Save & Run” to move to the next stage.

A response field mapping window will pop up, where you can select how imported Console fields should be mapped to Airtable fields. The Console fields can be imported or filtered when entering the output view. The imported fields can be set to be mapped to an existing field or a new one.
When you’re happy with the data, you can click “Save & Run” to proceed.
Import Google Search Console Data to Airtable Automatically
These were all the steps required for syncing Google Search Console with Airtable manually and for free. The only downfall of Data Fetcher is it only imports data manually.
If you want to import Console data to Airtable automatically, there is also a premium Data Fetcher scheduled requests feature that allows syncing Google Search Console and Airtable automatically for your selected interval.
Step 1: On Data Fetcher’s home screen, scroll to Schedule and click 'Upgrade'.

Step 2: A new tab will open where you can select a plan, and add payment details to proceed.
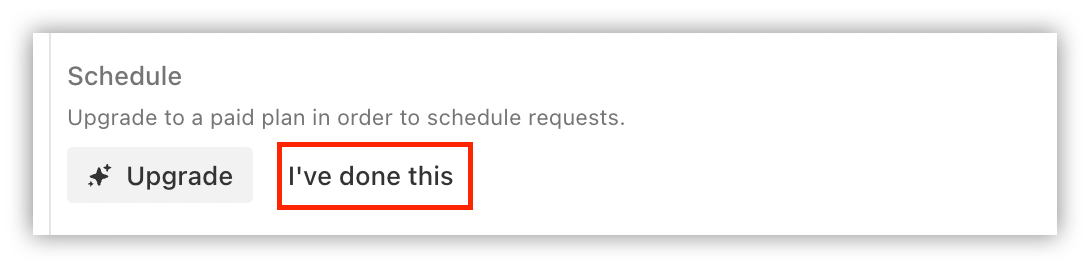
Step 3: When you’re done with the payment, go back to Data Fetcher and click "I've done this".
Step 4: Click 'Add API key'. You can find your API key in your Airtable account.

Step 5: Enter your Airtable API key and hit 'Save'.
Step 6: Toggle on Schedule this request.

Step 7: Select how often you want the request to run and click 'Save'. This way, the request will run automatically according to your set time.
Importing a Console Data using the CSV Import app
This method is a bit more manual than Data Fetcher, but it works well if you'd rather not connect a third-party app. You export your Console data as a CSV, then import it into Airtable with the CSV import app.
You can export data from the Performance view and Indexing view from your Google Console account.
There are a few steps required to export Console data as a CSV:
Step 1: Log in to your Search Console account.
Step 2: Go to your Performance view.

Step 3: Select a date range you want to export data for.
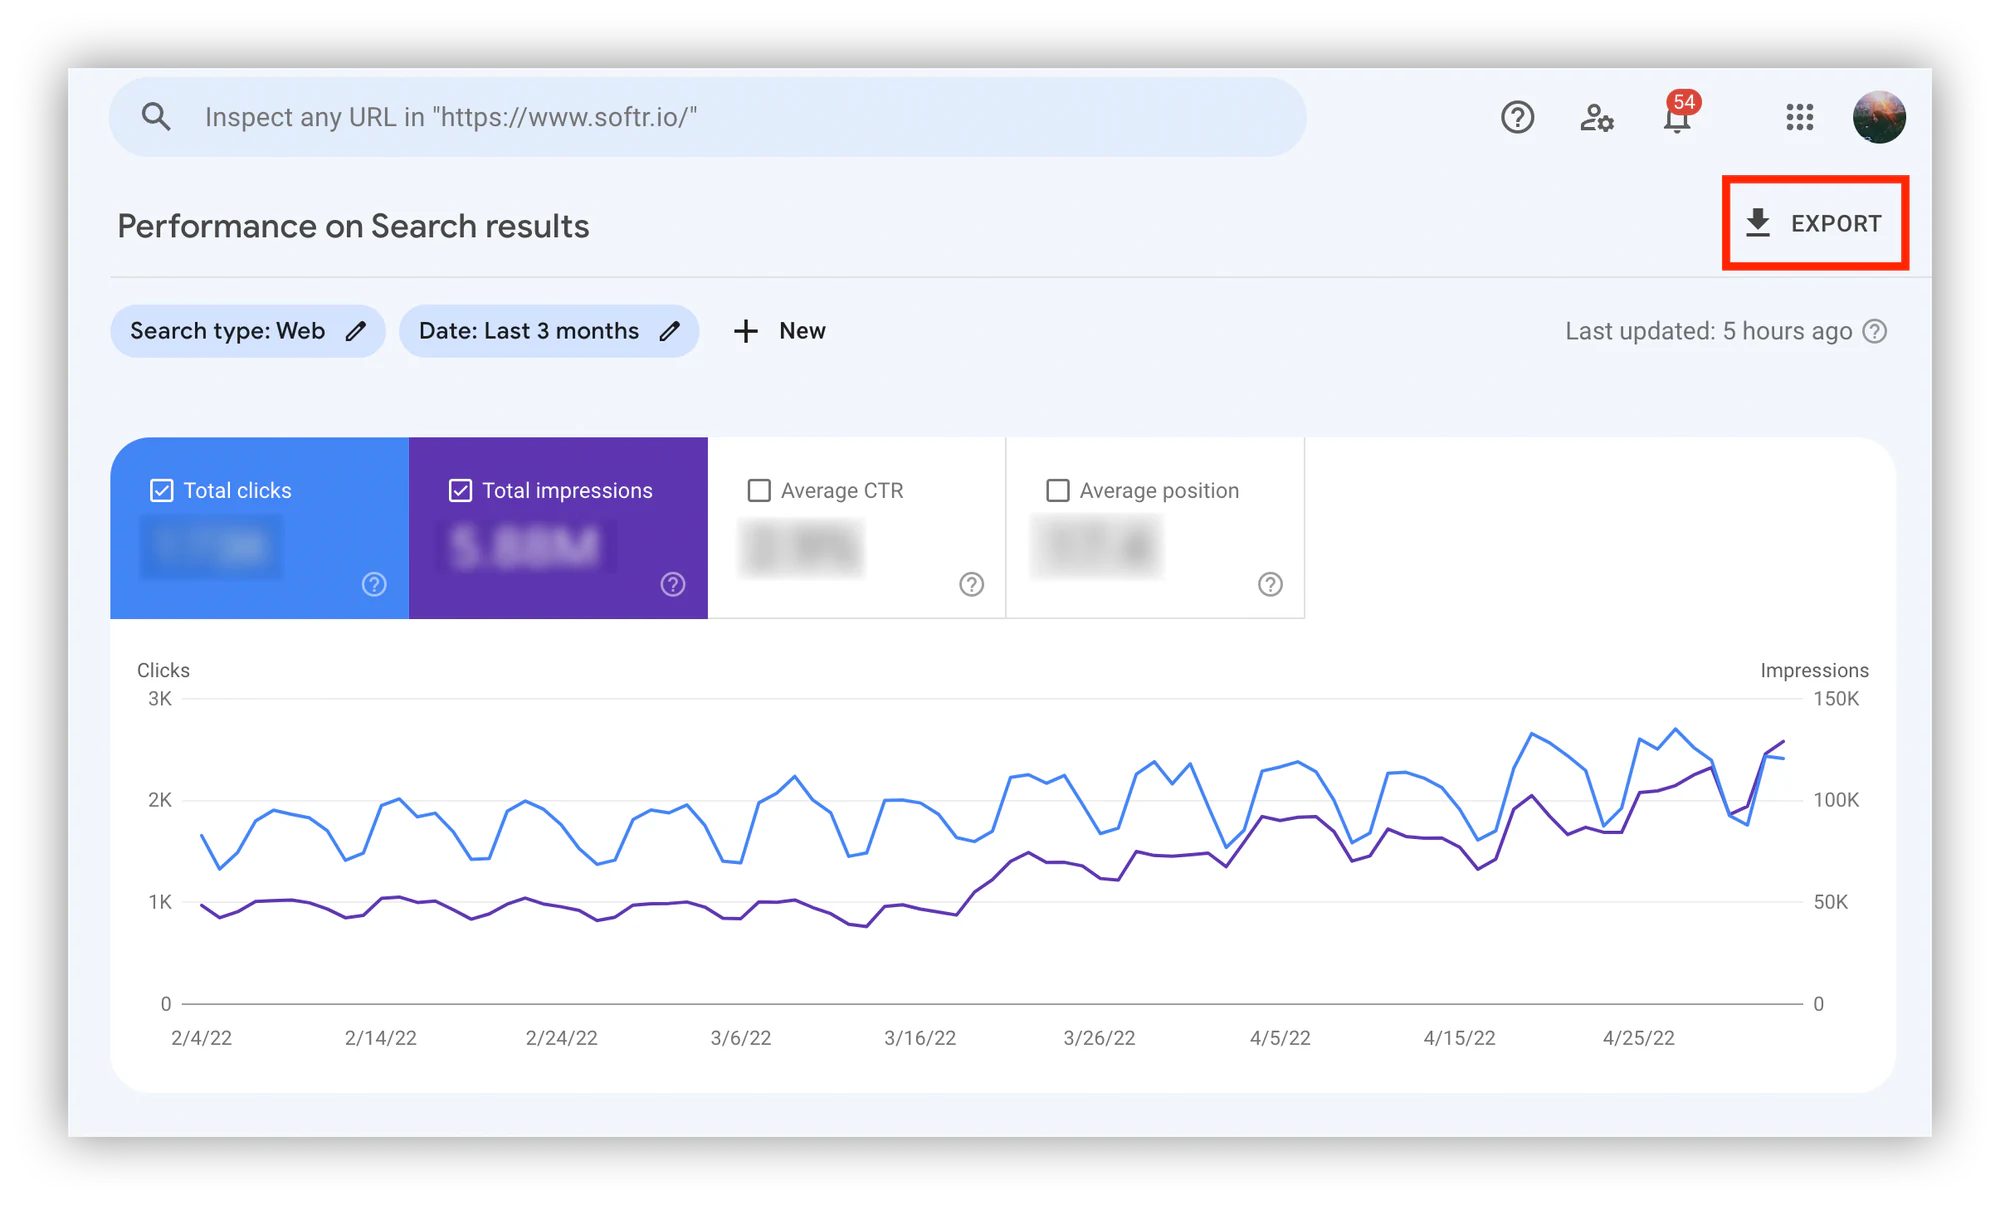
Step 4: Click on the “Export” button at the top right corner.
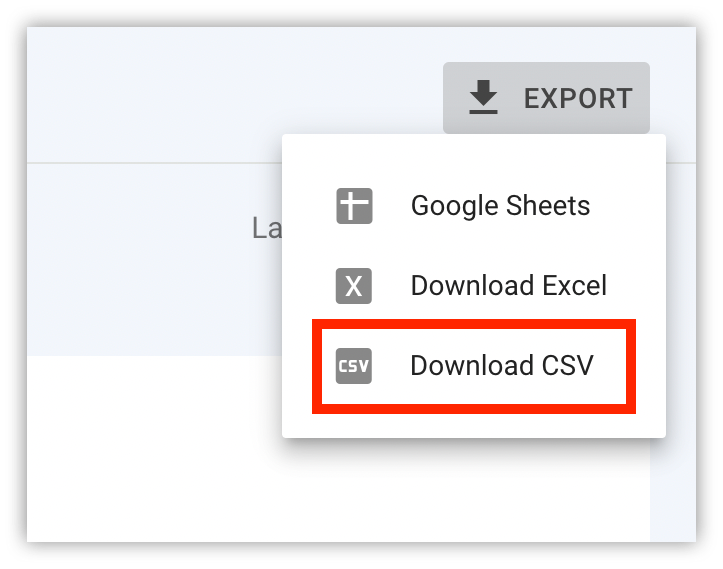
Step 5: Select CSV format to export your data.
For the next part, you will need to work with the CSV import app.
Steps to import data with CSV import app
Step 1: Open the table where you want to import your records and follow the instructions:
Step 2: Install the CSV import app by clicking the "Apps" button at the top right corner of your view, and then click the "Install an app" button.
Step 3: Search for and install the CSV import app.
Step 4: Drag and drop the exported CSV file into the app.
Step 5: Configure settings and field mappings before importing the CSV file into your base.
The next steps are optional but highly advised if you want to import your data without complications.
Additional steps to import data with CSV Import
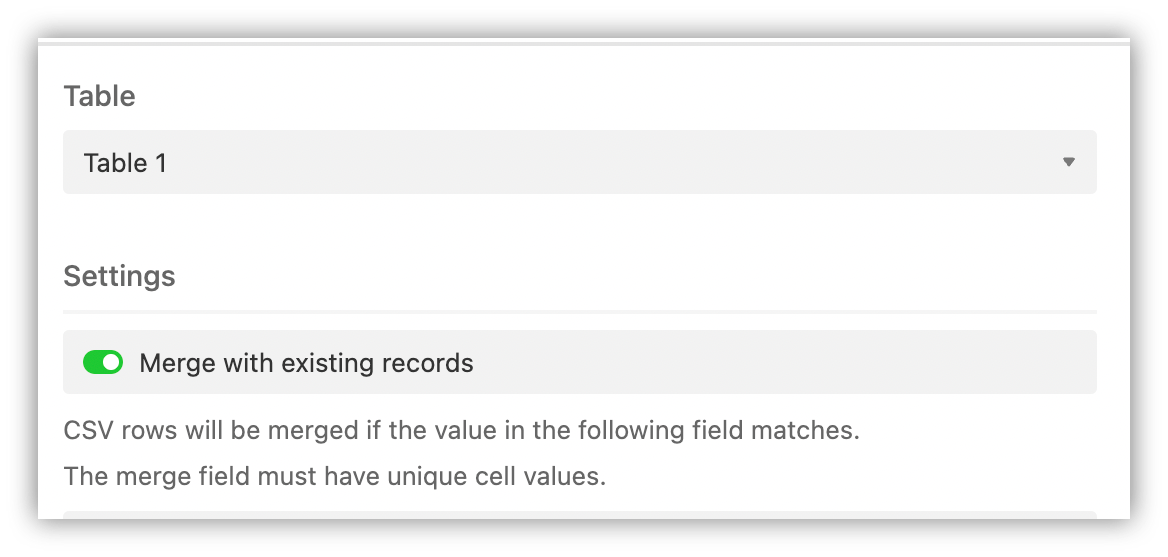
Step 1: If you have existing records, enable the “Merge with existing records”.
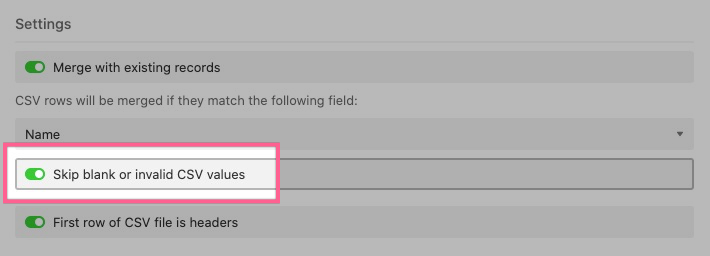
Step 2: Toggle on “Skip blank or invalid CSV values", if there are blank fields in the CSV.
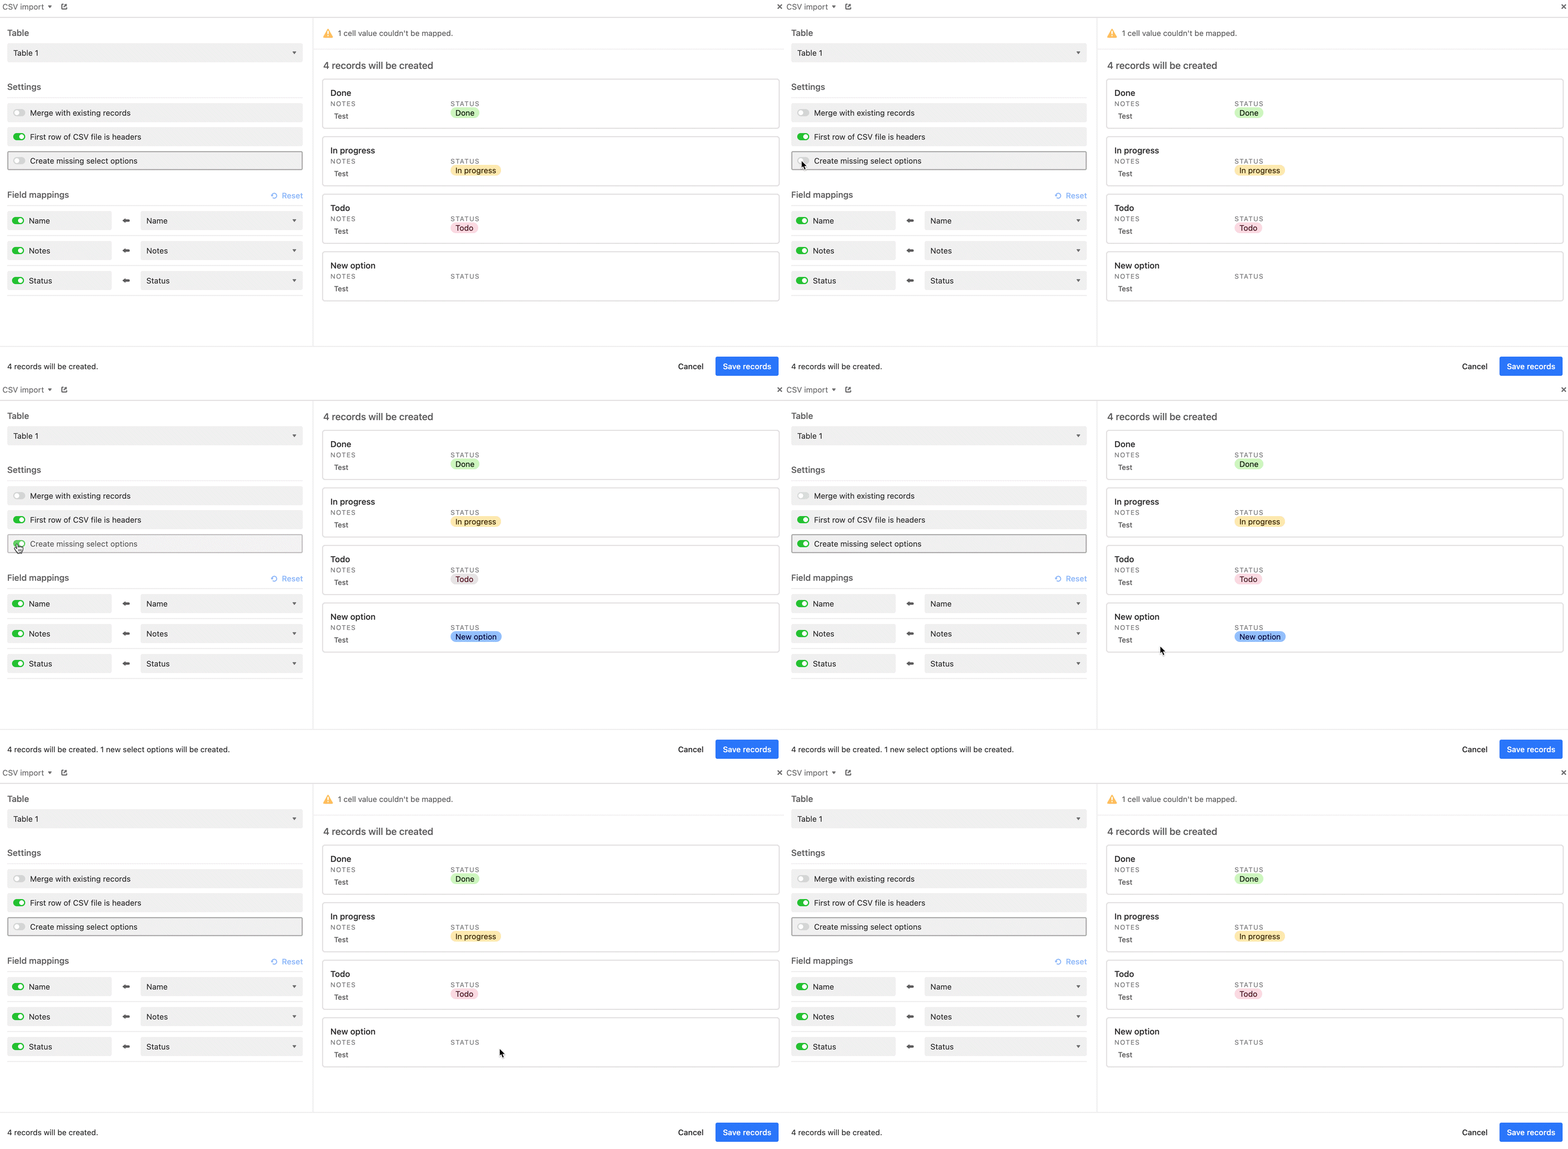
Step 3: Toggle on “Create missing select options” to create a new option if there are single/multiple select fields in your table.
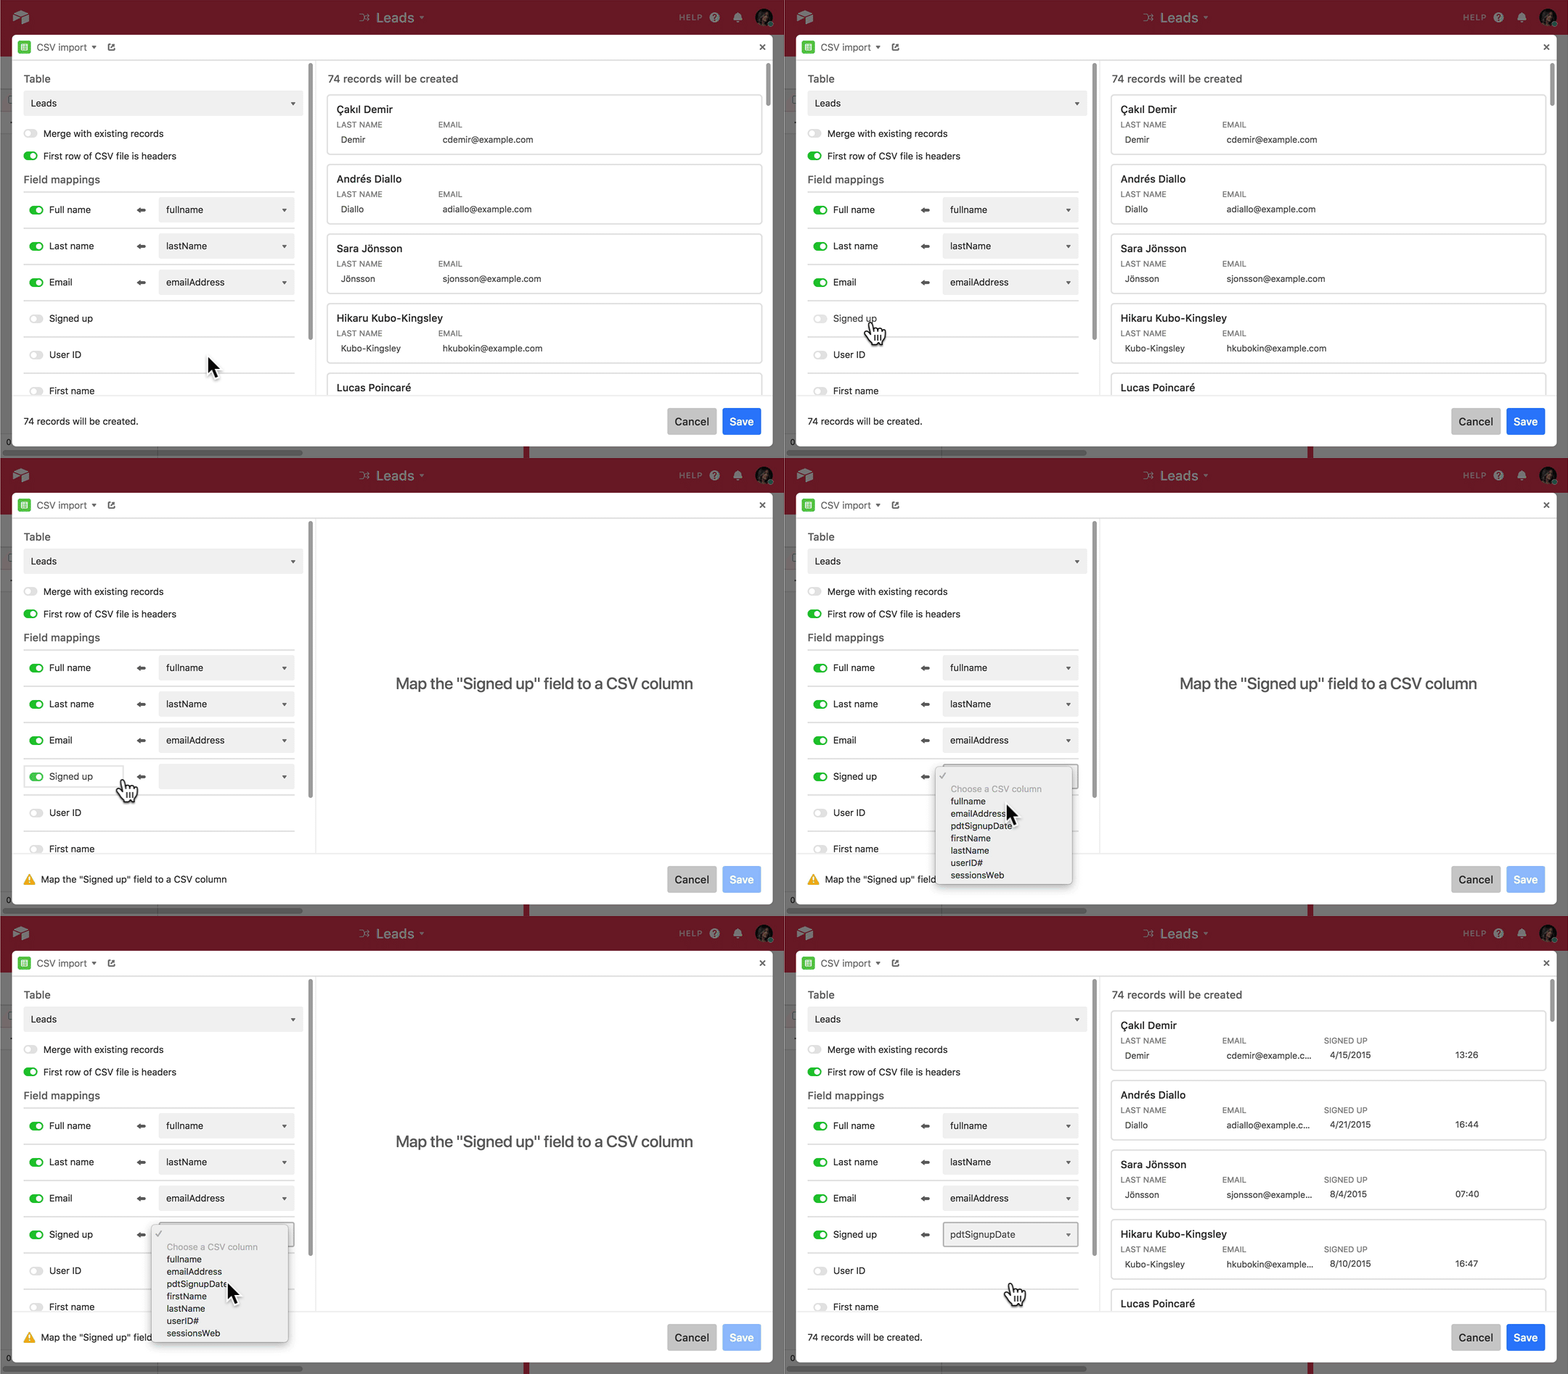
Step 4: Set field mappings if the records of your CSV and names of the fields don’t have matching names, making it impossible for Airtable to match them automatically.
To successfully set field mappings, select the field toggle, choose a column from the drop-down menu, and map the value.
CSV import app is available for premium users and has a 25,000-row limit, which allows you to add and edit the imported records and merge data with existing records.
Importing Console Data as a CSV
If the CSV import app feels like more setup than you need, Airtable's native "Add or Import" option handles CSV files too. It's less customizable, but it's the fastest way to get a one-off export into a table.
Here is how you can import CSV data from a CSV file.
Step 1: Export Console Data as CVS file, the way we’ve covered above
Step 2: Open the table and view where you want to import your file.
Step 3: Click on “Add or Import” next to the list of tables.
Step 4: Click the “CSV file” button.
Step 5: Select the CSV file of exported Console Data. (Note, the file size limit on CSV uploads is 5MB)
The imported adjustment dialog will pop up, where you can preview your CSV file, imply changes and adjust field mappings.
After you’re done with adjusting and changing the file, click “Import” button and you have your Console Data successfully imported to your base.
Import Google Search Console Data to Airtable with AirFlow
If less customizable data importing is not an issue for you, we have another Airtable built-in app, Airflow, which is 2x times easier than Data Fetcher but is less customizable. If you want to compare more options, see our roundup of the best Airtable integrations.
Airflow allows connecting, importing, scheduling, and syncing data from any source with an API key, similar to how you'd set up other Airtable automations.
To sync Console Data with Airtable follow the steps accordingly
Step 1: Download Airflow from the Airtable app marketplace.
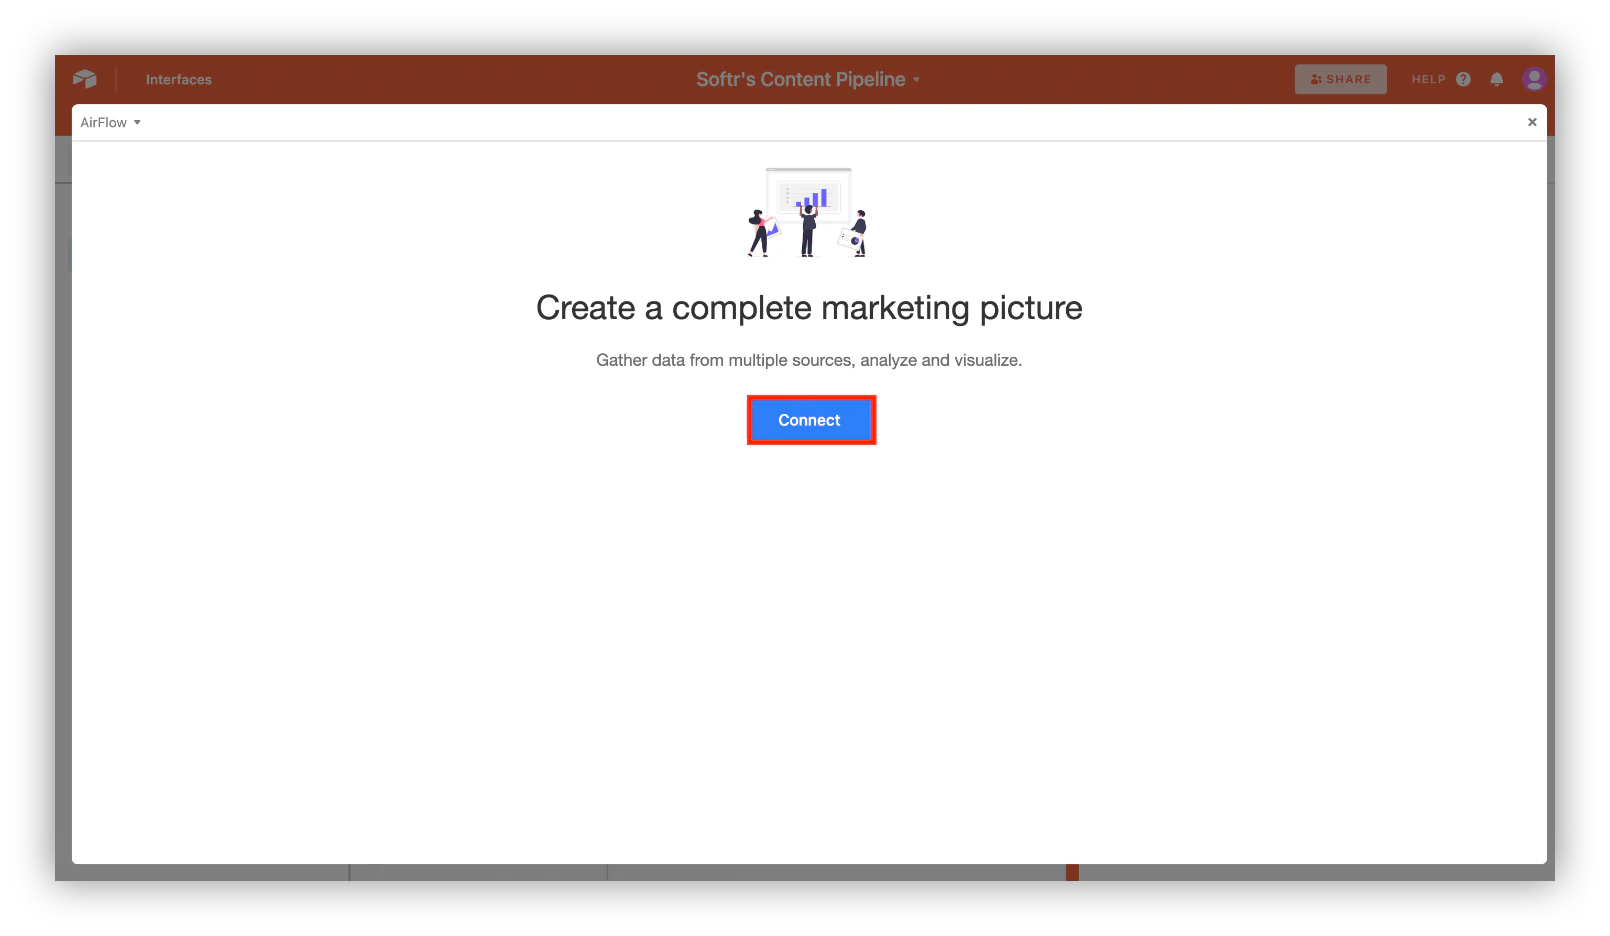
Step 2: On the Airflow’s home screen click “Connect” to proceed.
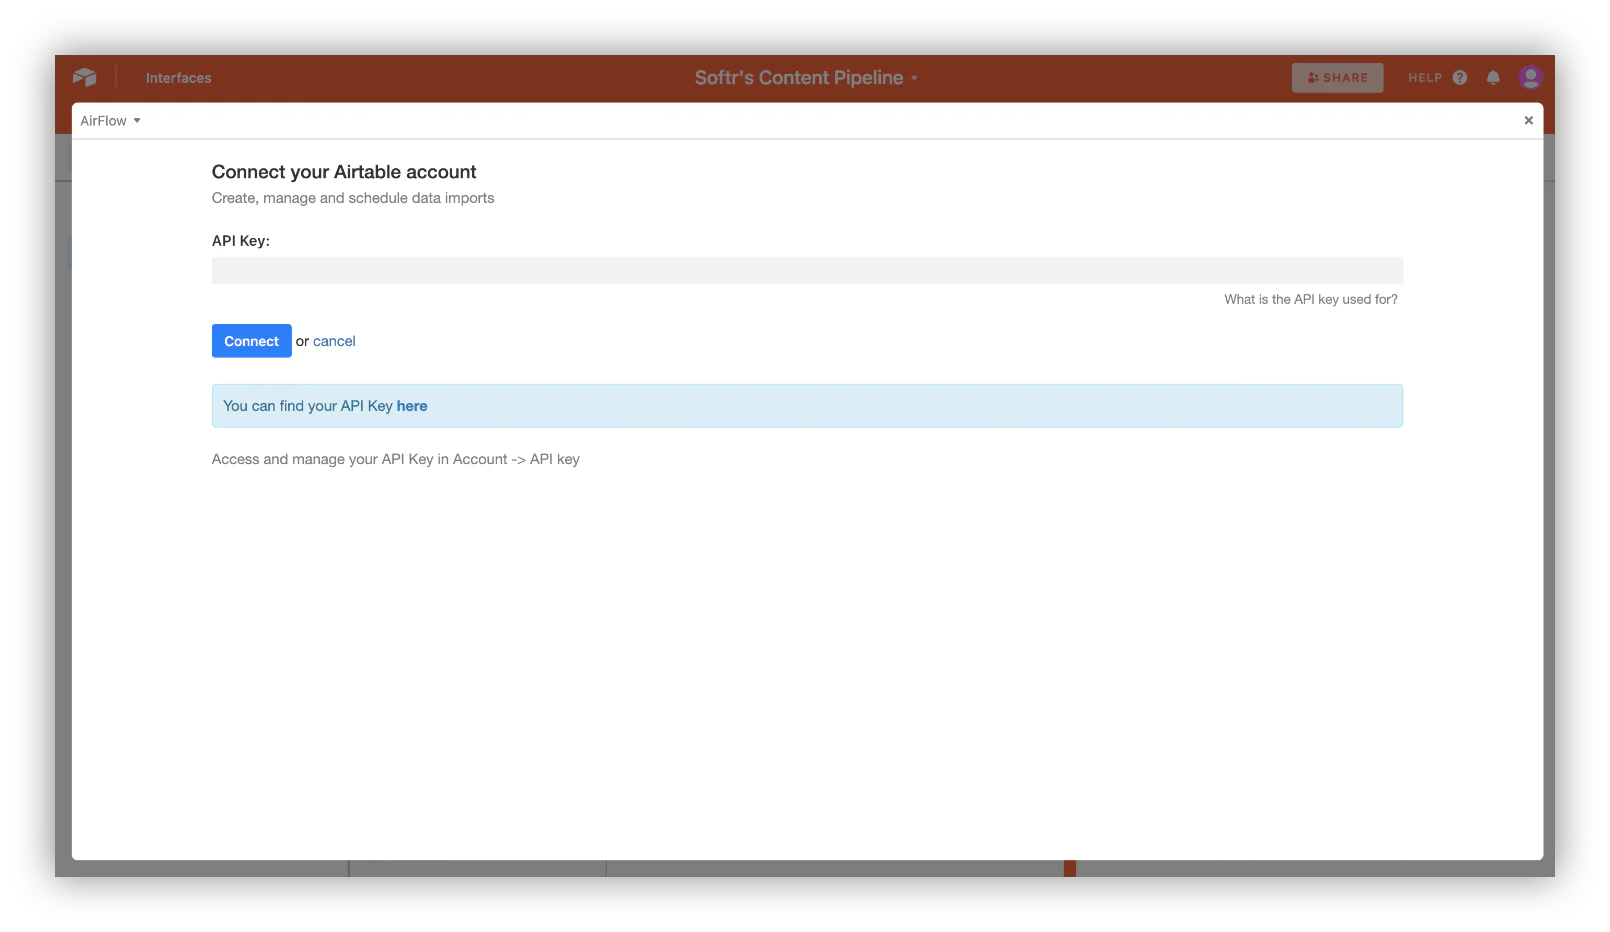
Step 3: Fill in your Airtable API key. You can find your API from your Account Overview.
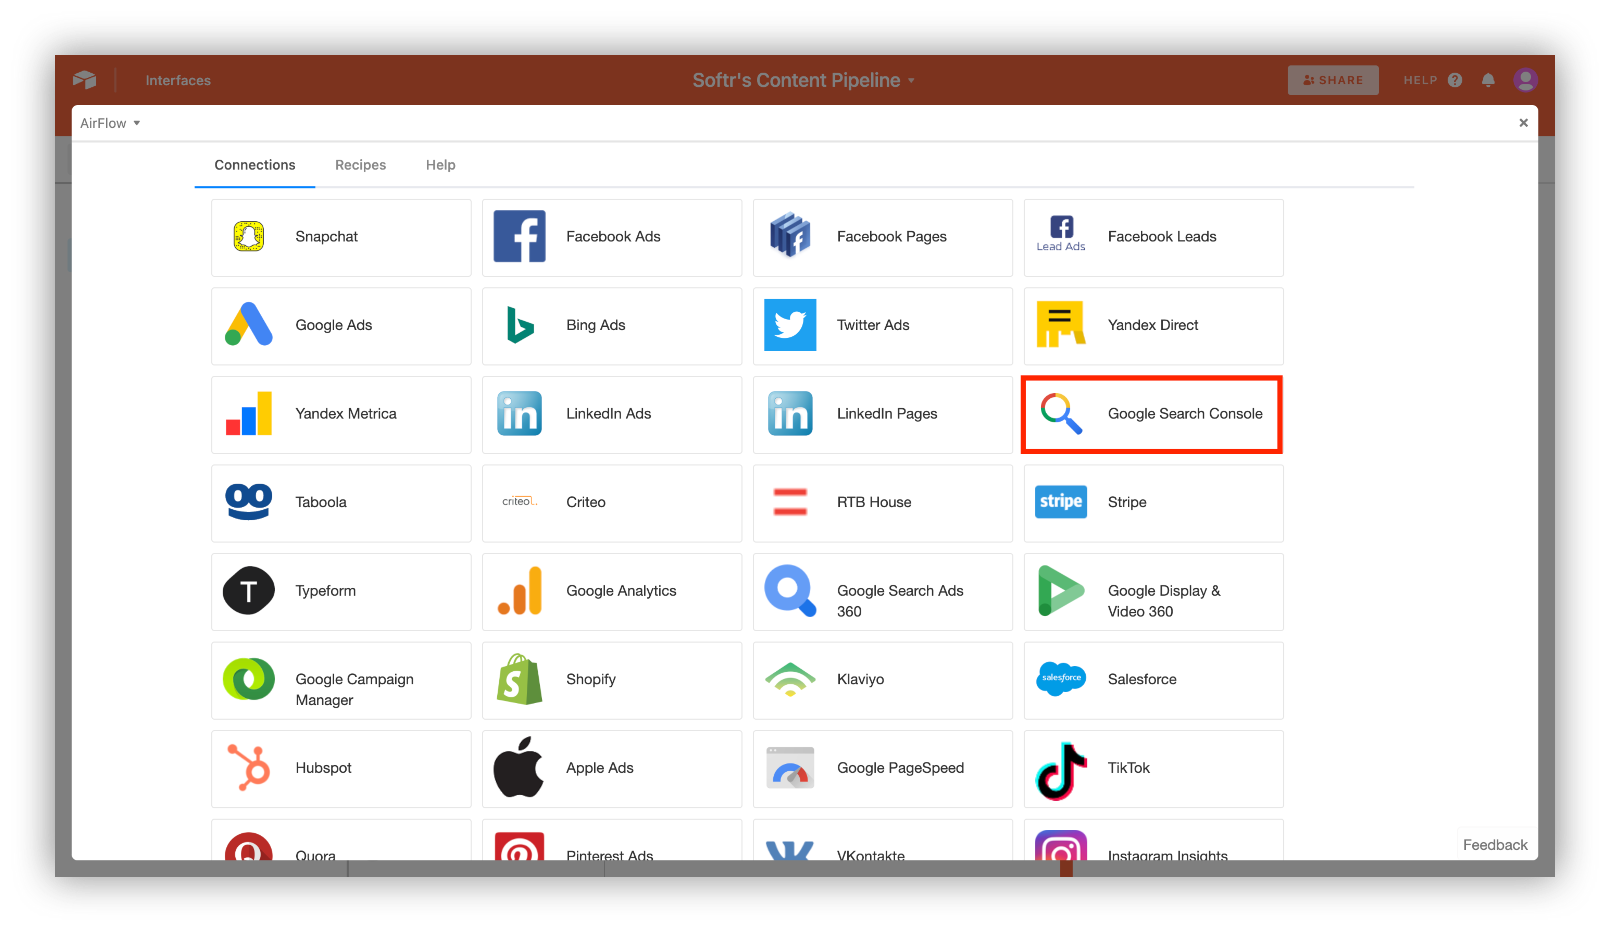
Step 4: Choose a connection to sync Airtable with.
In the opened window, find and click on “Google Search Console”.
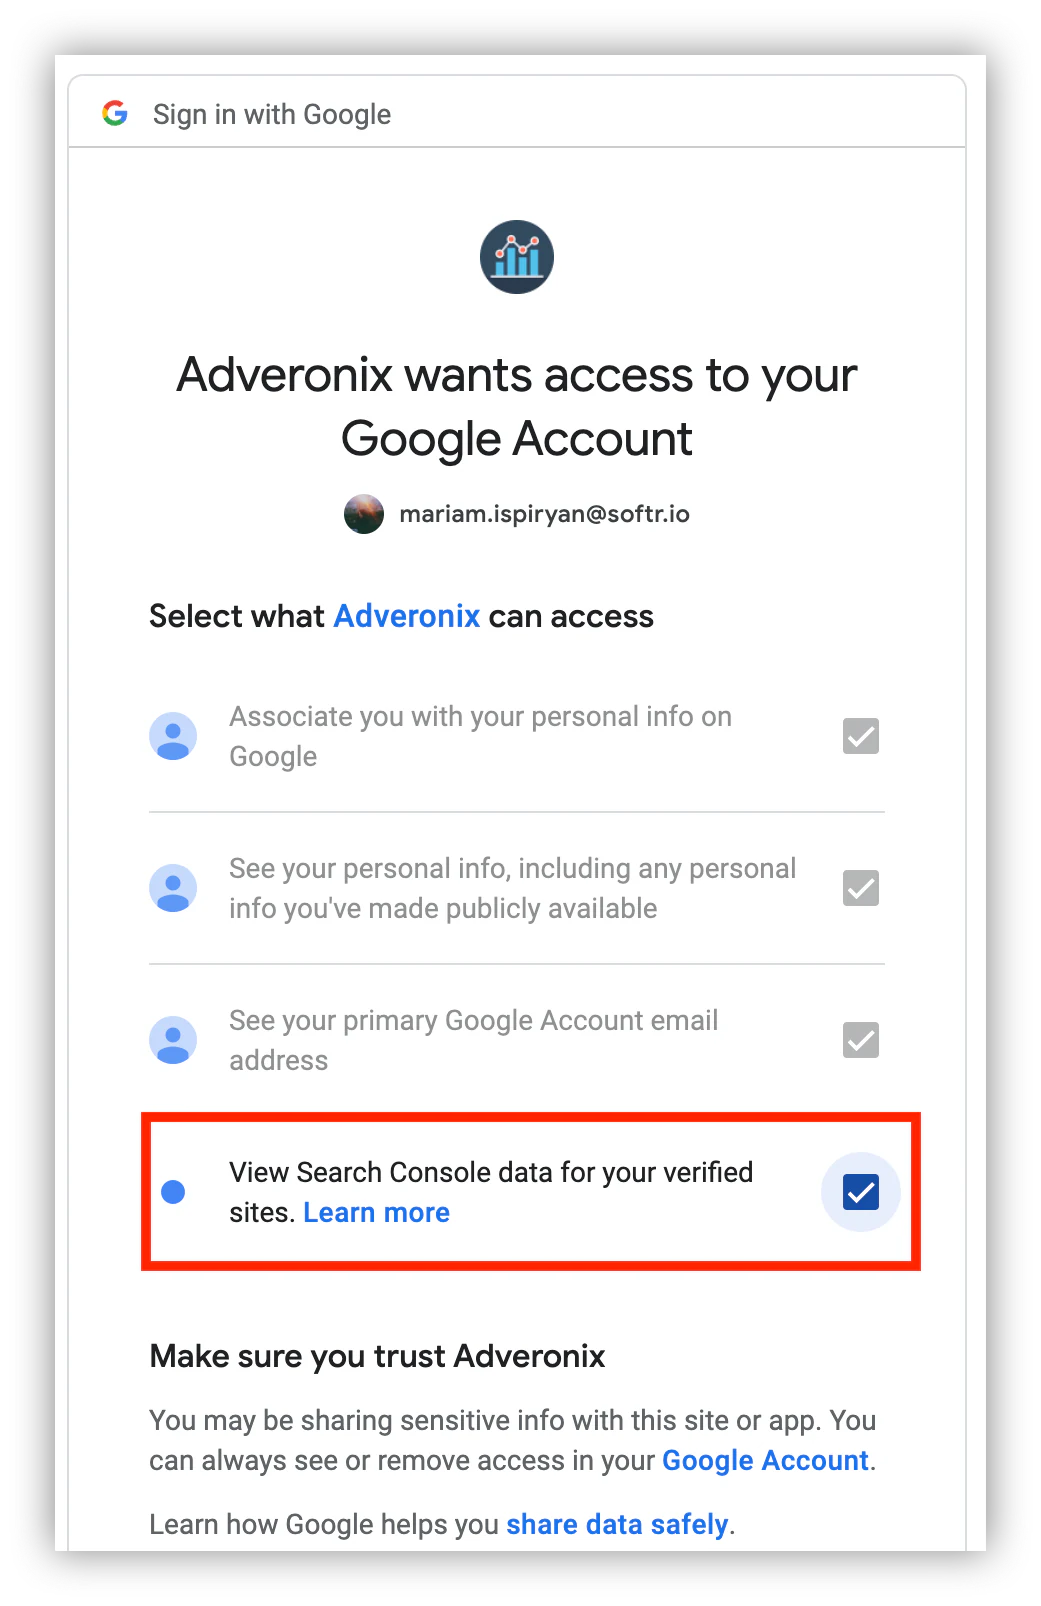
Step 5: Connect your Google account with Airflow.
Make sure to enable “View Search Console data for your verified sites” for Airflow to access Console data.
It's important to learn about Airflow's recipes before we move to the next stage of the connecting process.
We recommend enabling the “Save recipe” checkbox from the field selection window for Airflow to save the connection if you want to get Console data again.
Recipes will allow the connection to be saved for future use or automatic updates. You can even share saved recipes with your team members, create a refresh schedule for hourly/daily/weekly/monthly or even real-time updates, and much more. (more on Recipes later)
Now let’s go back to the main part of the syncing process. Make sure to follow the instructions carefully.
Steps to import data with Airflow
Step 1: Select a property (website) you want to import Console Data from.

Step 2: Select fields you want Airflow to pull in.
Fields are equal to Console metrics. You can learn more about Console metrics here.
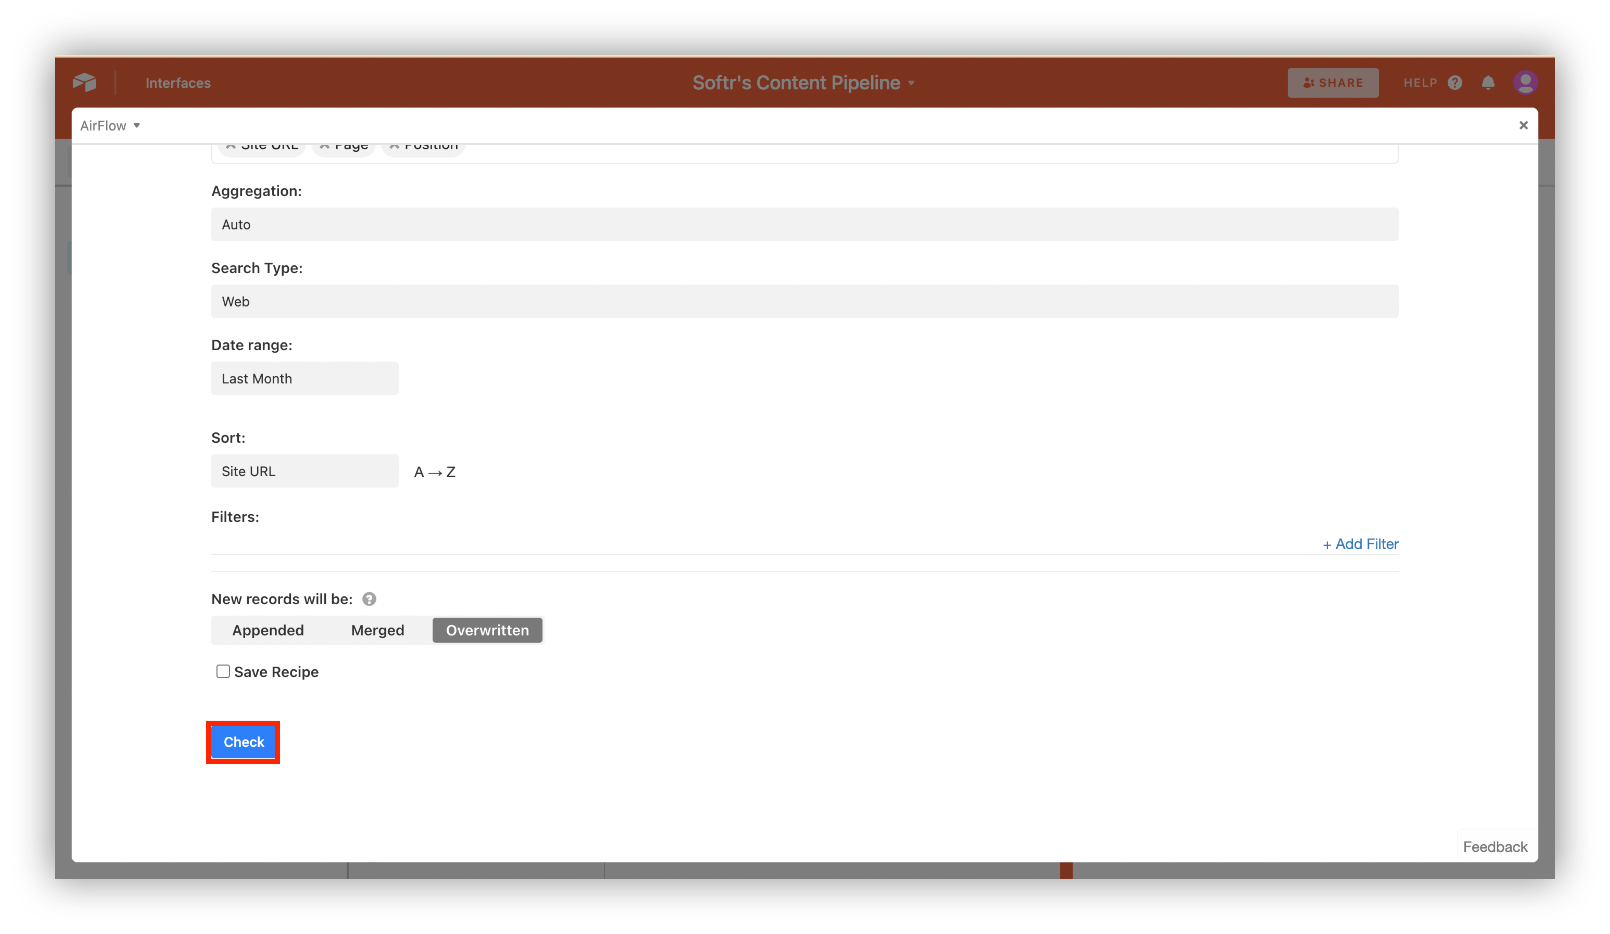
We went for Site URL, Page and Position.

Step 3: Select a Date Range for Airflow to import data for the selected time range.
We selected Console data for the last month.

Step 4: Sort the Console data for the Airflow to add the data to the output view in your preferred way.

Step 5: Select how the new records will be added to the output view.
There are three options:
- Appending will add data below existing rows
- Merging will edit the existing rows and append new data below
- Overwriting will clear all existing rows before adding data
We chose overwriting since we have existing rows we don’t need.

After you’re happy with the settings, click “Check” to move to the next stage.
Step 6: Map the columns from your data source to the table's columns.
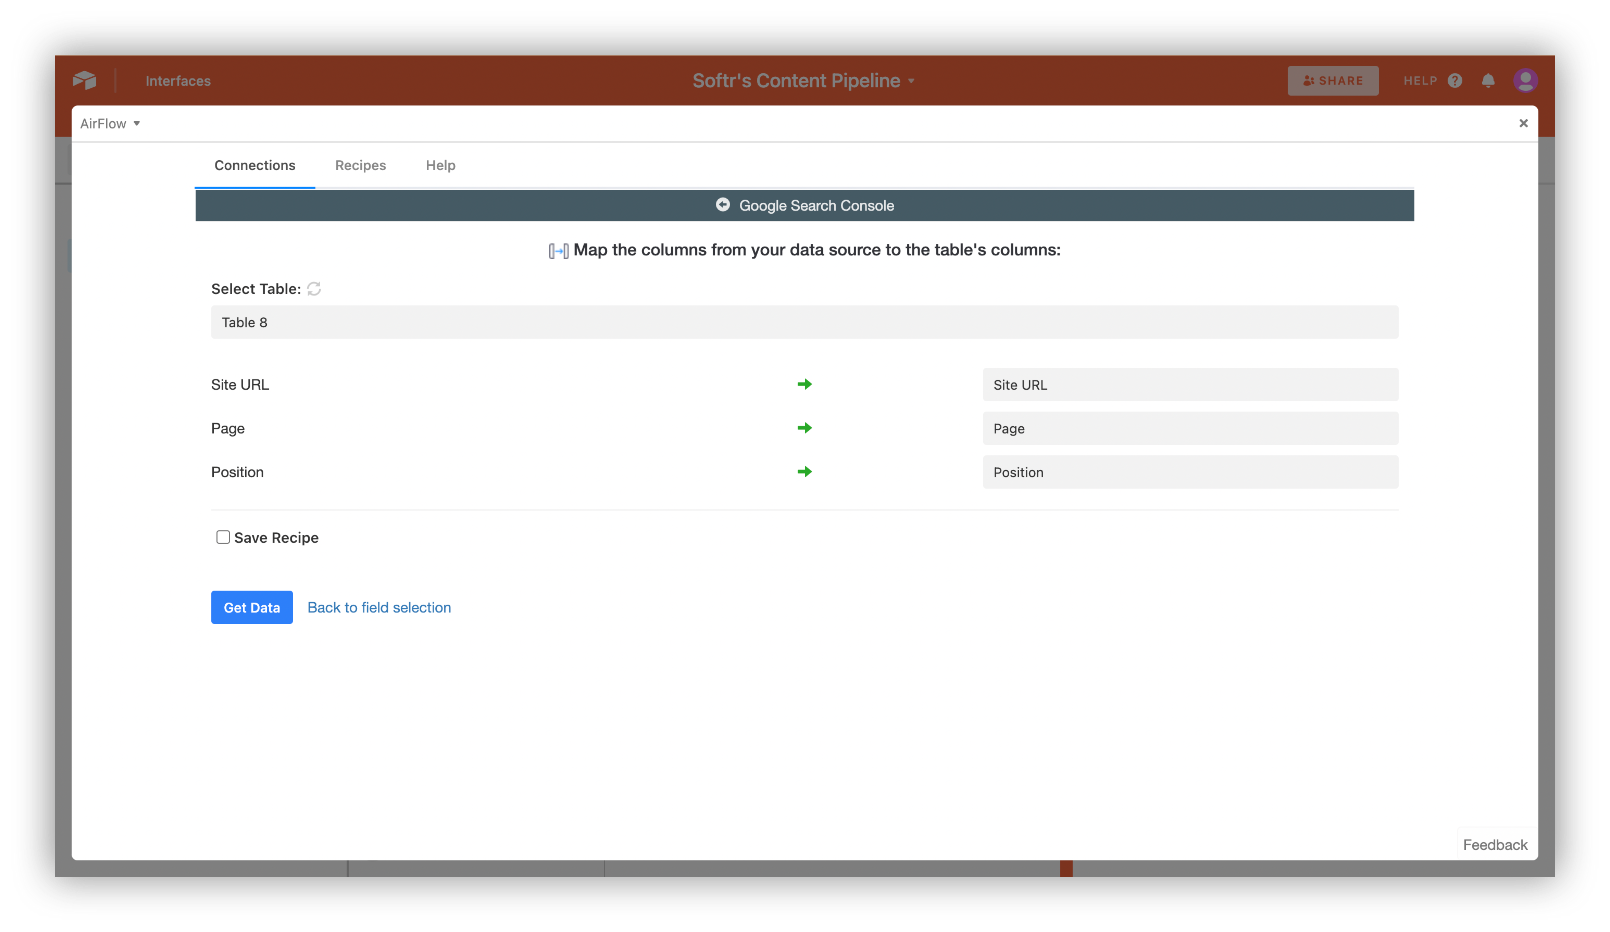
Step 7: Click “Get Data”.

Now you have your report successfully generated!
Creating a Recipe and a Schedule
Going back to Airflow recipes, let’s see how you can create and schedule a recipe for more automated syncing.
If you didn’t enable the Save Recipe checkbox in field selection:
Step 1: Go back to field selection;
Step 2: Enable the checkbox;
Step 3: Enter a name;
Step 4: Proceed with the process presented above.

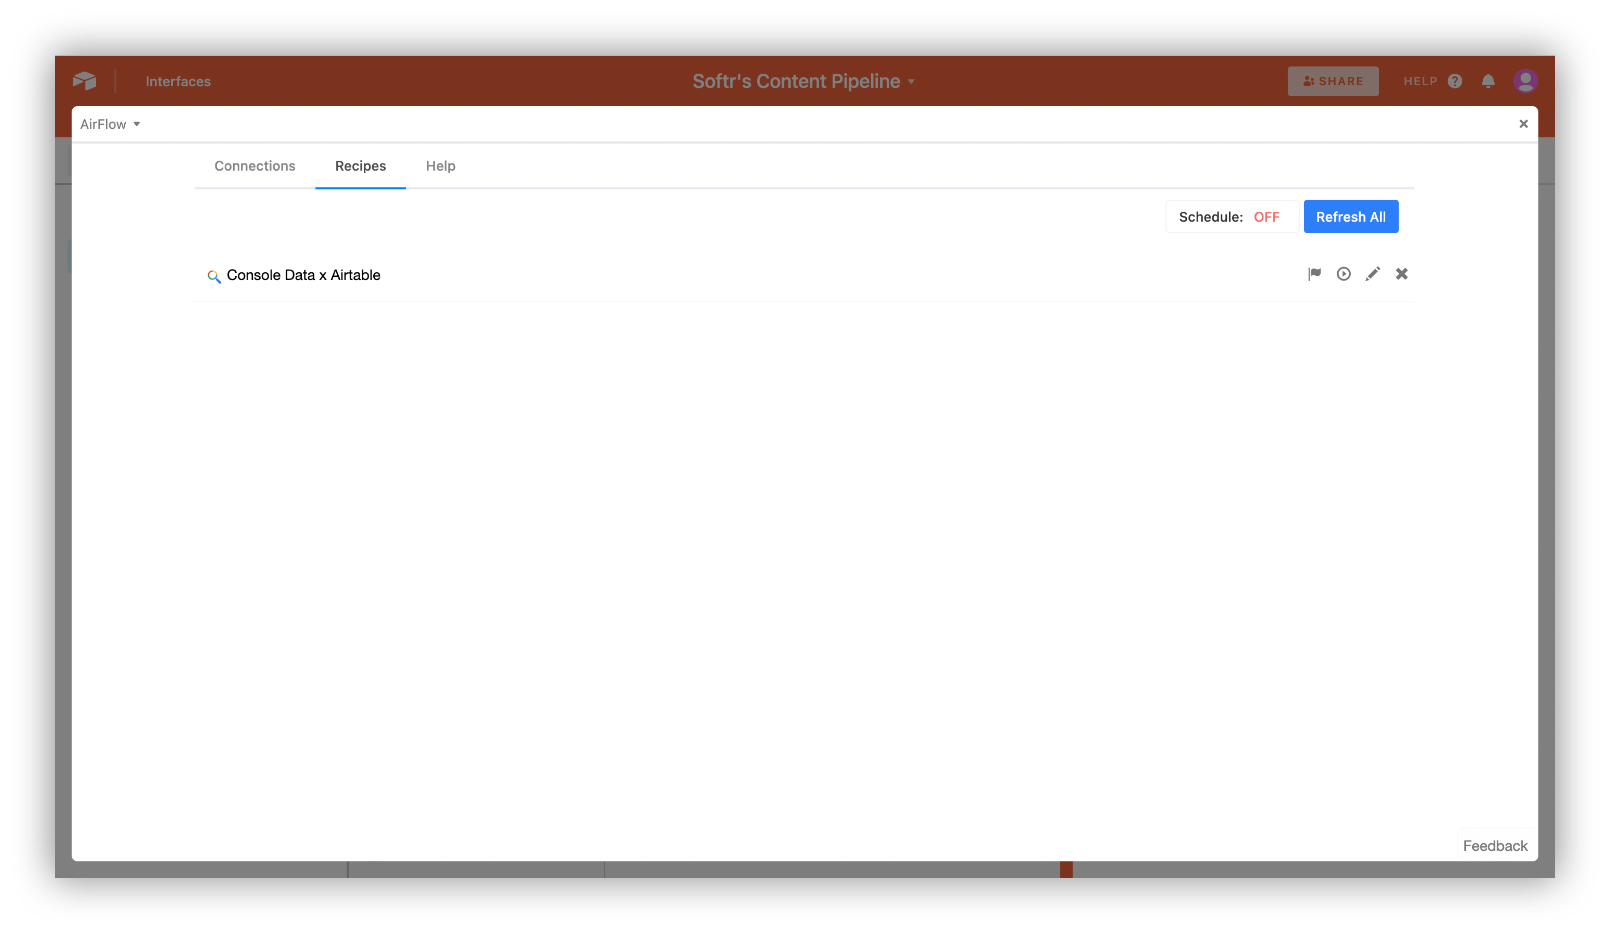
You can find all your recipes in the Recipes section.
To schedule a recipe
Step 1: Click on the “Schedule” button.
Step 2: Click “Add a new schedule”.
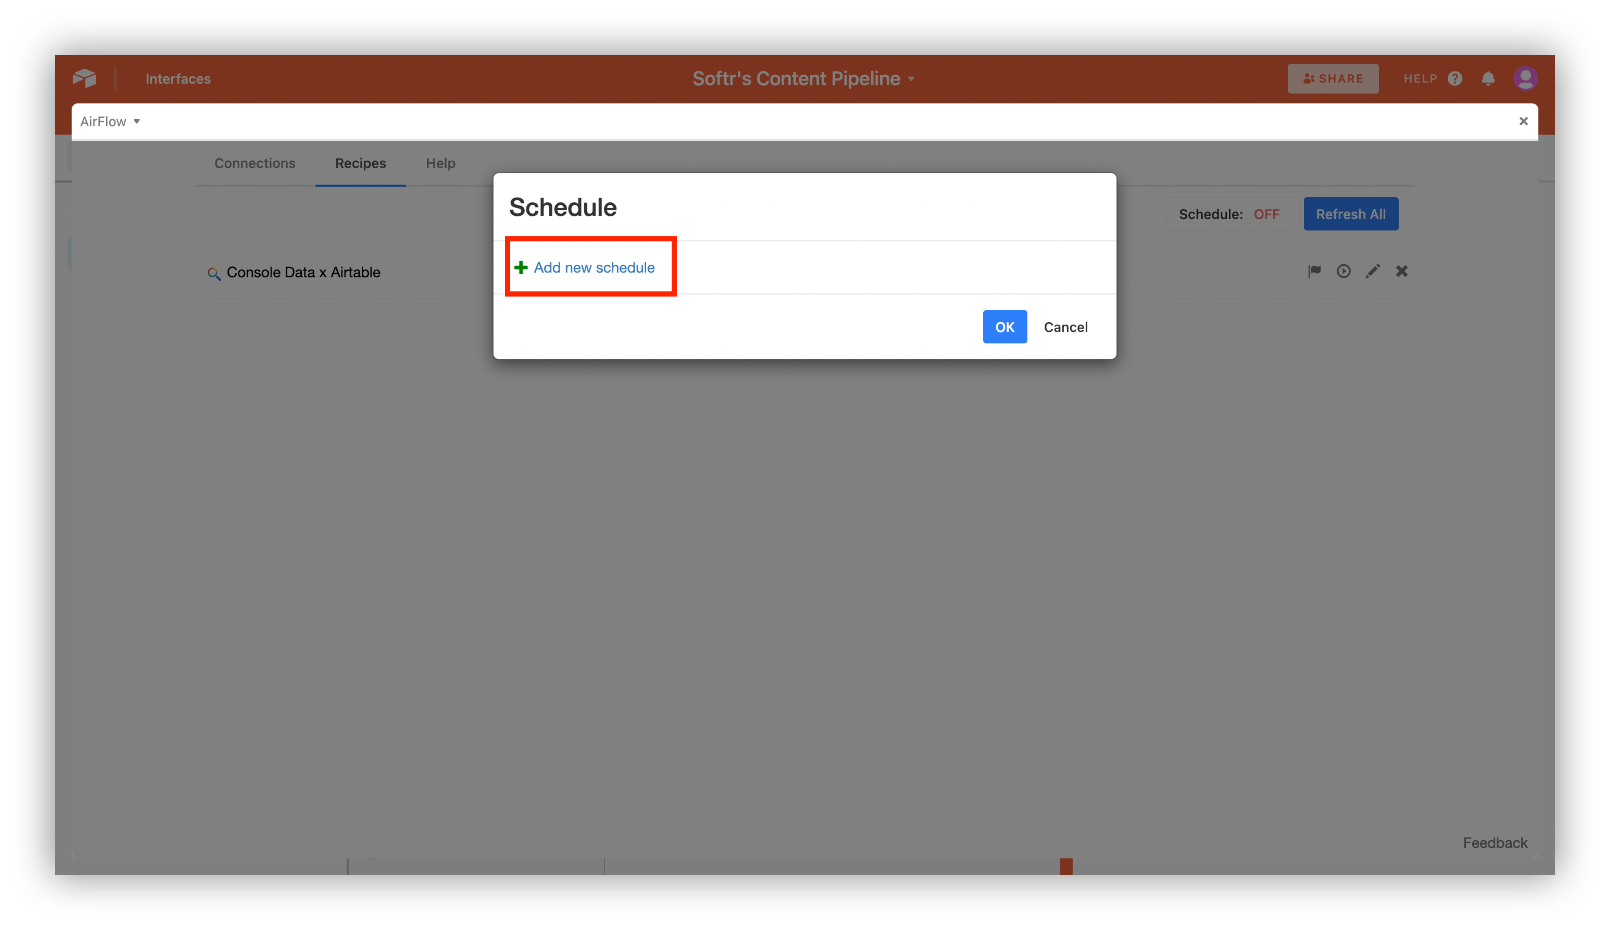
Step 3: On the opened dialog select a Date Range, and a Report, and click “Ok”.
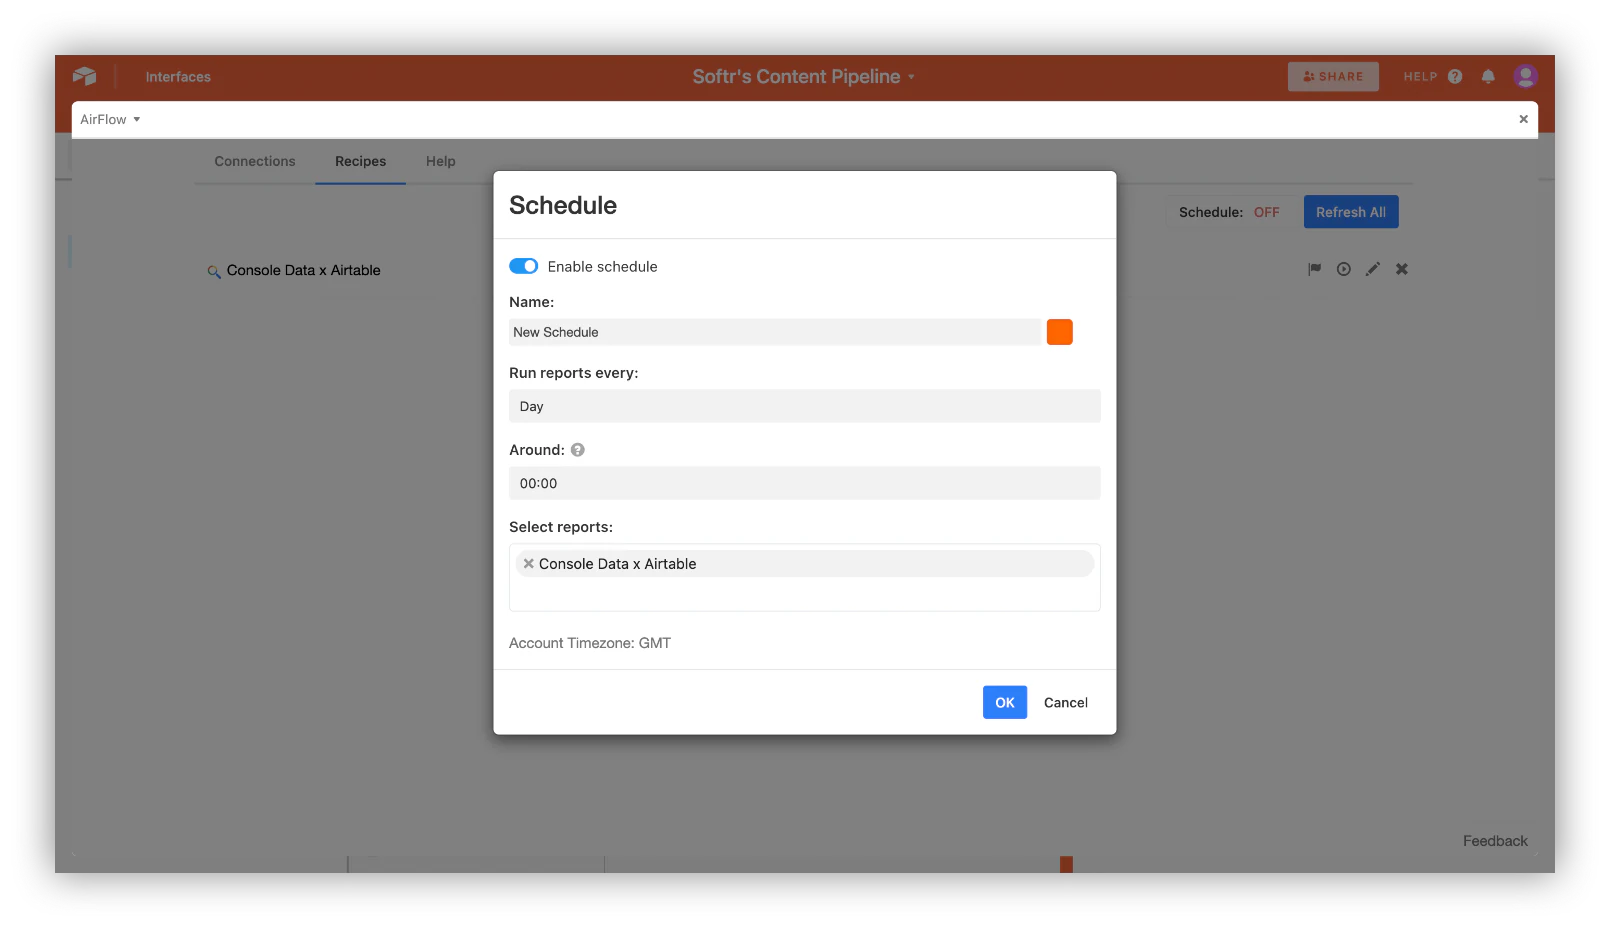
Now the report will run daily, importing Console data to Airtable.
You can always toggle off the Schedule button if you want to stop the running process.
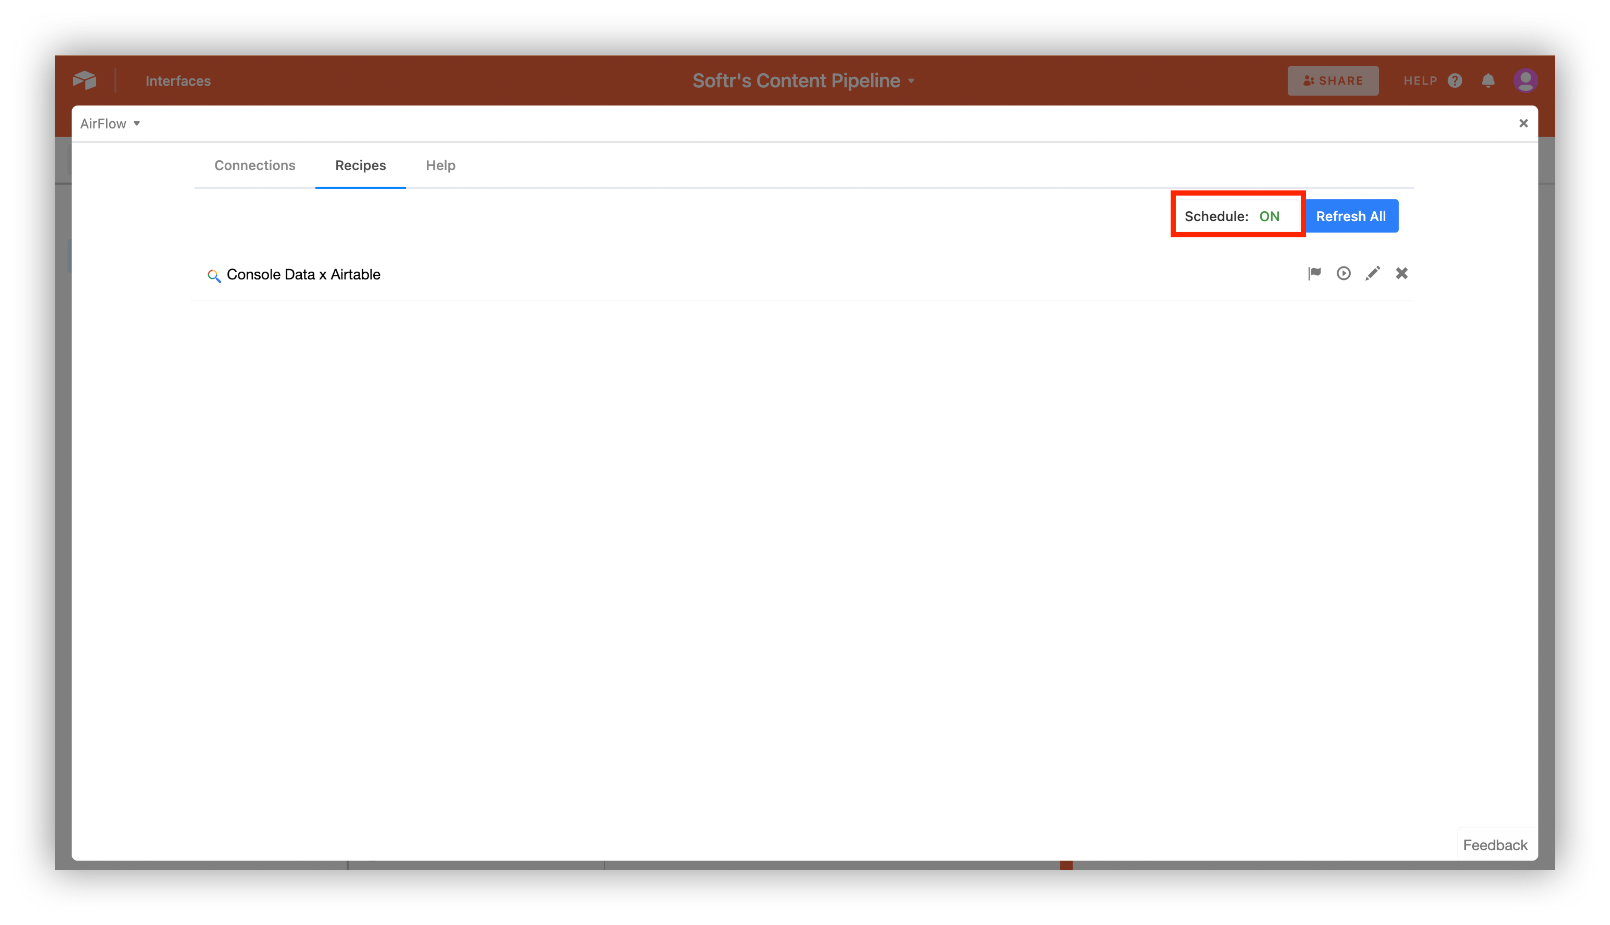
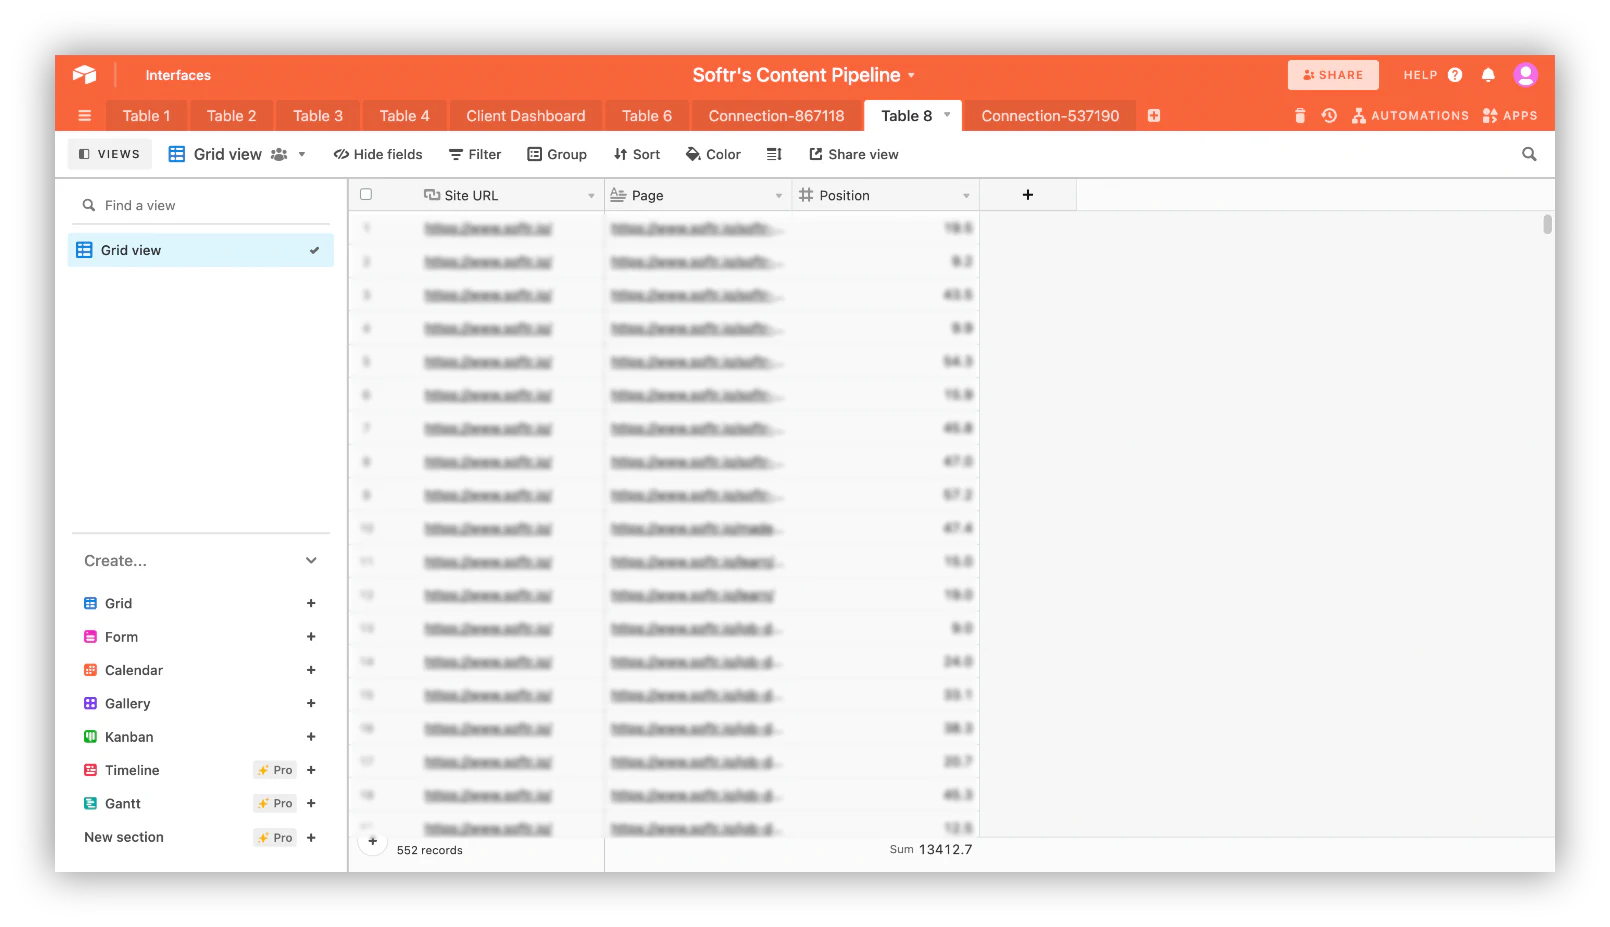
Once the schedule is on, the report keeps refreshing on its own. You can always toggle it off if you want to pause the sync.
Turn your Search Console data into a live dashboard
Getting your Search Console data into Airtable solves the storage and filtering problem. It doesn't solve the reporting problem: pulling numbers into a spreadsheet is only half the job if you still need to build a chart or write a summary every time someone asks how a page is performing.
That's where a tool like Softr comes in. Softr connects directly to your Airtable base and turns it into a live SEO dashboard: filterable tables, trend charts, and shareable views that update automatically as new Console data comes in, without exporting a new report every week.
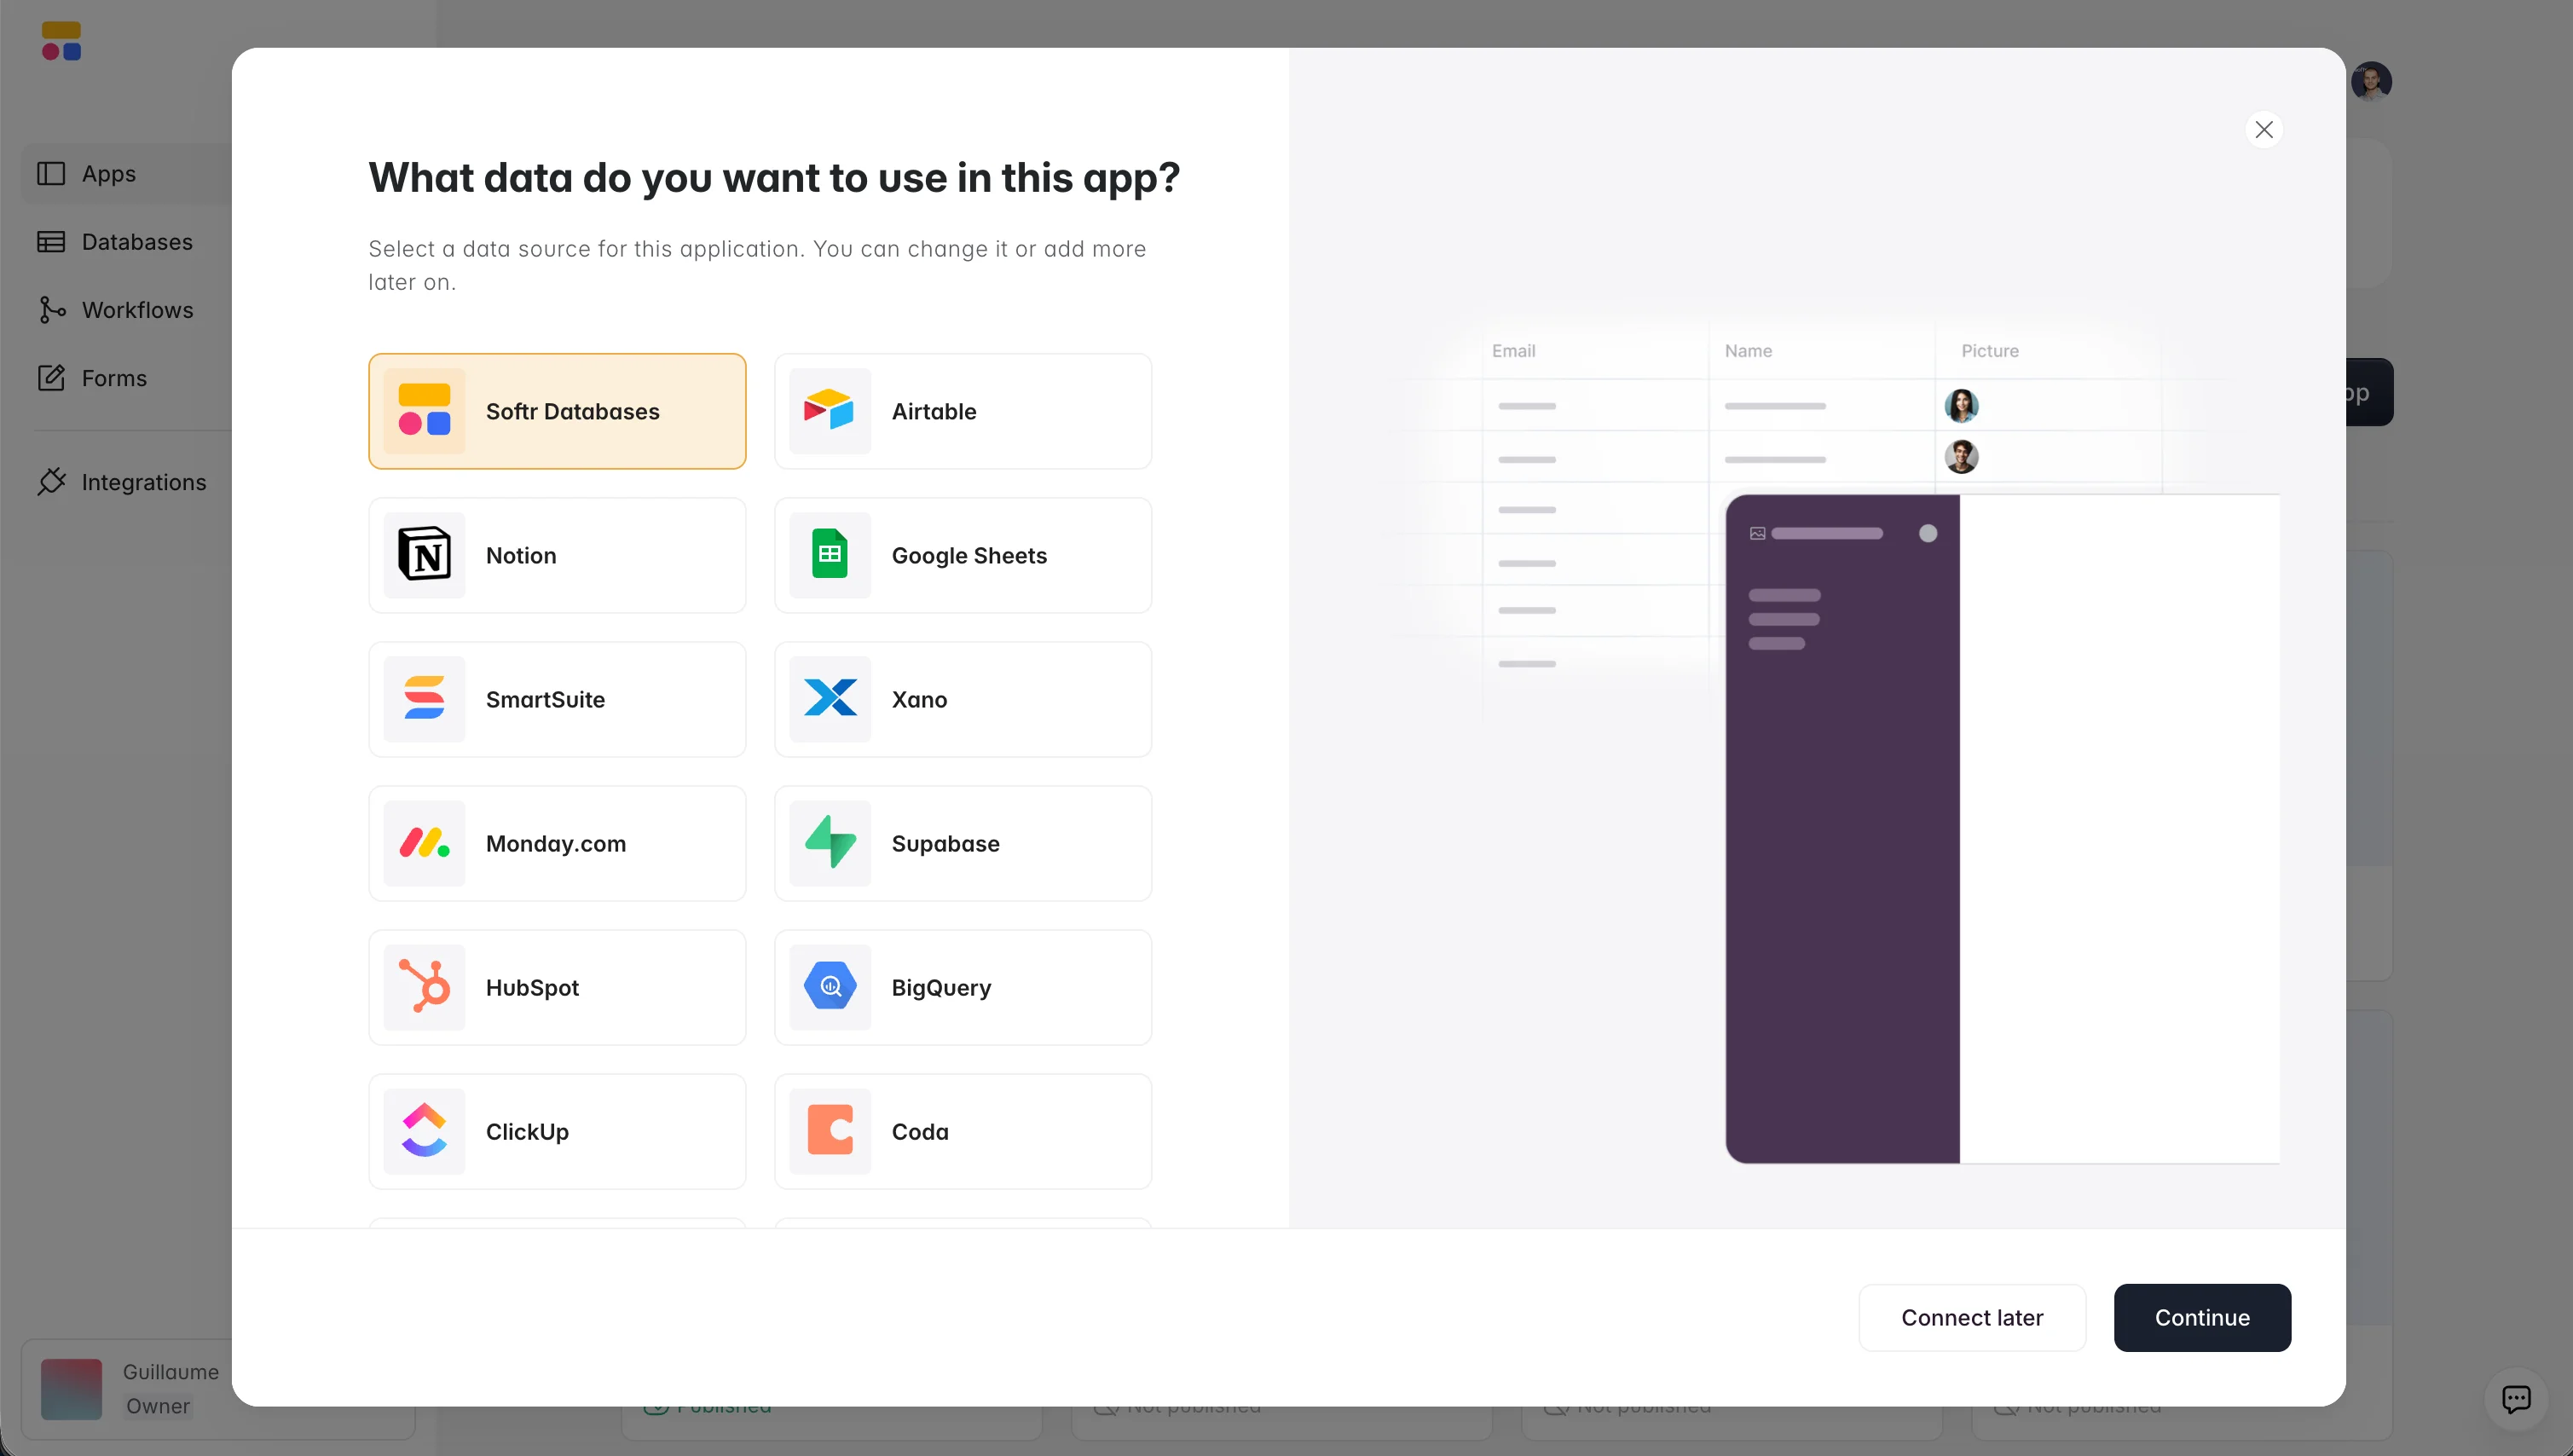
You can point Softr straight at your Airtable base for the fastest setup, or move the data into a Softr Database if you want faster load times and more headroom as your reporting needs grow. Either way, the same interface builder and users and permissions controls apply, so you can restrict who sees which sites, clients, or campaigns.
Music distribution company FUGA ran into a version of this exact problem: manually building PDF reports and Google Sheets exports for over 800 users every week. After moving their reporting into a Softr-powered client portal connected to Airtable, live dashboards replaced static PDFs and the team cut reporting time by more than 5 hours a week. As one of their team members put it:
"We really appreciate how we can set user-specific visibility, clients see only what they need to see, nothing more." - FUGA, Customer Case Study
If you're already relying on Airtable as your source of truth, other G2 reviewers describe the same experience:
"It integrates very nicely with Airtable and other databases we are already using, making it nice that it just sits on top of the systems we have." - Natalie S., Director of Operations, G2 review
Stop rebuilding the same SEO report every month
Manually exporting Search Console data works fine for a one-off check, but it doesn't scale once you're reporting on multiple sites, clients, or campaigns. Set up a Data Fetcher or Airflow sync once, and your Airtable base stays current without you touching Google Search Console again. From there, connecting Airtable to a reporting layer like Softr means the dashboard updates itself too, so the only work left is deciding what to do with what the data tells you.
Frequently asked questions
Is it free to import Google Search Console data to Airtable?
What's the difference between Data Fetcher and Airflow?
How often can I sync Google Search Console data with Airtable?
Is there a limit to how much Search Console data I can import into Airtable?
Can I build a reporting dashboard on top of my imported Search Console data?