Making your Google Sheets spreadsheet view-only protects your data from unauthorized or accidental changes when sharing it with others. Doing so safeguards the integrity of your data, which is important when dealing with sensitive data or collaborating with others.
There are two ways to make a spreadsheet view-only:
- Native permission settings: Offers primitive permission controls that might not be enough for you, depending on the use case.
- Softr: The best method to granularly restrict access to spreadsheets in Google Sheets.
Making a spreadsheet in Google Sheets view-only using the native permission settings
Cost: $0
Time: 2 minutes
Using Google Sheets’ native permission settings to make a spreadsheet view-only is useful when you want to share information but not allow others to edit or modify the data. However, the settings you define will be applied to all sheets of the spreadsheet, which means you won’t be able to granularly define who can access which sheet.
Step 1: Open your spreadsheet
Open the spreadsheet you want to make view-only.

Step 2: Share the spreadsheet
Click on the Share button, which is located in the upper-right corner of your screen.

Step 3: Change access permissions
In the sharing interface that appears, you will see a section titled "General access." By default, it is set to "Restricted." Click to open the dropdown list and select “Anyone with the link.”
Alternatively, you can type in the emails of those whom you want to view the document. Click on the “Add people and groups” search bar and type in the email(s) of those you want to give access to the spreadsheet.

Step 4: Change permissions to "Viewer"
After updating the general access permissions or adding the emails you want to give view-only access to, a dropdown will appear next to “Anyone with the link.”
Click on the dropdown menu and select "Viewer." This will ensure that anyone with the link can only view the spreadsheet.

Step 5: Uncheck the box to stop users from making a copy
You can choose to disable downloading, printing and copying for viewers. This way, users can only view the document without making a copy for themselves.
To do this, click on the settings symbol at the top-right of the sharing dialog. Then uncheck the box beside “Viewers and commenters can see the option to download, print, and copy.” This adds an extra layer of security to prevent viewers from making copies or downloading the file.

Step 6: Copy the shareable link
After changing the access to "Viewer," you can copy the shareable link at the bottom of the sharing interface. You can now share that link with others, and they will only be able to view the spreadsheet.

Step 7: Click on “Done”
Once you have adjusted the sharing settings to "Viewer" and any additional settings, click on “Done.”

How to make a Google Sheets spreadsheet view-only using Softr
Cost: $0
Time: 5 minutes
Softr is an AI platform for building business software without writing code. It integrates with a wide range of data sources, including Google Sheets. With Softr, you can control who can access specific Google Sheets within your web app using Softr’s built-in user roles and permissions settings.
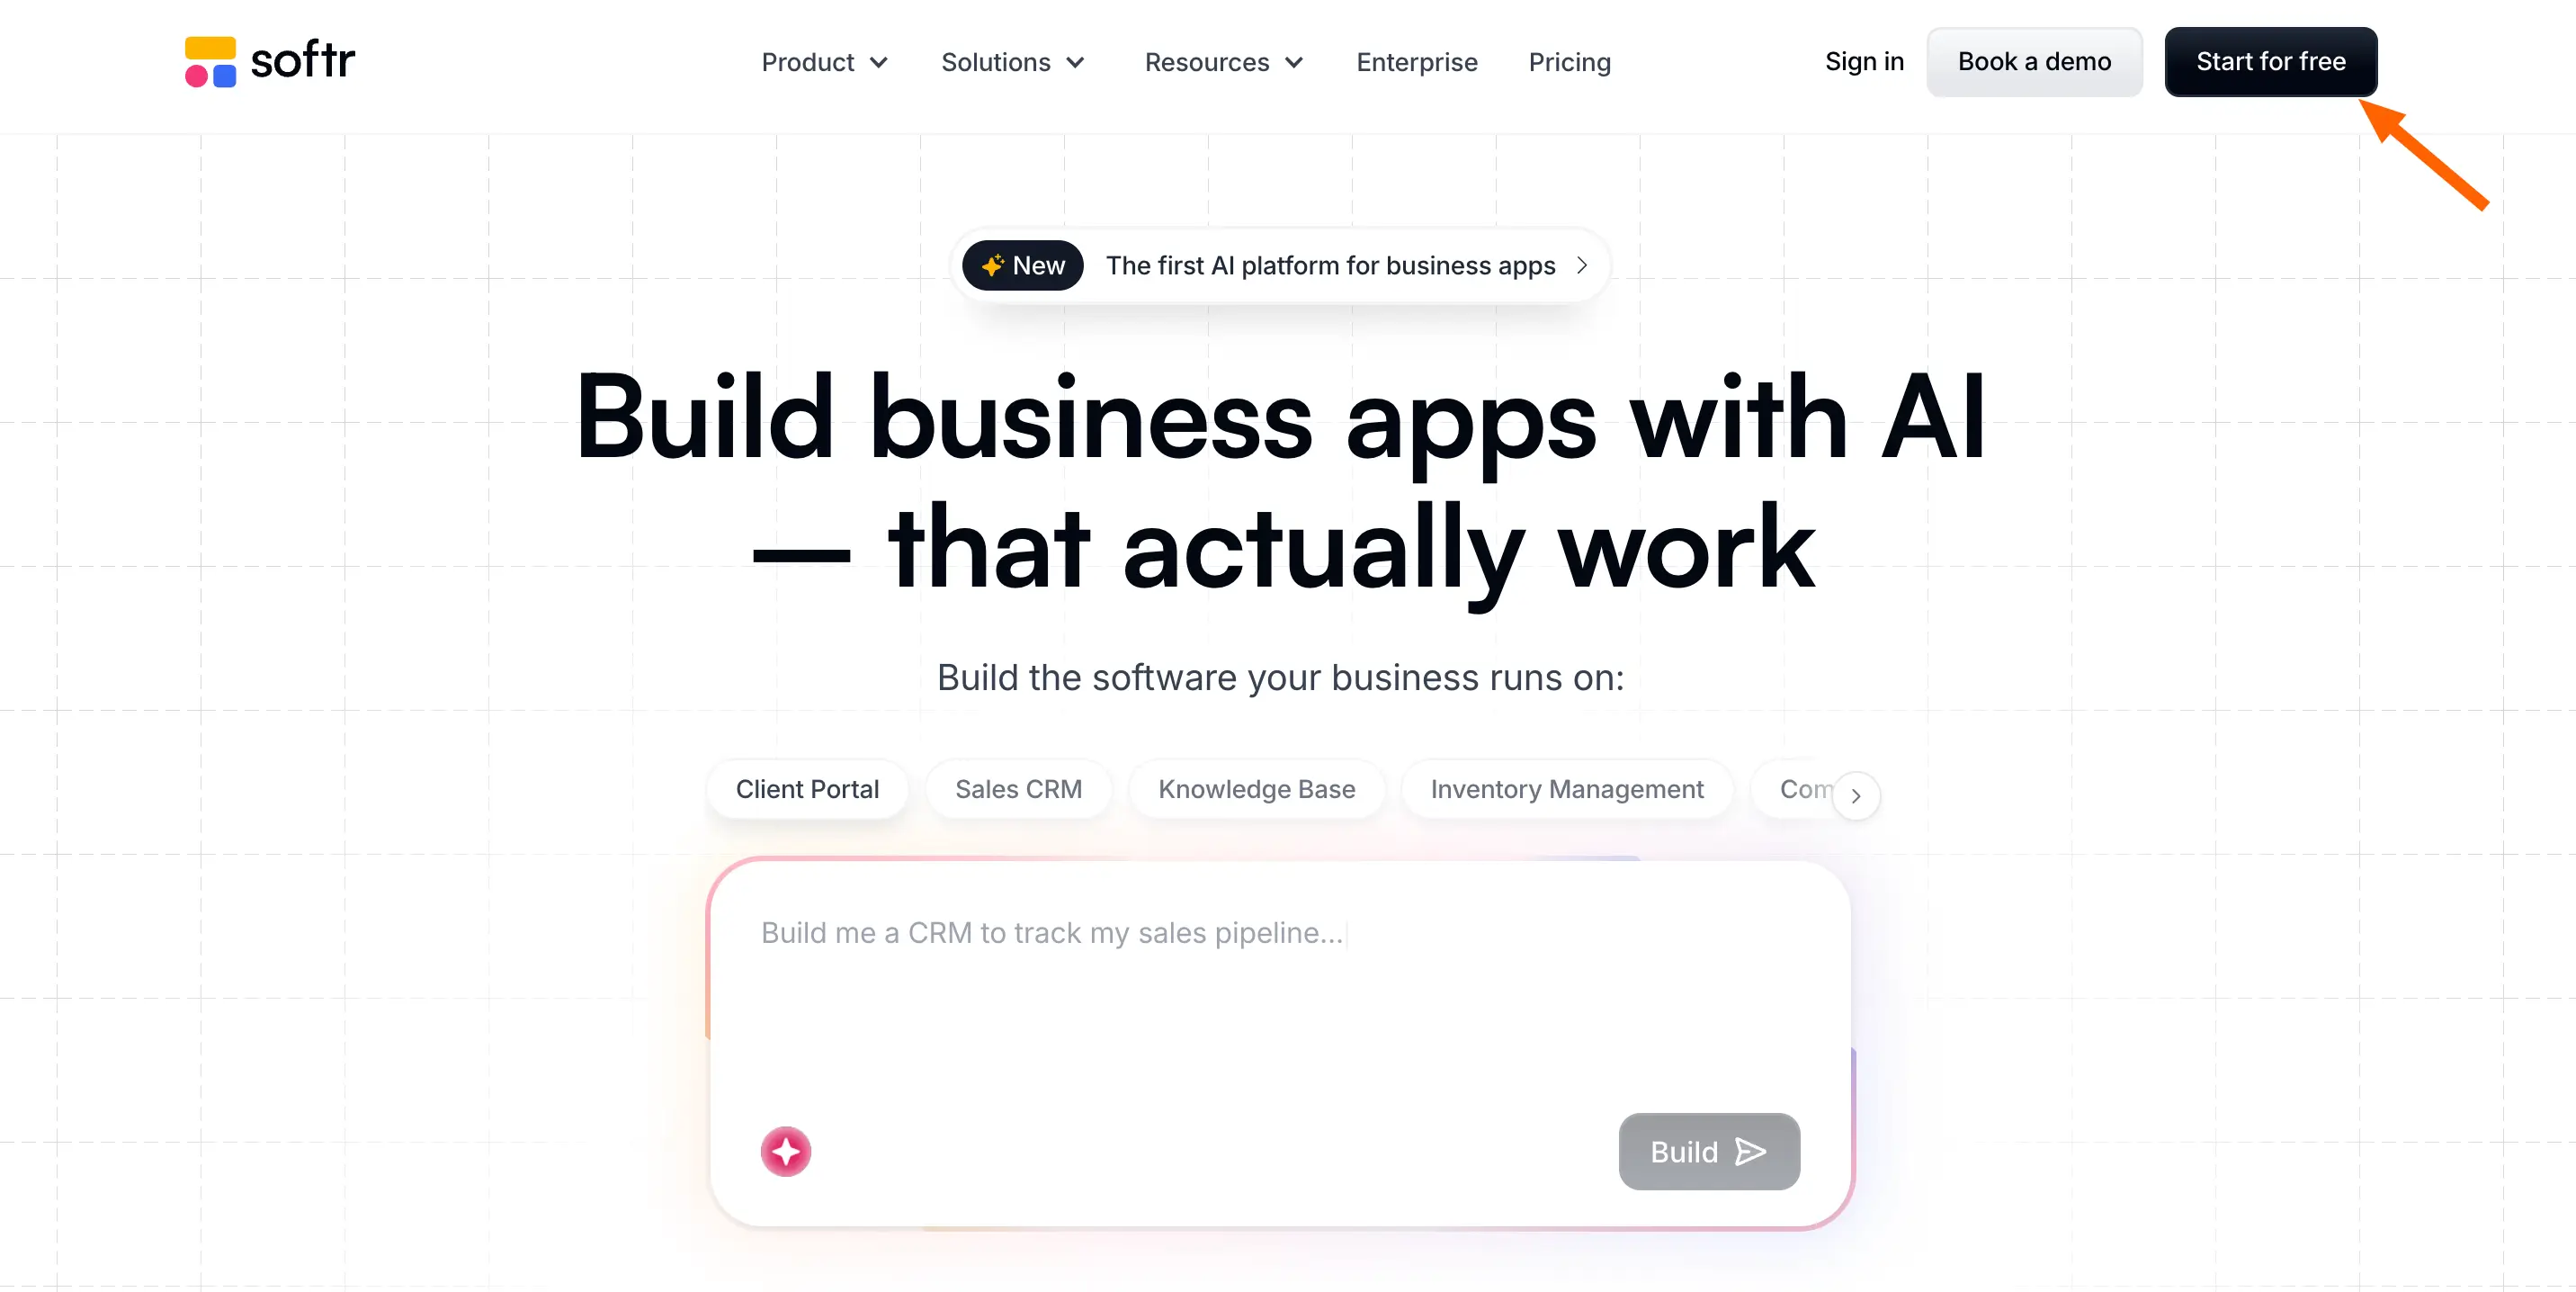
Step 1: Log in to Softr or create an account
First, you'll need to log in to Softr. If you don’t have an account, you can sign up for free.
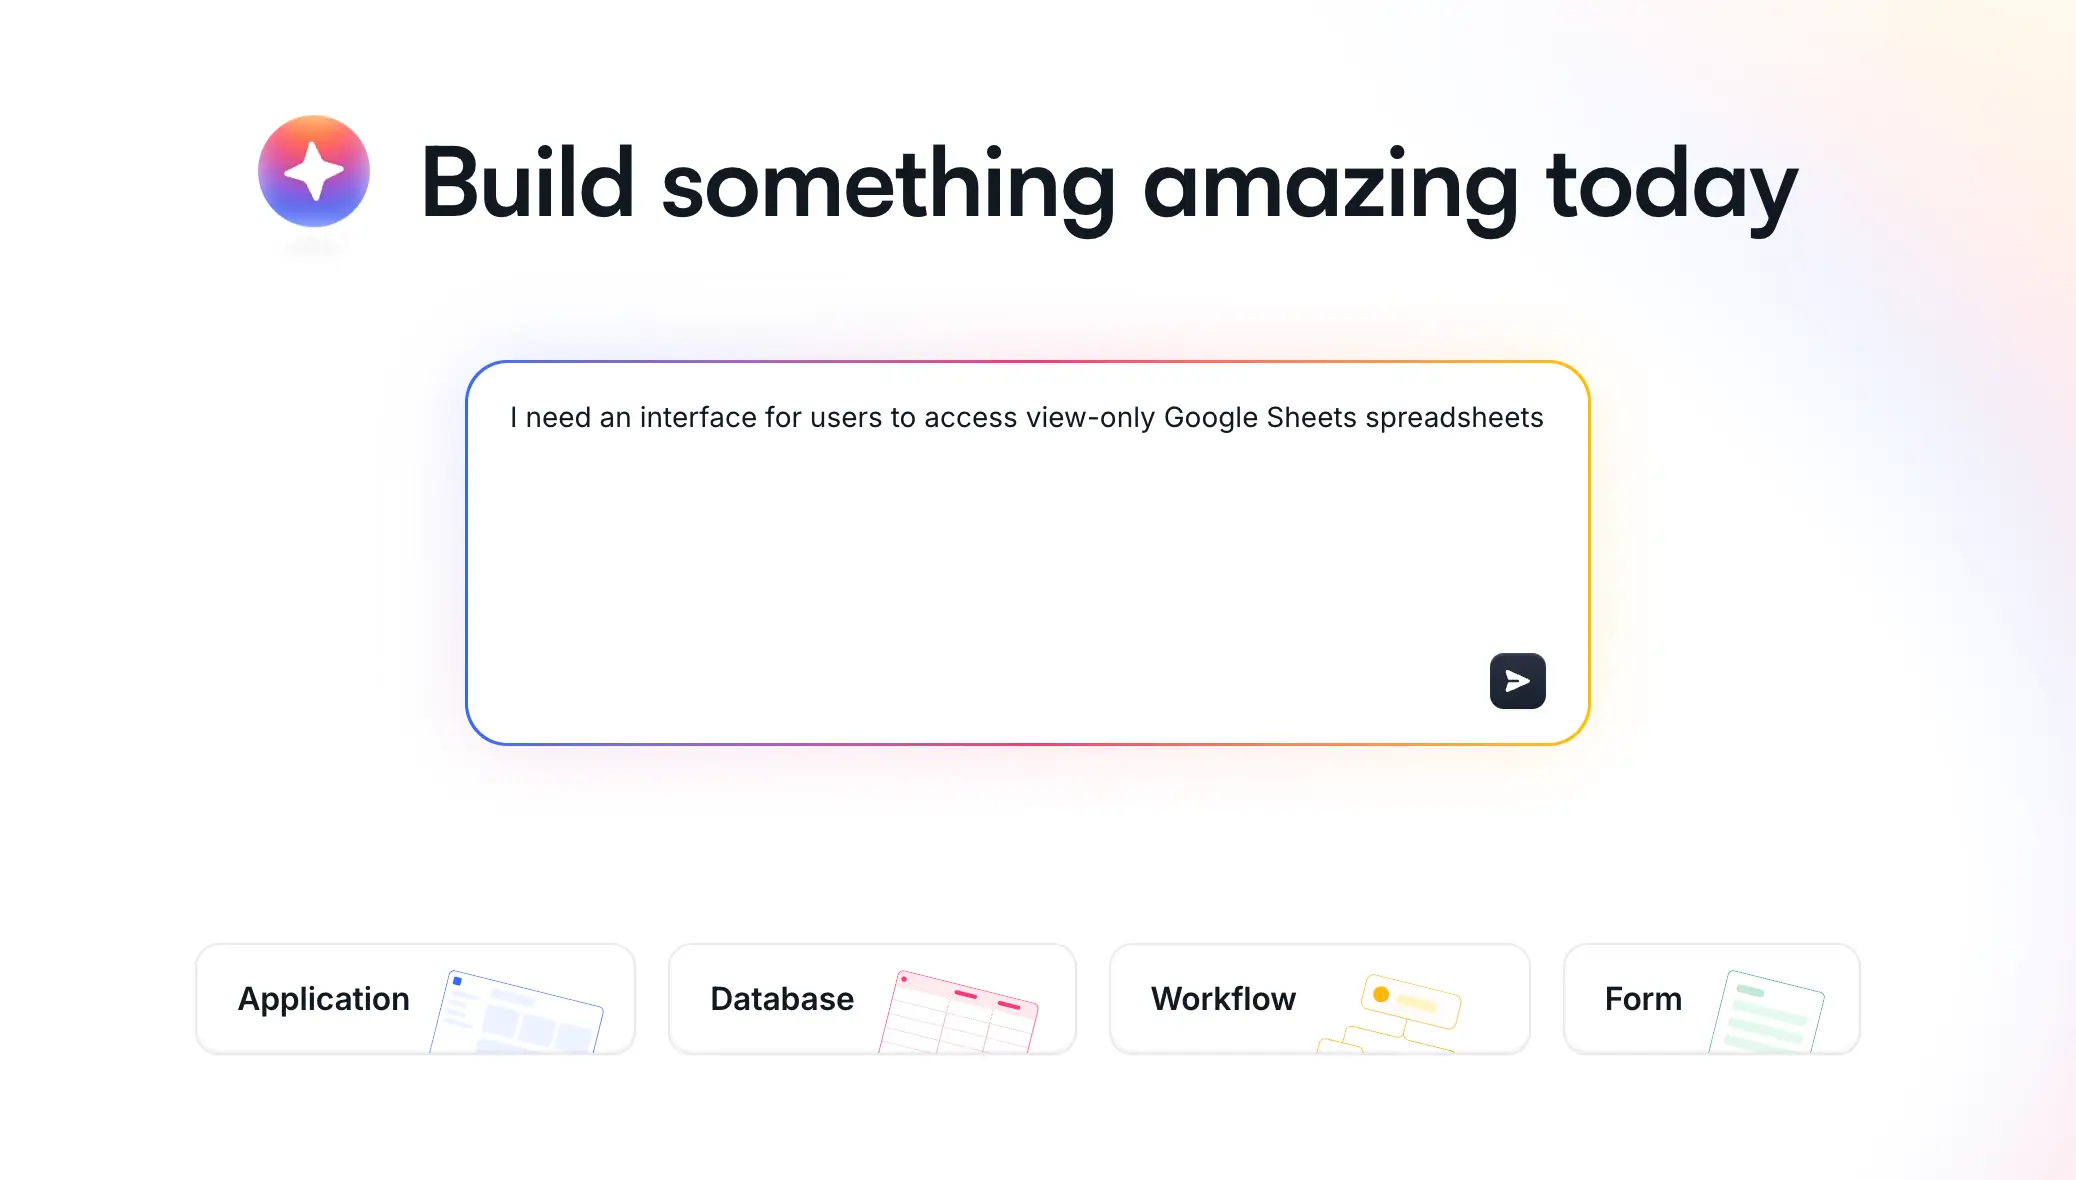
Step 2: Prompt the AI Co-Builder
The fastest way to create a view-only spreadsheet in Softr is to prompt the AI Co-Builder, which can instantly generate a database, an interface, and app logic for user groups (to determine who has access to your spreadsheet).
Note: Softr also offers a wide variety of templates designed for a range of business use cases. To access these templates, click Application → Copy from template and select one that matches your needs.
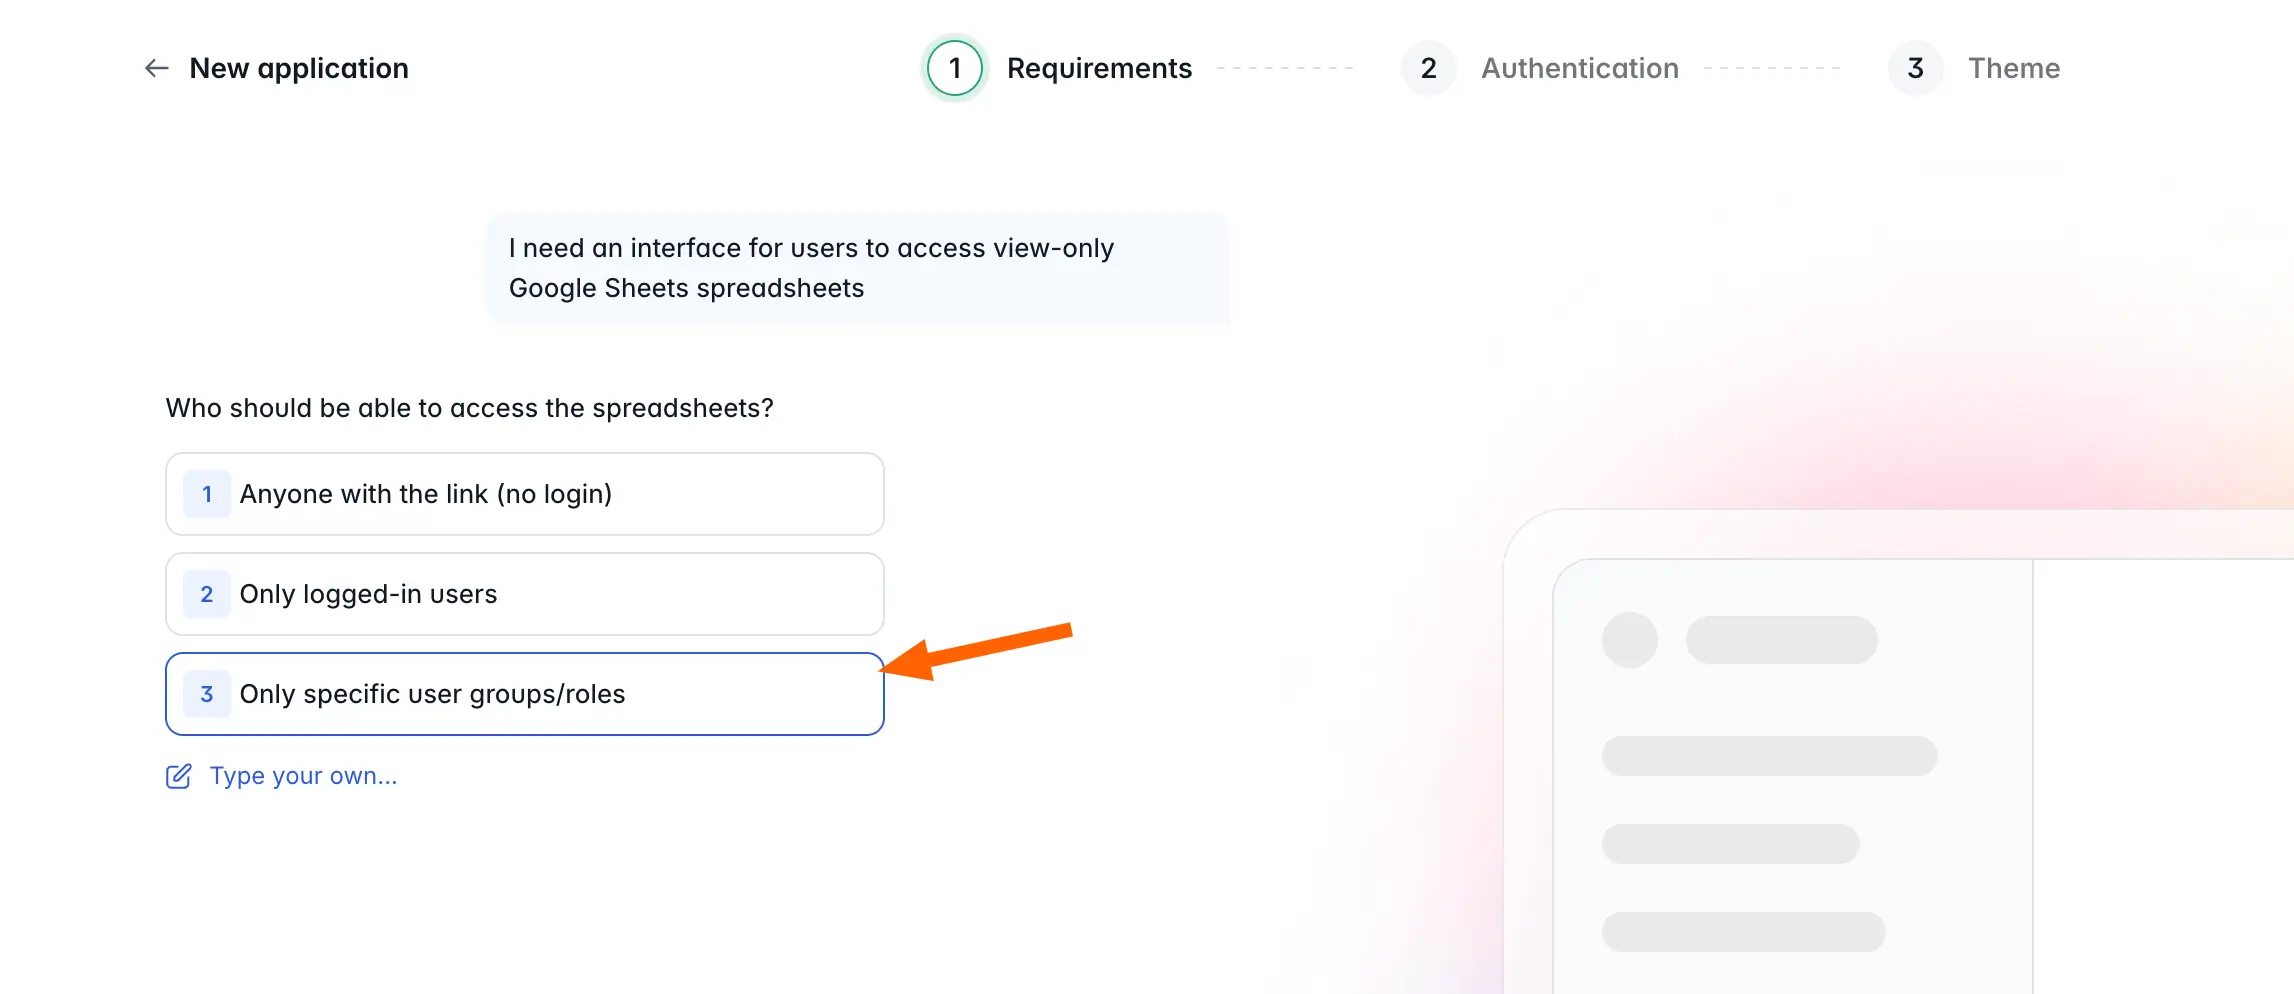
Step 3: Configure your access settings
The Co-Builder will ask you who should get access to your spreadsheets. SSO is included in Softr apps by default, and you can also configure specific user roles. For my example, I'll choose to only give specific users access.
Next, I'll select how users browse my spreadsheets. In this case, I want to give them a list to choose from.
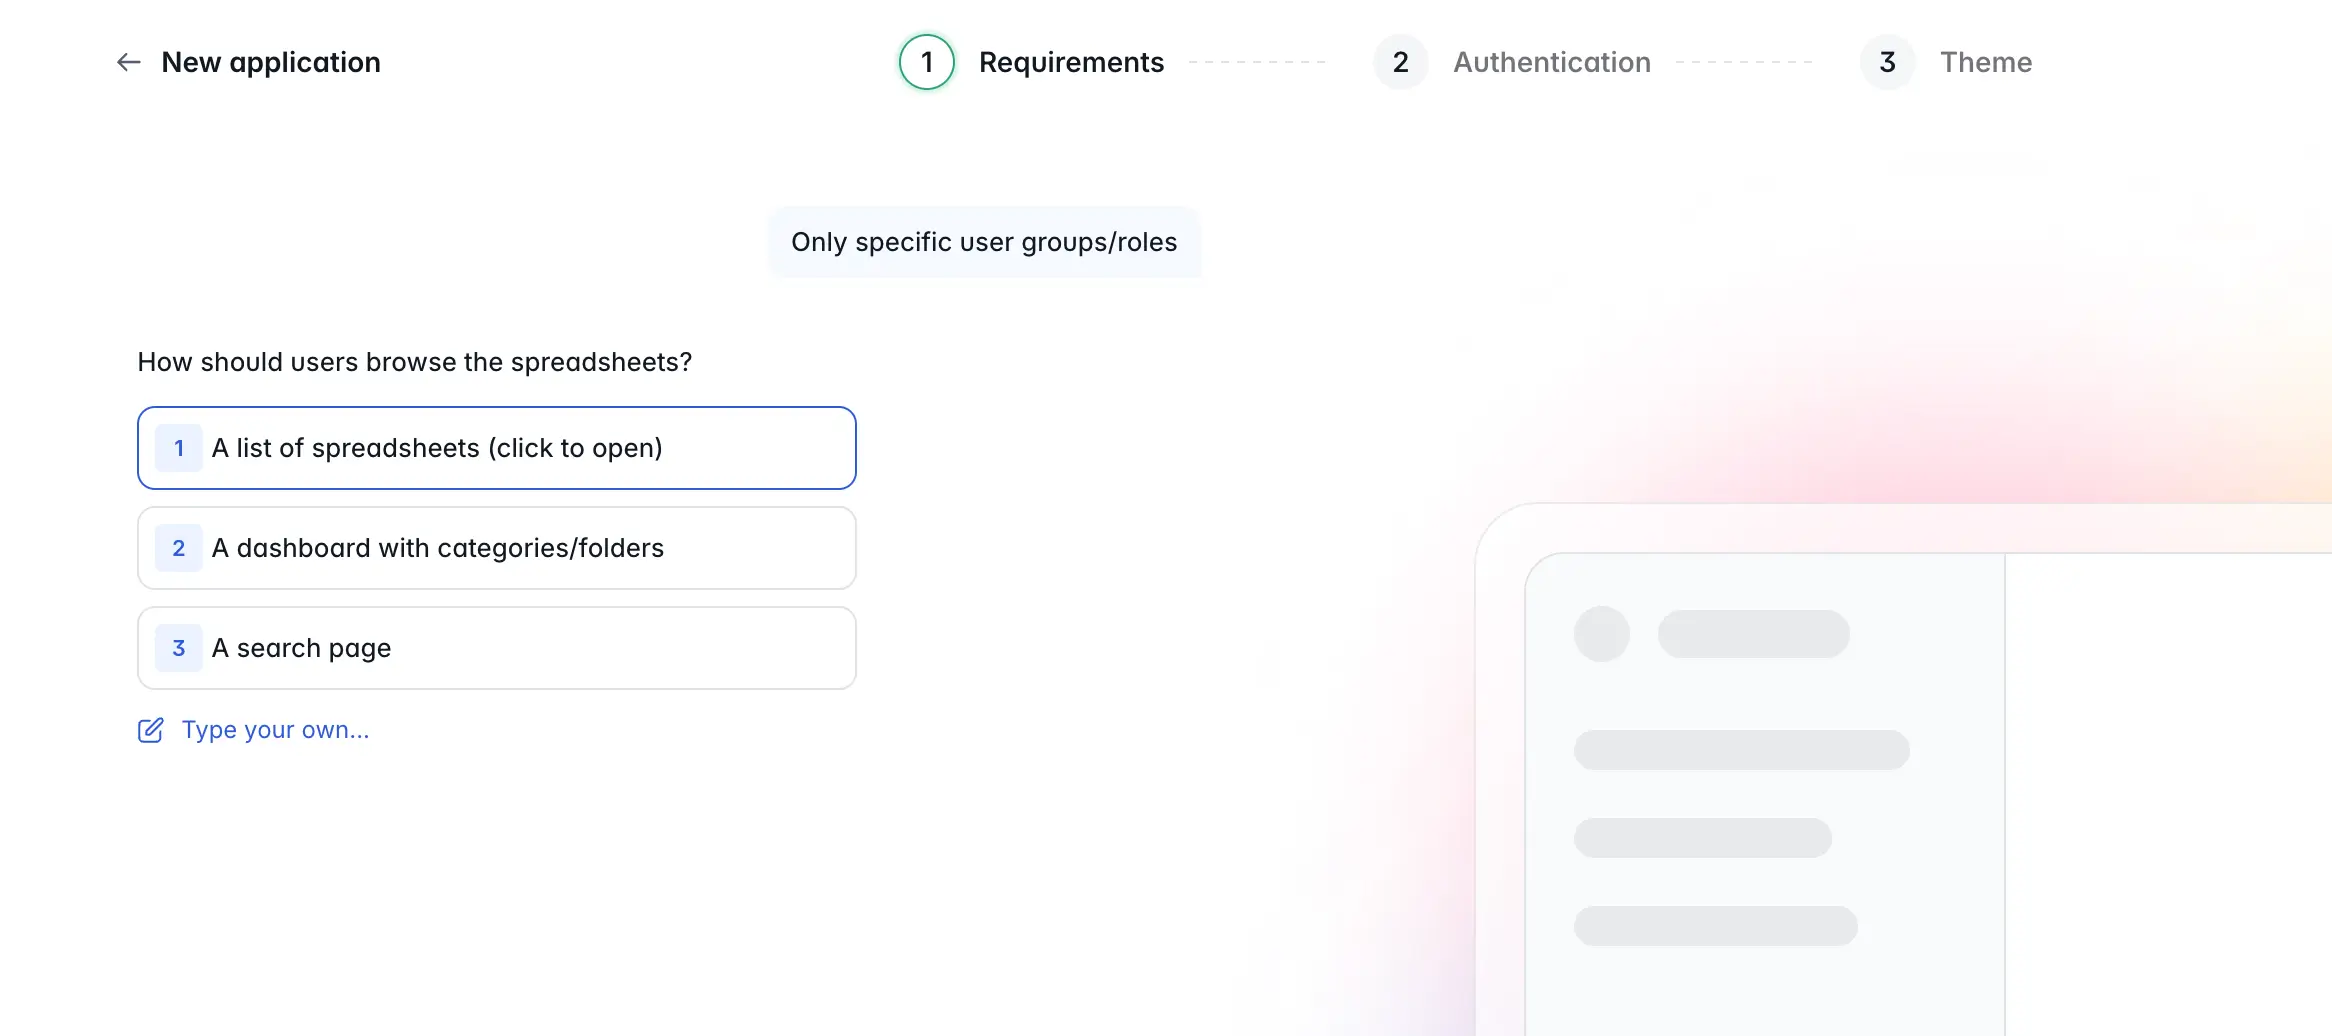
Depending on how you prompted the Co-Builder, you may see different options than those listed above. But the core principle remains the same: you'll determine which users can access your spreadsheets, and how they'll do so. You'll also be given a choice between email, Google, and SSO for login, and options for inviting users or letting anyone sign themselves up.
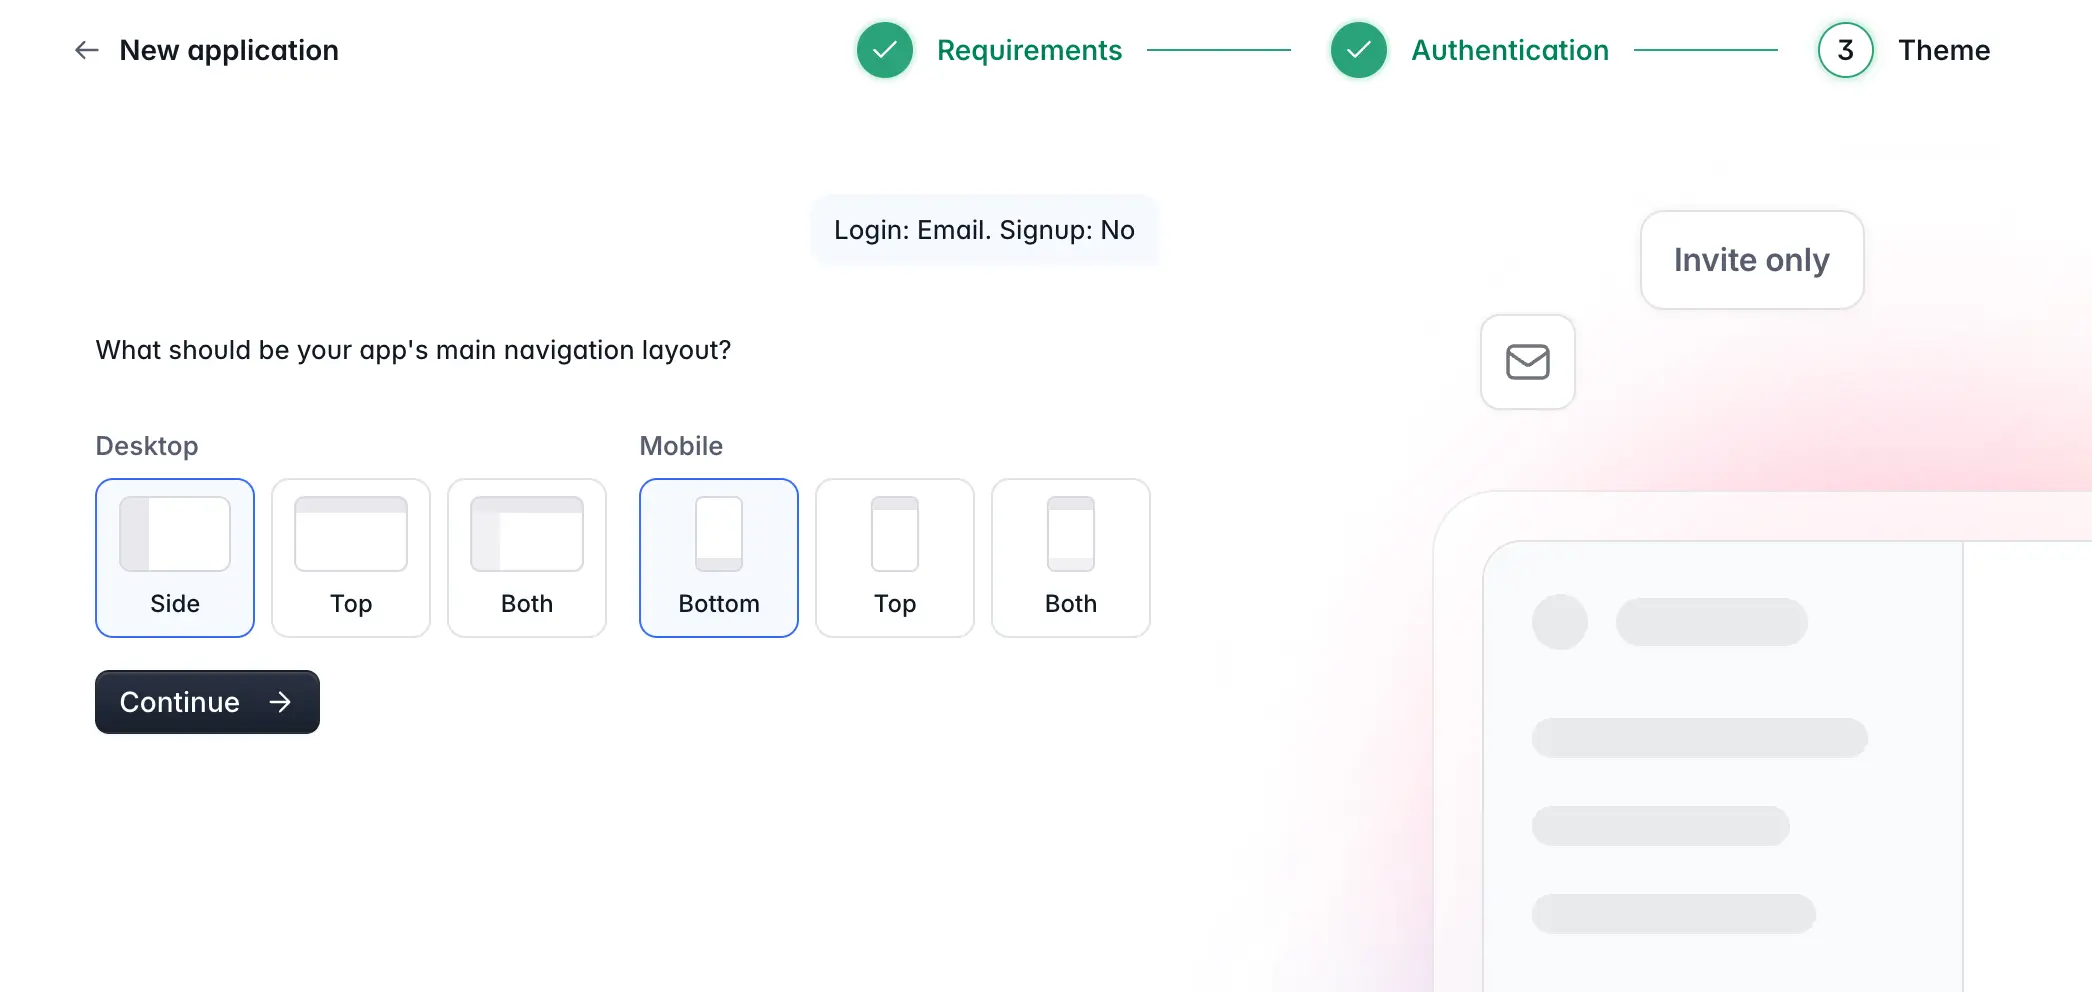
Step 4: Choose your interface's layout and theme
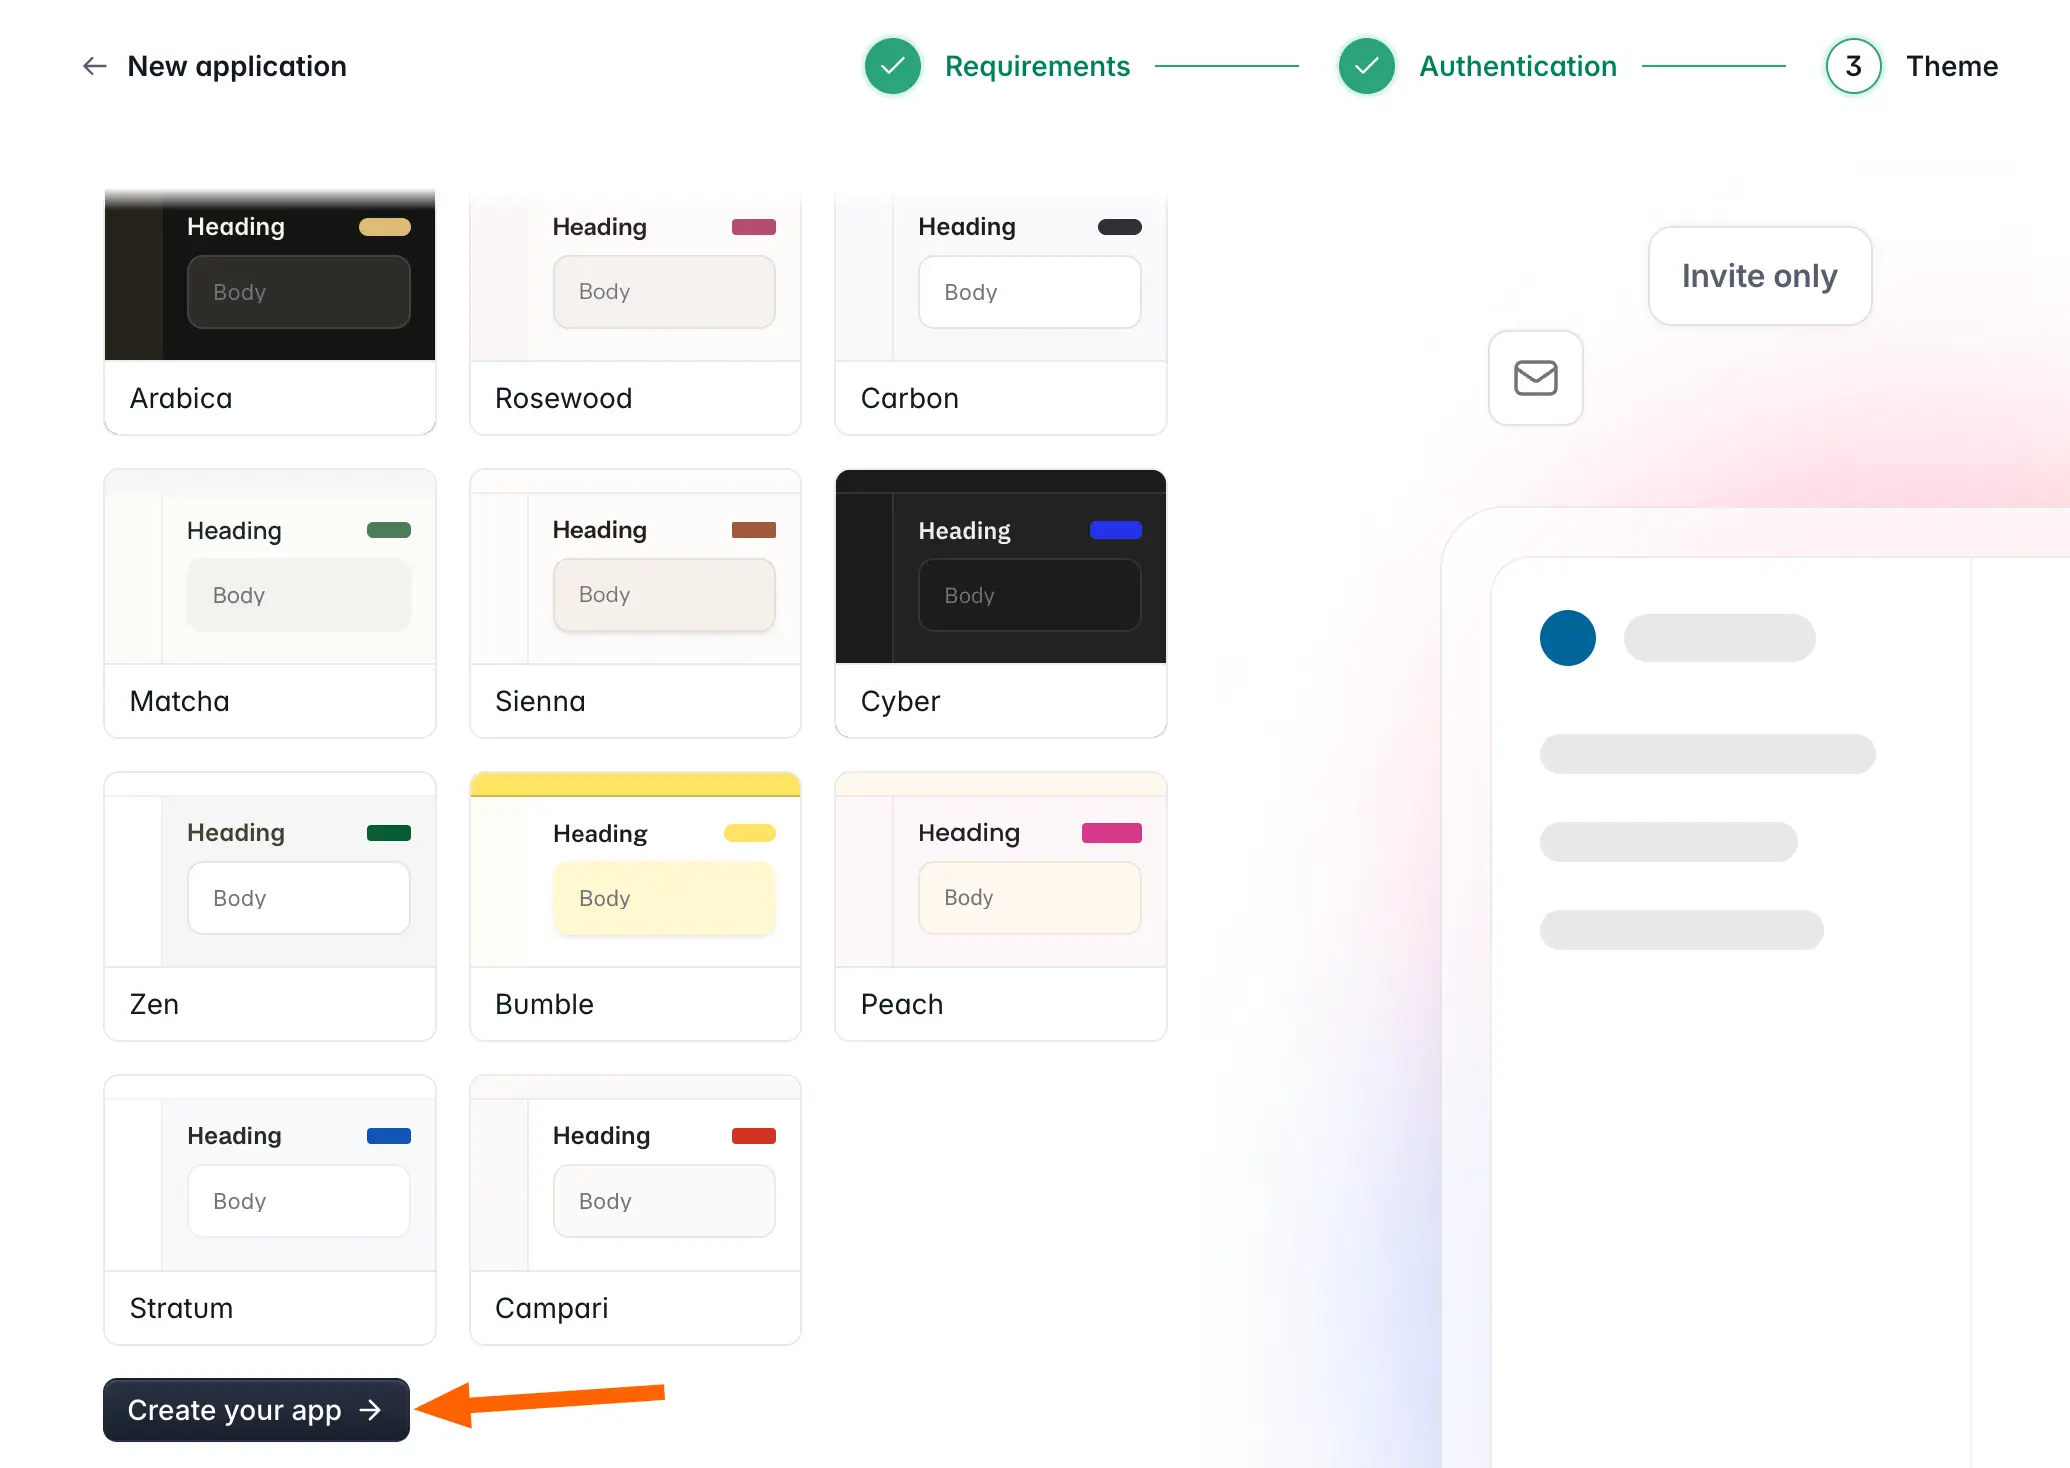
You’ll then be shown a number of options for your app's navigation layout and theme. Choose the ones that you like — and don't worry, you can always change these later.
Once you've selected a theme, simply hit Create your app and the Co-Builder will start generating a spreadsheet viewer interface. After a few minutes, the app will be ready to start customizing.
Step 5: Connect Softr and Google Sheets
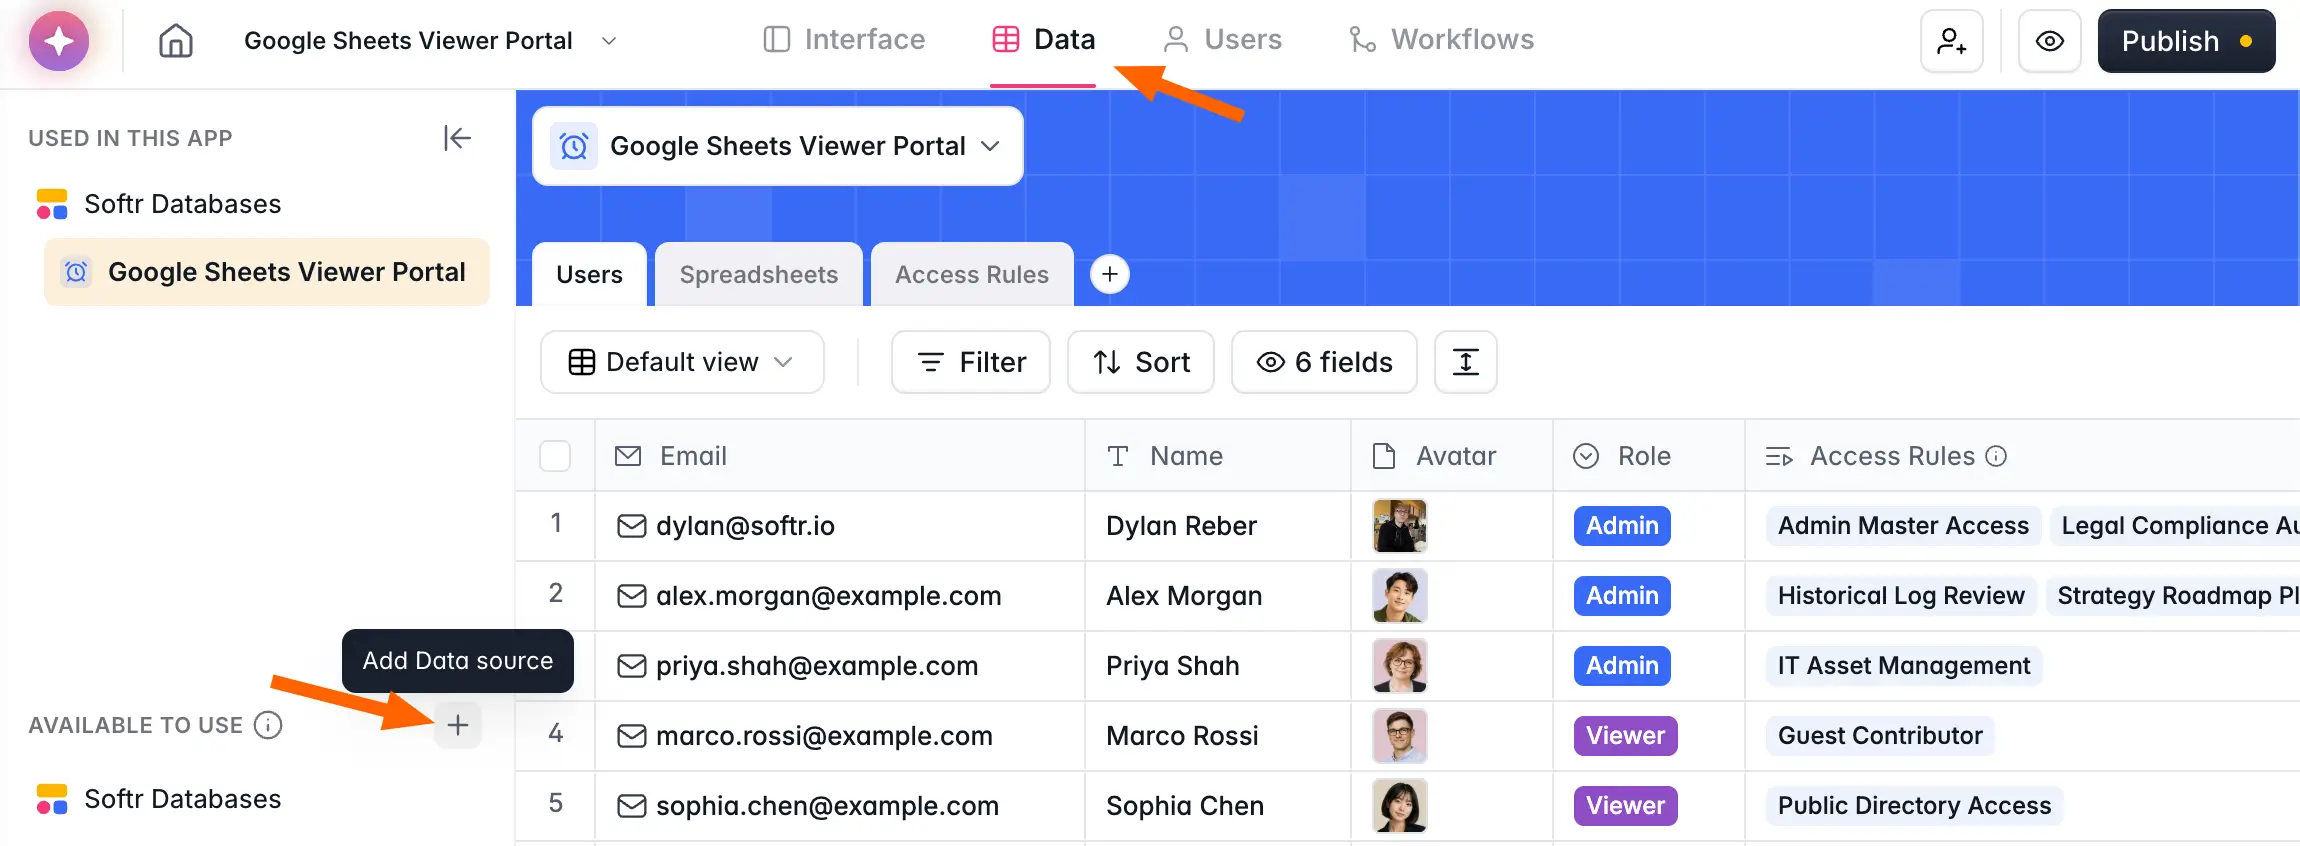
Softr's AI Co-Builder generated a working Google Sheets viewer portal, complete with a spreadsheet list, a page for setting user access rules, two user groups (viewers and admins), and dummy data so I can freely test the app.
If you want to use the portal with real Google Sheets spreadsheets, you'll need to add Sheets as a data source. To do that, select Data at the top of the interface, then click the + symbol as shown below to add a data source.
Next, select Google Sheets from the list of integrations and click Continue.
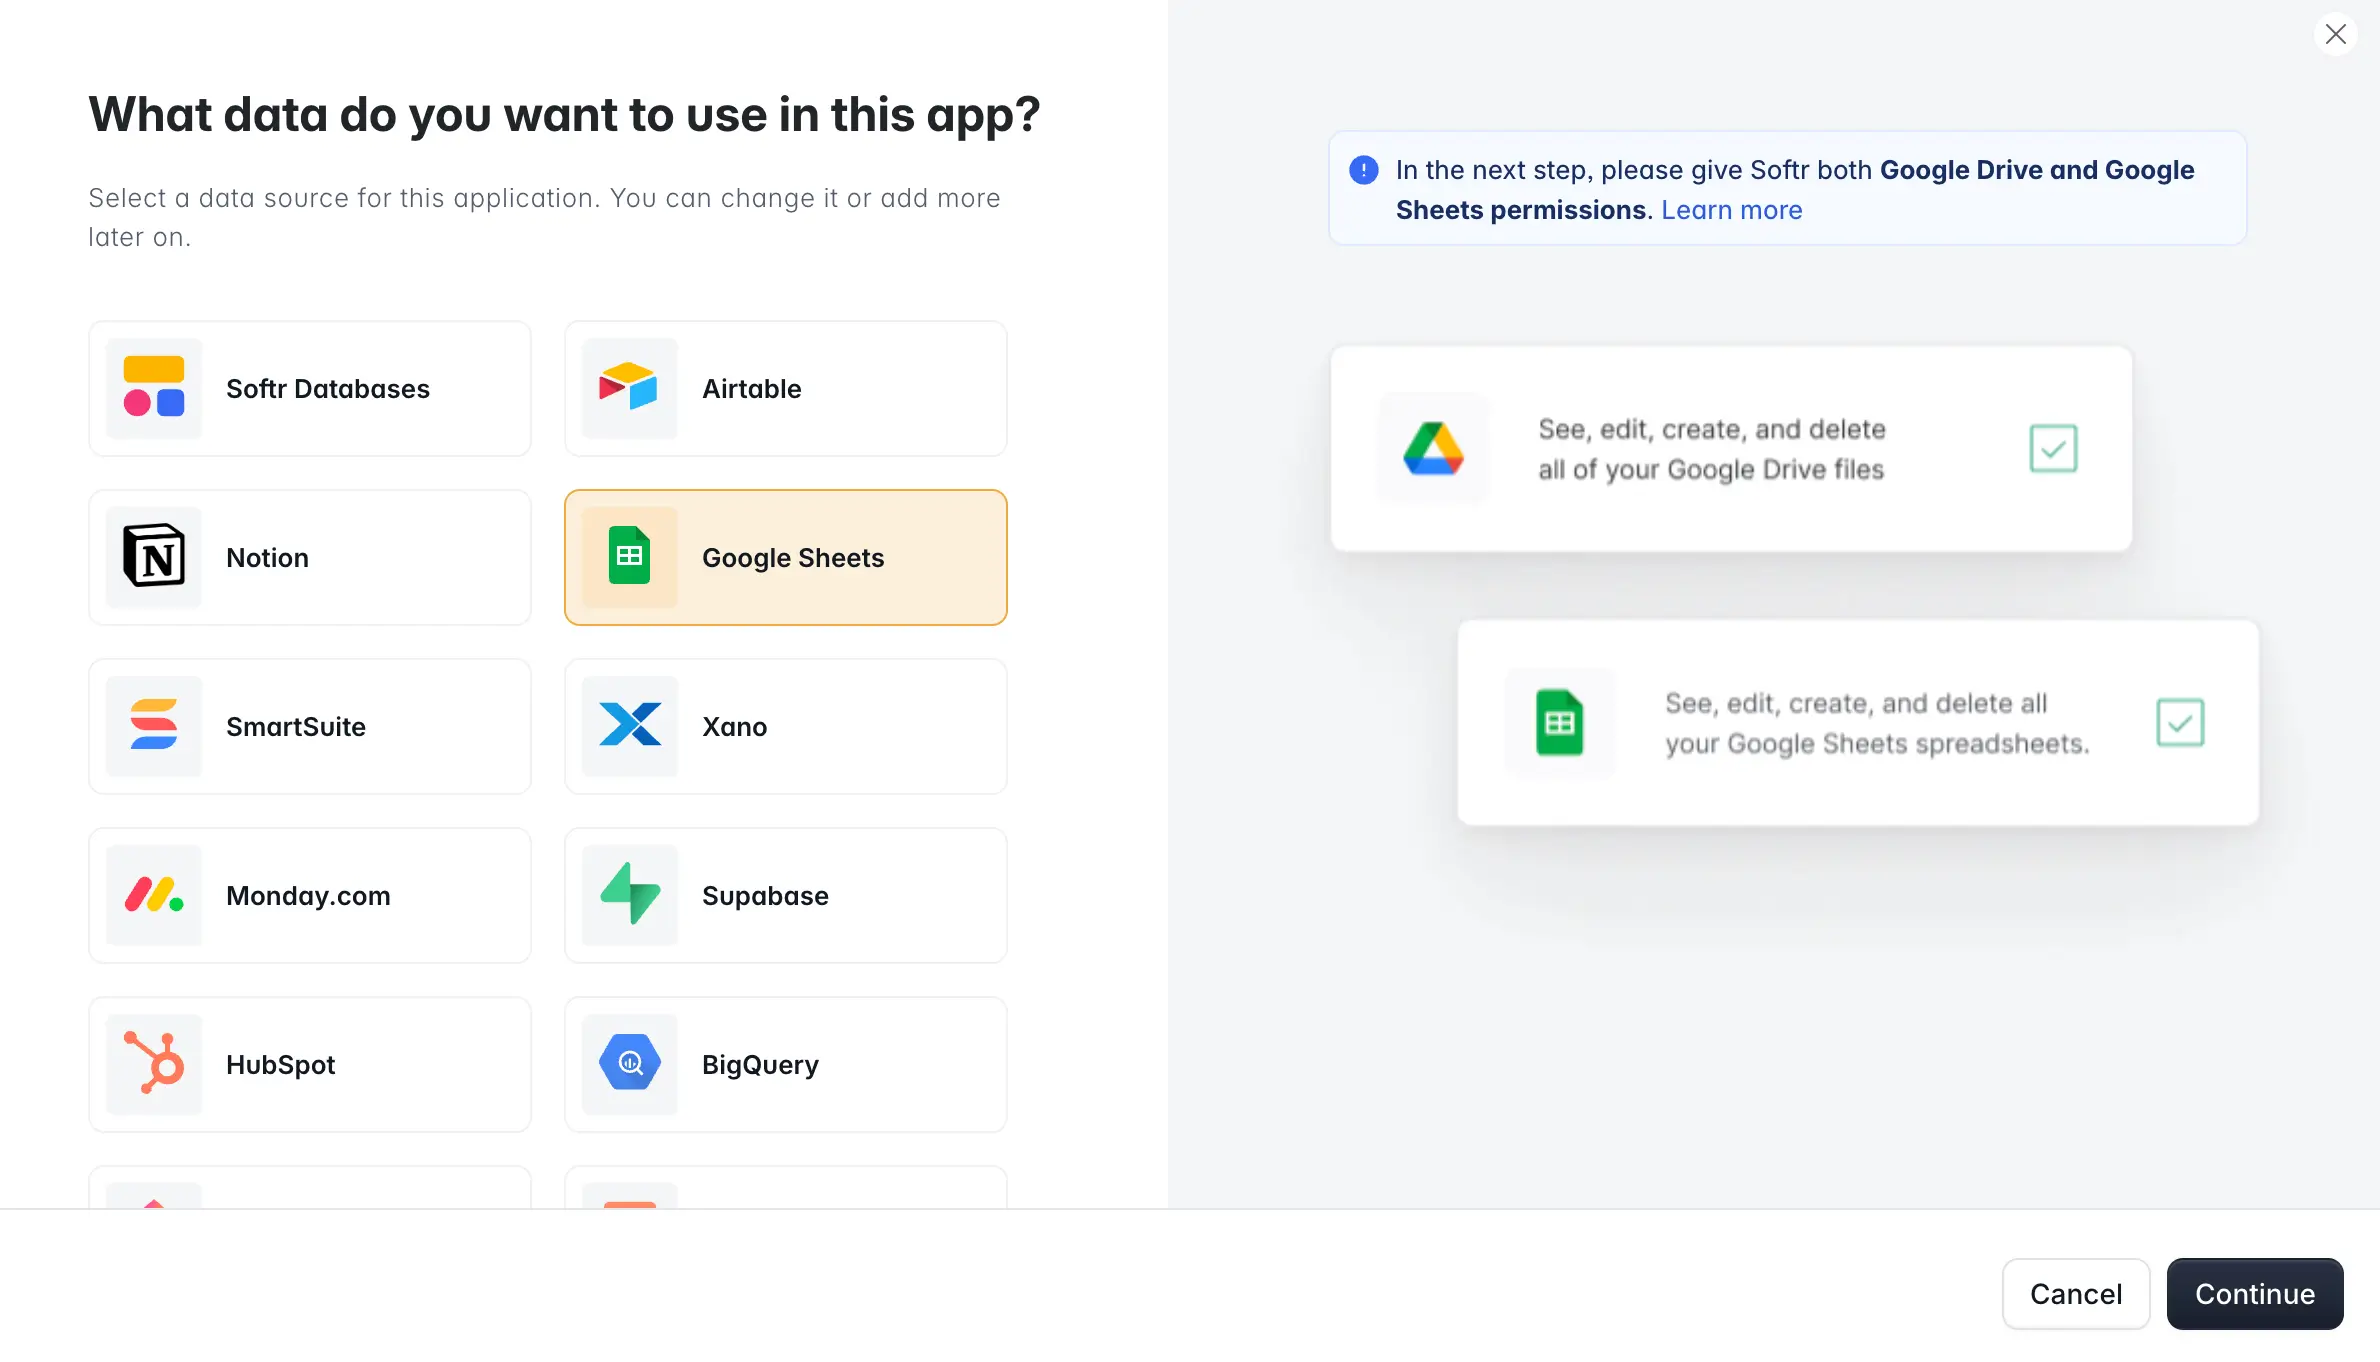
If this is your first time connecting your Google account to Softr, you’ll be redirected to the Google login screen, where you'll select and sign in to the account where your spreadsheets are saved.
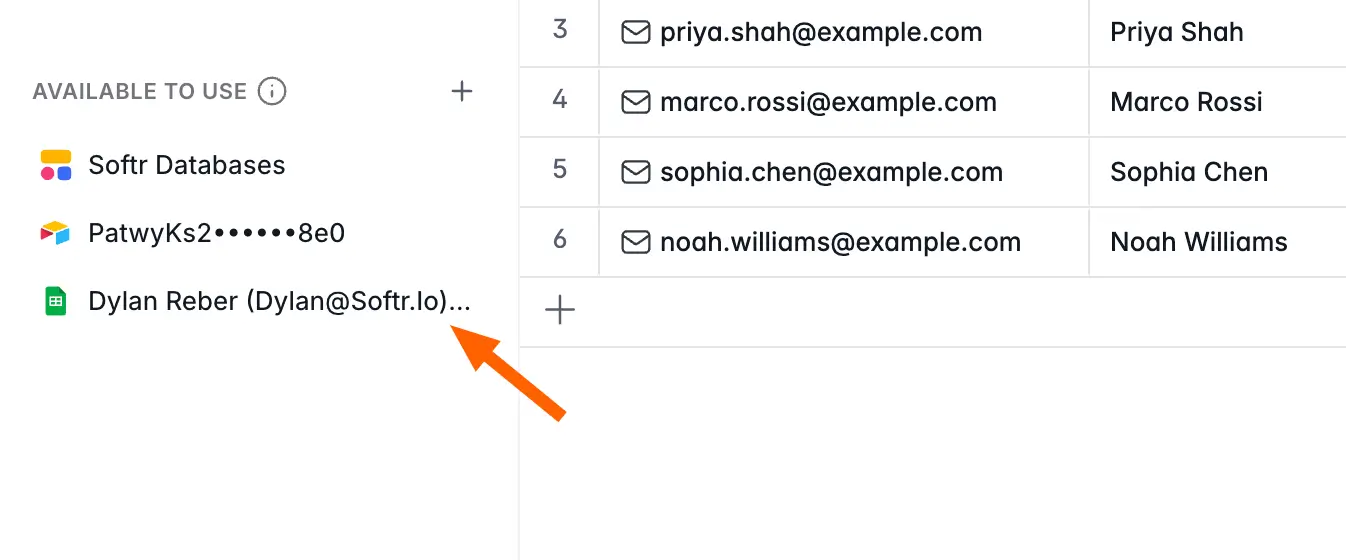
After you allow Softr access to your Google account, the page will close. Return to the Data tab in Softr and you'll find that Google Sheets now appears under Available to Use.
Step 6: Add your Google Sheets spreadsheet to the app
Select Interface at the top of the page, then click Pages on the left.

In the Pages tab, click the Add page button. Then, title your page and adjust the URL as needed.

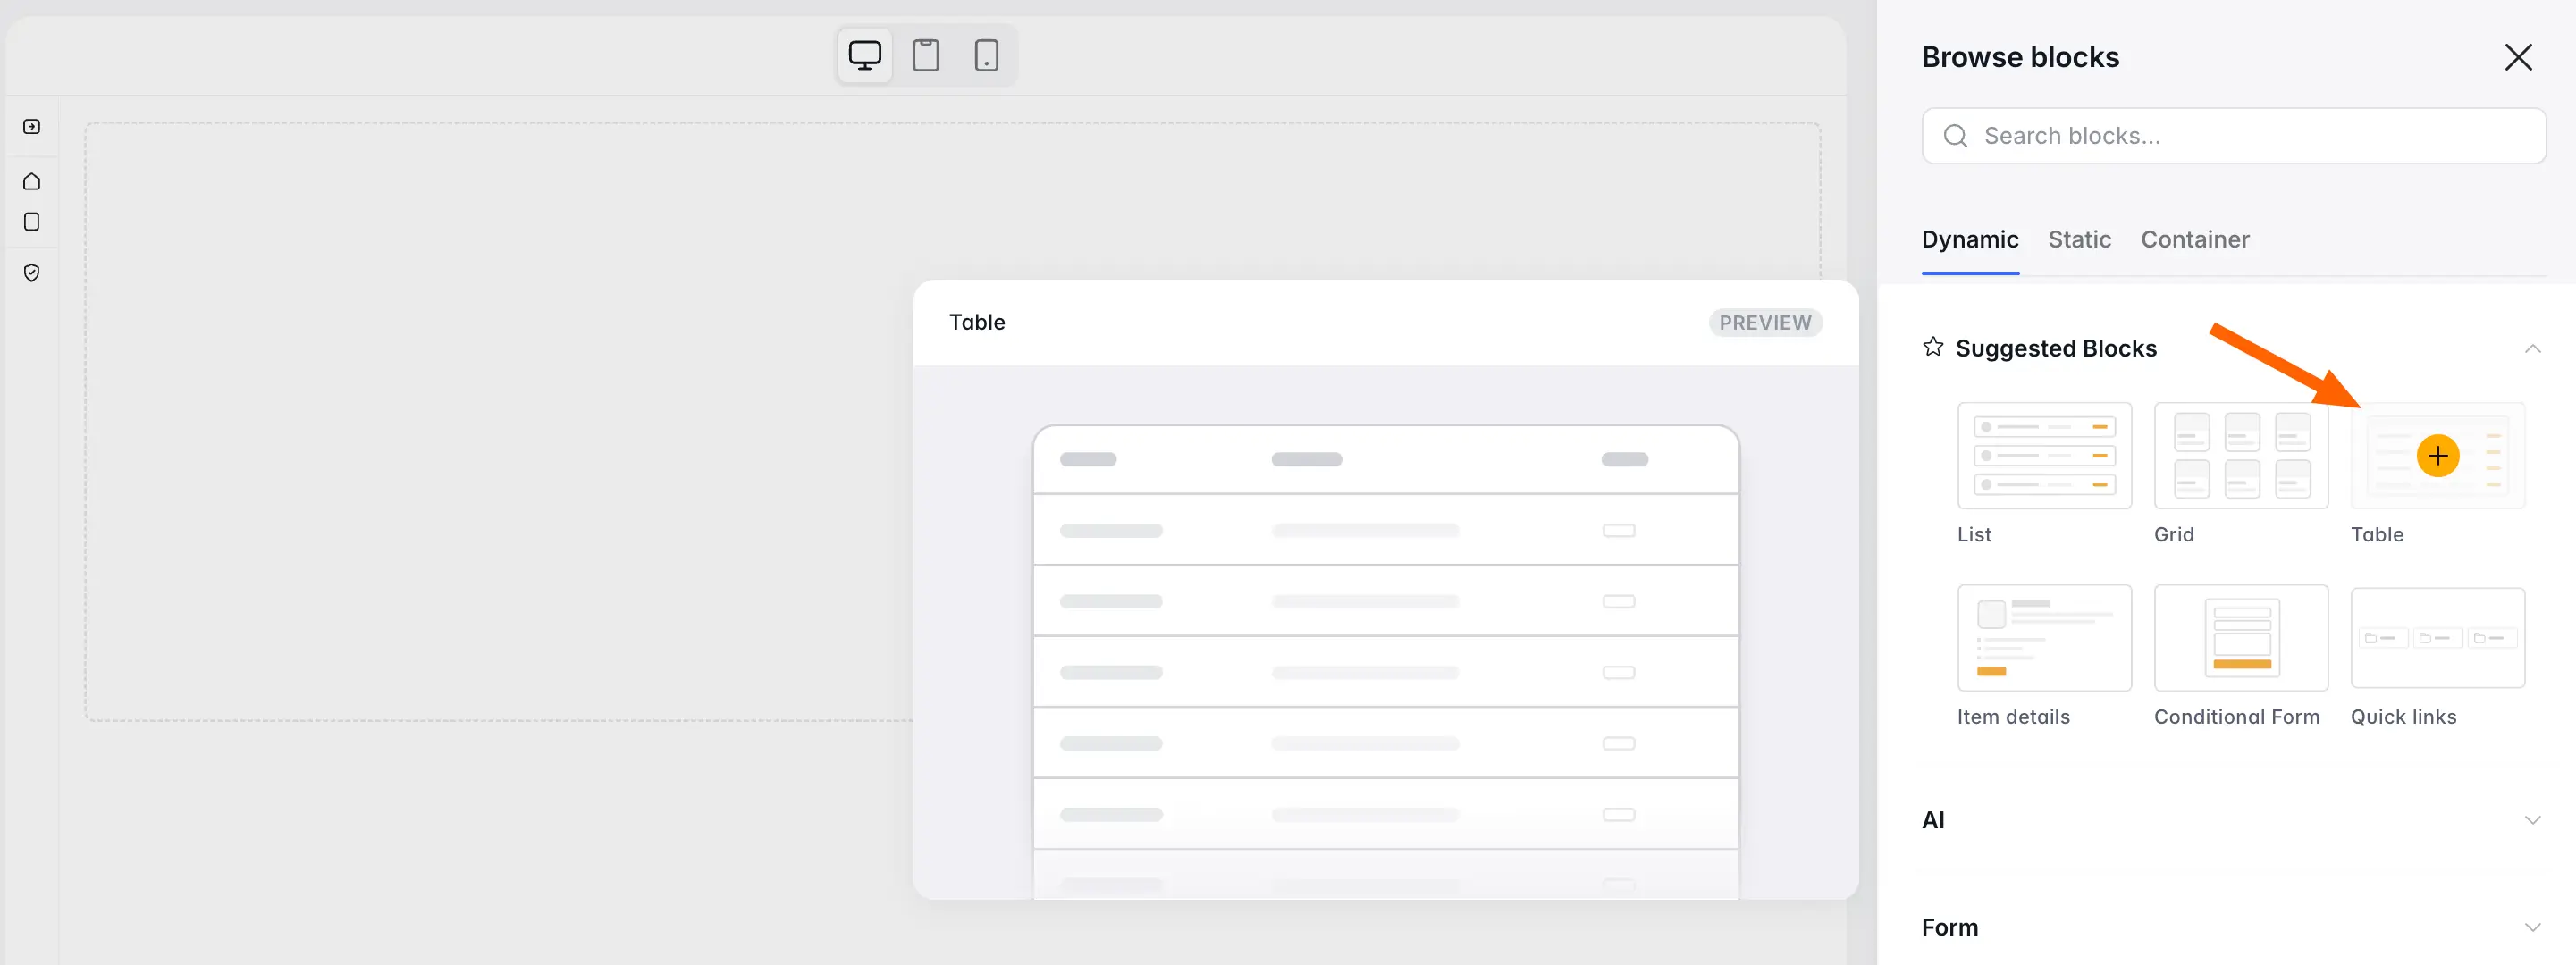
On the blank page that opens, click anywhere around the blue + symbol to add a block. Select Table from the list of suggested blocks on the right.
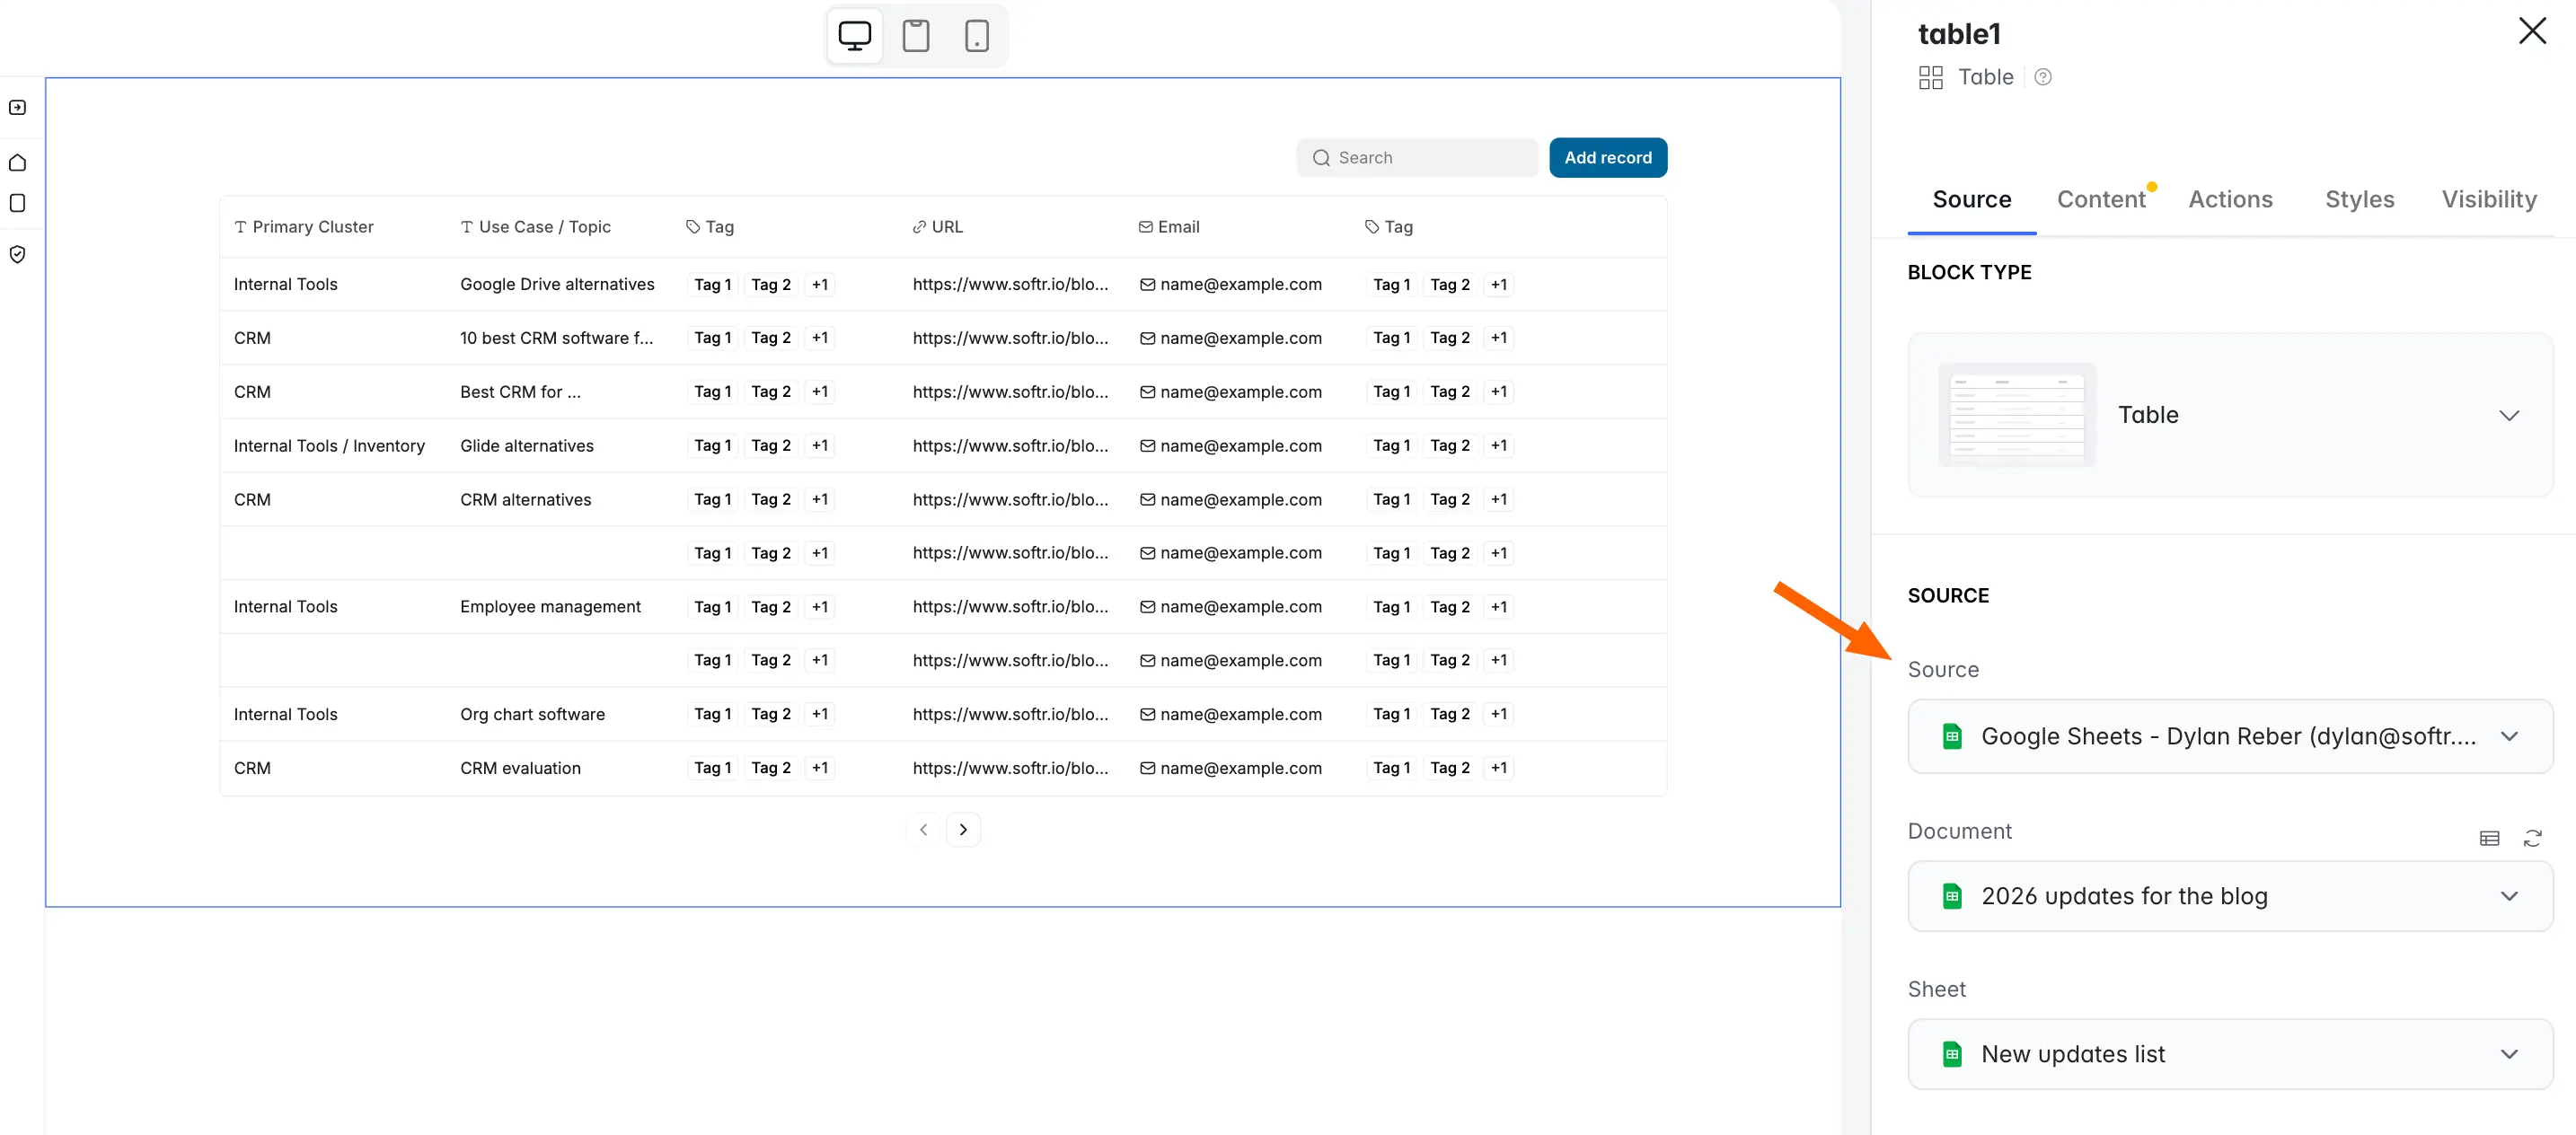
Under Source, select Google Sheets. Then select the specific spreadsheet you want to display (and the individual tab, if there are multiple). The table on the left will populate with the records from your chosen sheet.
Step 7: Make the spreadsheet view-only
Select the Visibilty tab on the right. Here, you can restrict the spreadsheet's visibilty to only logged-in users, and choose which specific user group can see it.

At this stage, the spreadsheet can only be seen by certain users, but we still need to remove edit access to make it view-only. To achieve this, you have a couple of options.
First, you could go to Actions and delete the Add record button from the page. Without this action button, users can't make any changes to the data.
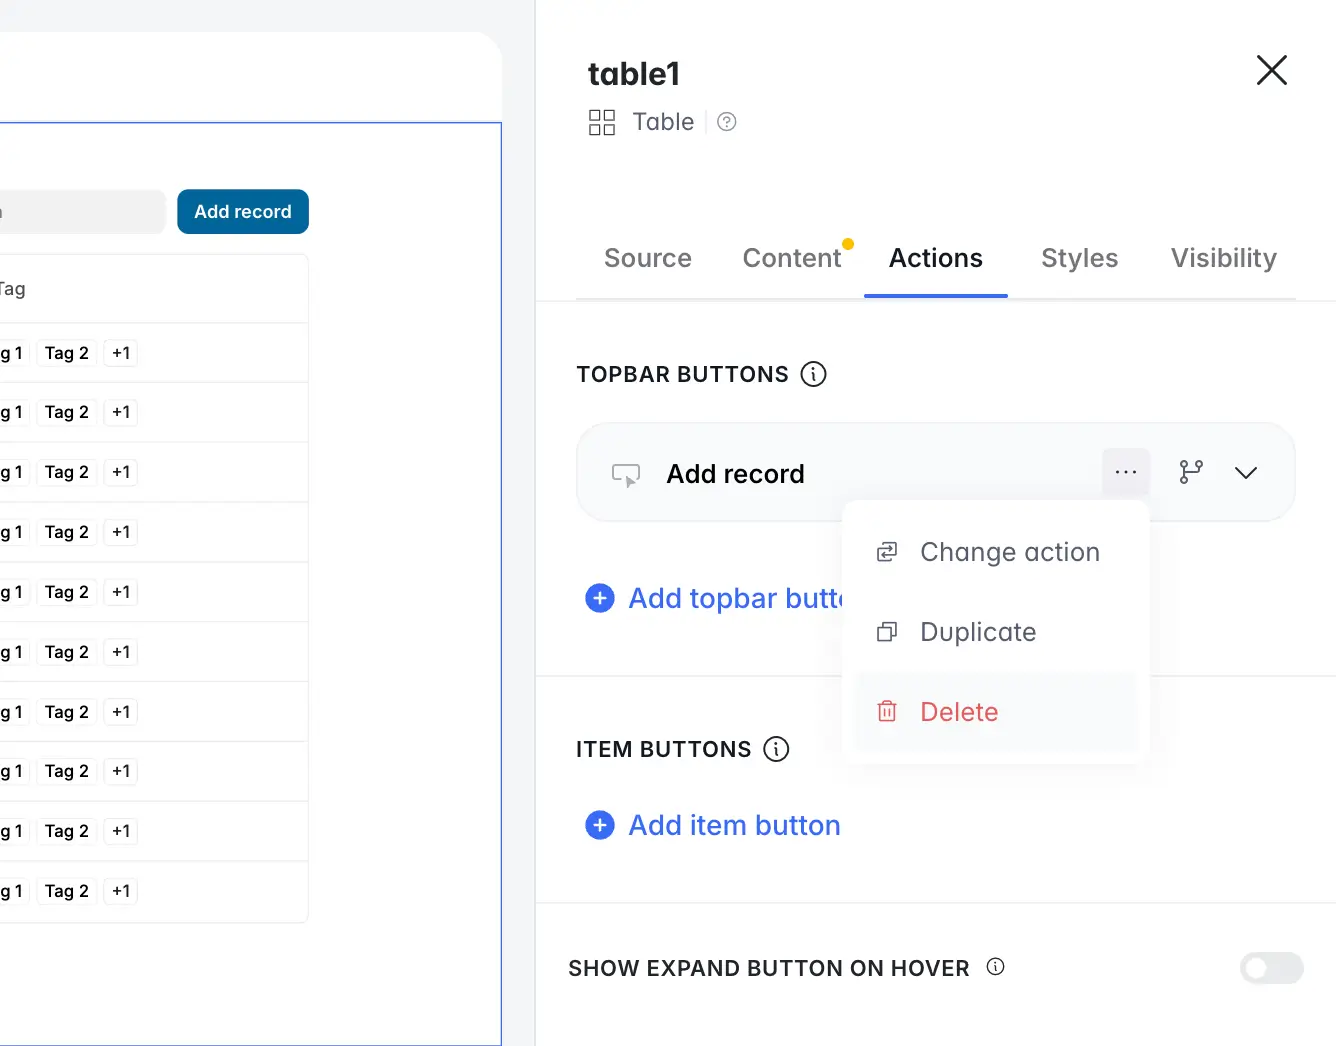
Alternatively, you could keep this button visible for Admins while making it invisible to Users. This way, the spreadsheet is view-only but can still be edited by those with admin access.
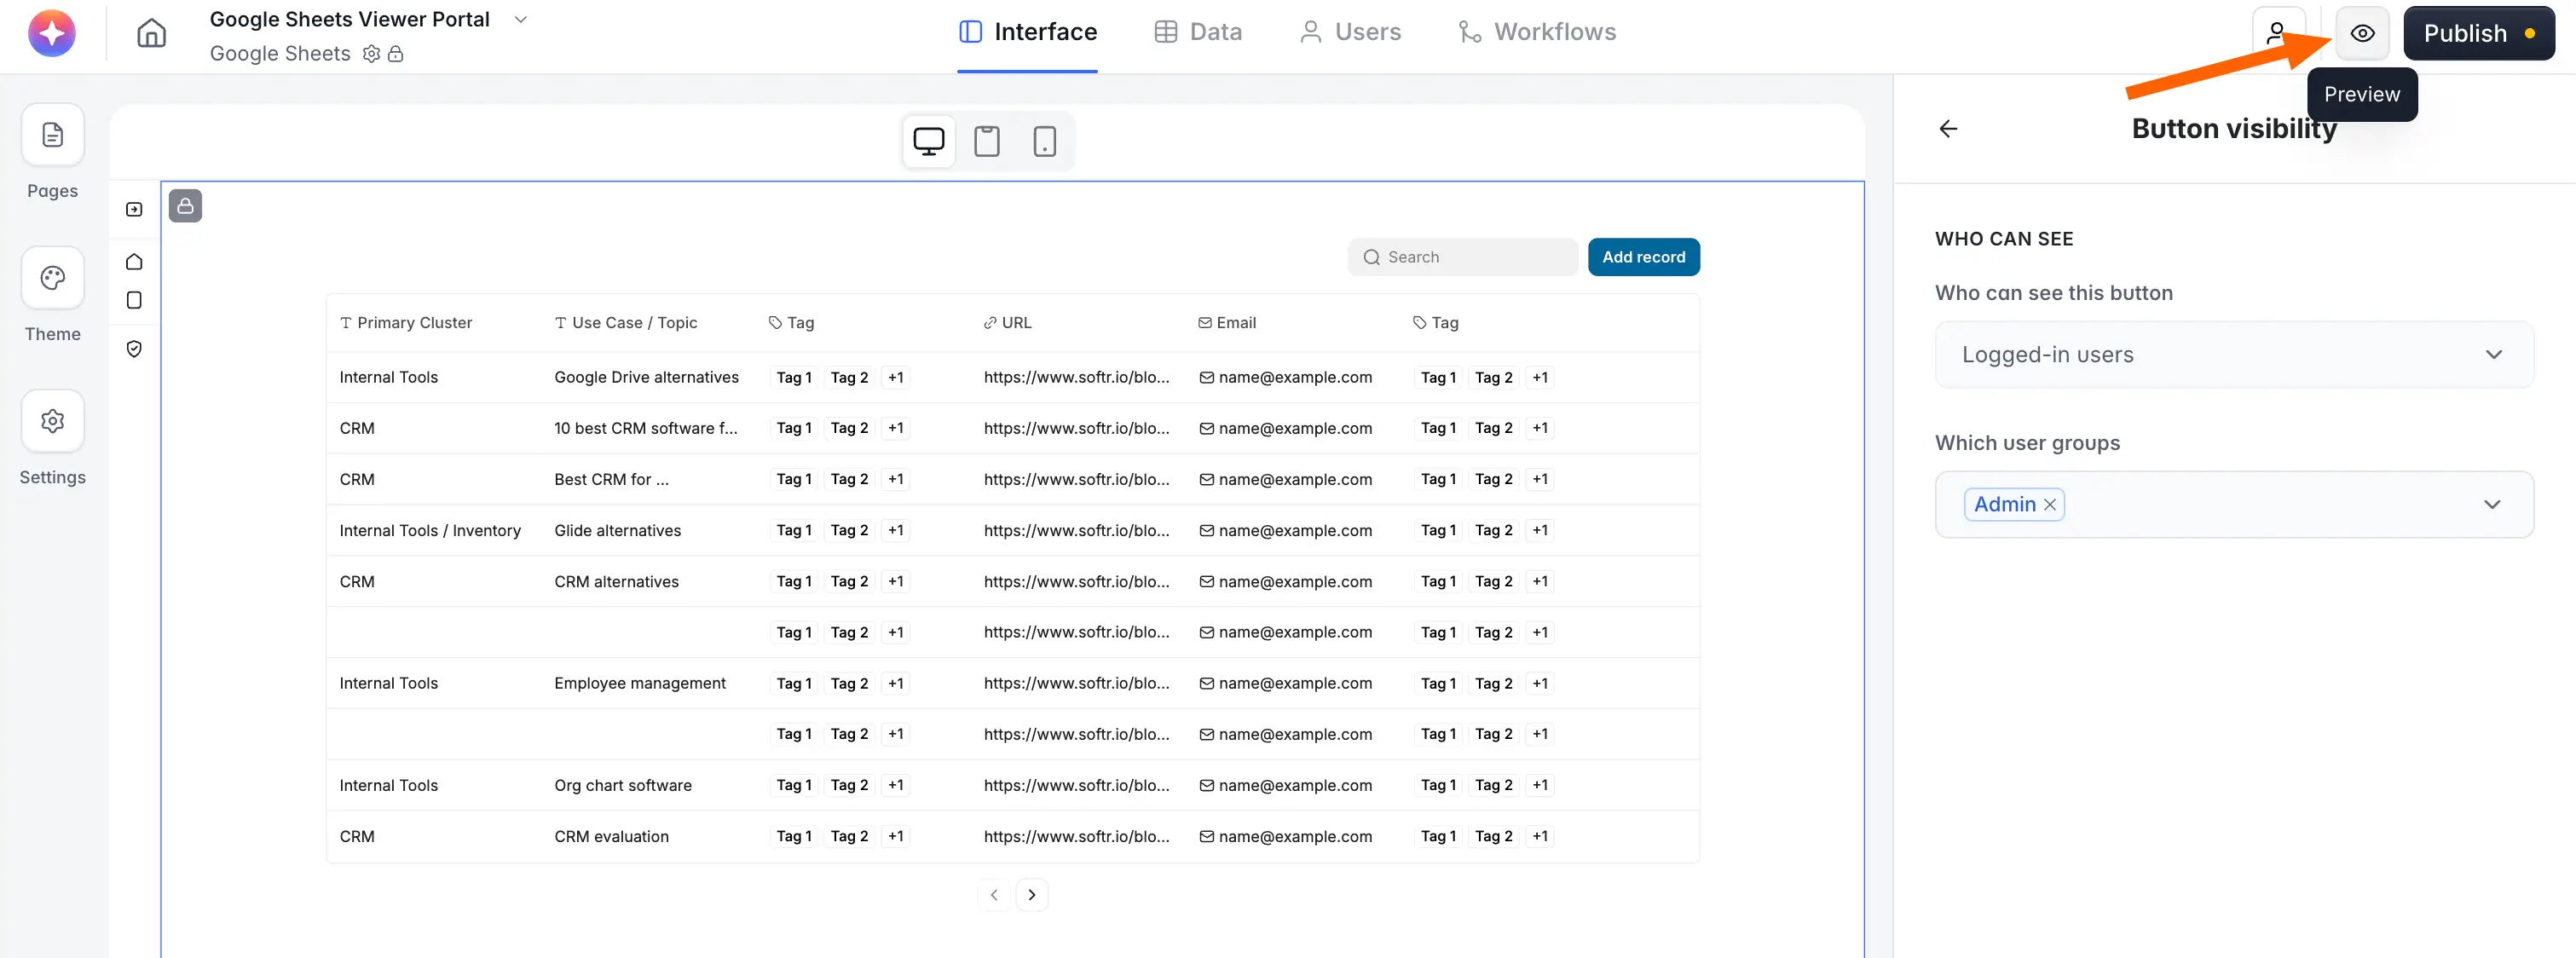
To do this, click the Button visibility icon as shown below. Then, set visibility to Logged-in users → Admin.

Step 8: Test and optimize
Now, your Google Sheets spreadsheet should be view-only. And because you've added it to a Softr app, you can set visibility and edit permissions across as many user groups as you require. This gives you significantly more granular access control than Sheets alone.
To test the spreadsheet viewer and make sure everything is working properly, click the Preview button in the top right.
Softr lets you preview the interface with test users—both visitors and admins—to show you exactly what different user groups see when they open your app.
If everything works as it should, you're done. Now you can share the app with real users and trust that your data won't be altered by someone who shouldn't have edit access. And while I built this example viewer with the AI Co-Builder, you can also start from a template or from scratch.
If you need granular control over who sees what, Softr gives you the flexibility to set permissions across multiple user groups without writing code. This way, your data is both protected and accessible. Try Softr free and build a secure, connected spreadsheet replacement today.
This article was originally published in April 2025. The most recent update, with contributions by Dylan Reber, was in April 2026.