Transcript
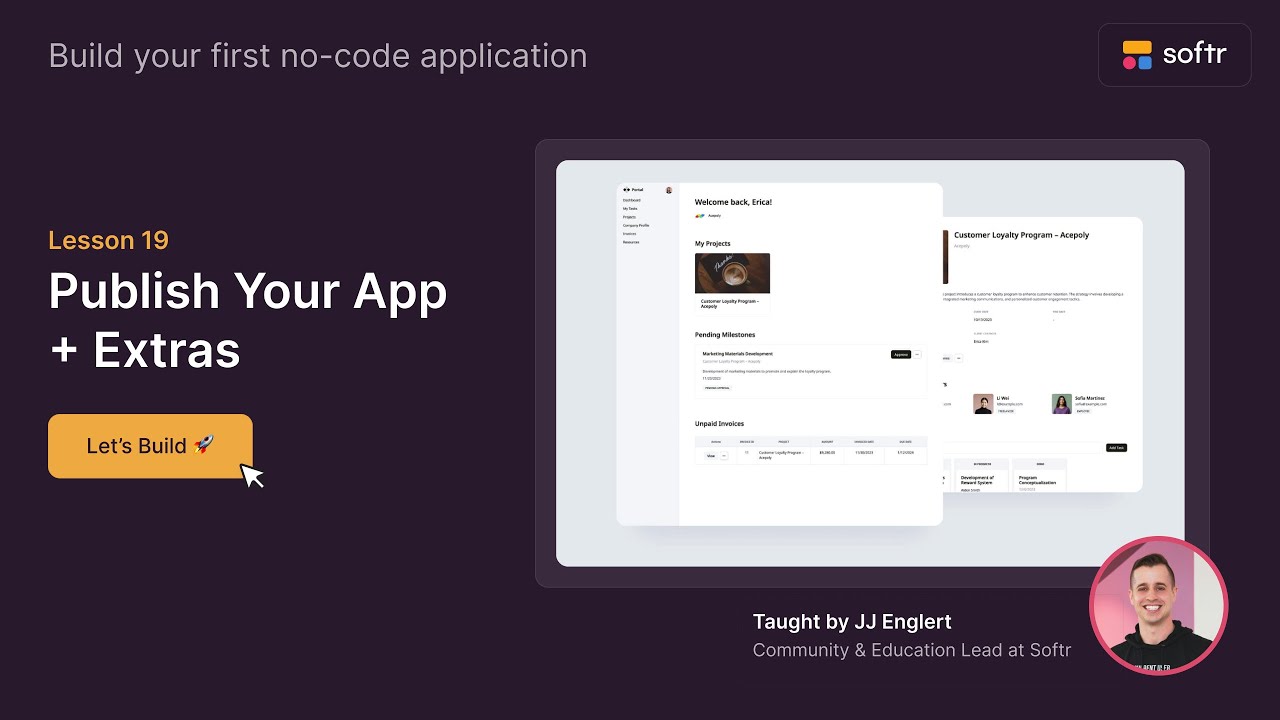
As we are wrapping up, I want to show you a couple of things you should know about Softr before you publish your app and make it live. Let's work through these steps in this lesson.
We have all of our pages set up in Softr, but I want to highlight some more user functionality first. If you want to use a magic link, you can either generate a new one or copy an existing one to send to a user.
When a user enters this link, it normally brings them directly into the application and logs them in automatically as that specific user. However, for this to work, we actually need to publish the application first.
Let's head up to the publish button. There are a few things to discuss here, starting with the domain. Out of the box, Softr gives you a default subdomain that we can change to look better.
For this example, we will set the URL to your client portal. As soon as I hit publish, the app becomes public and visible to anyone who has that specific domain address.
[.blog-callout]
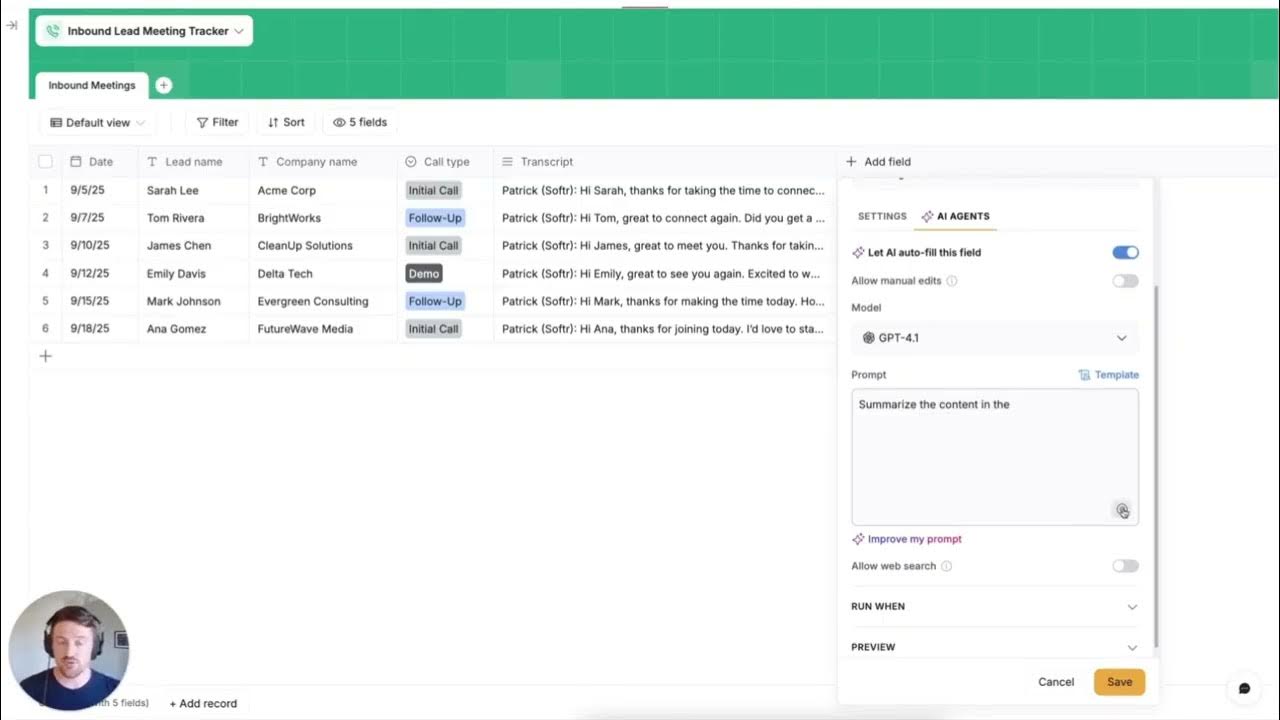
Note from Softr: While this video shows manual publishing, you can use the AI co-builder to generate entire App templates and site structures with a single prompt.
[.blog-callout]
If you want to use your own custom domain, you can add it here. You would simply enter your domain and then take the text records provided by Softr and add them to your domain registrar, like GoDaddy.
Once those records are added, Softr will connect your application to that domain. This allows you to have a professional URL like www.yourcompany.com for your application.
After publishing, if you open the app in a new tab and don't see anything, it is likely because the page rules aren't configured yet. We need to tell the app where to send users.
In the page rules settings, we can define where users go after signing in or signing out. For example, logged-in users should go to the dashboard, while non-logged-in users should be sent to the sign in page.
We can also set a redirect for unauthorized access. This happens if a user tries to access a page they do not have permission to see, such as a client trying to access an admin page.
[.blog-callout]
Note from Softr: Managing different visibility levels is easy with user groups. You can define exactly who sees what based on their role within your application.
[.blog-callout]
Once those updates are published, the sign in page will work correctly. Softr automatically creates these pages for you, including sign-up and sign-in functionality that you can customize.
I want to show you the difference between the sandbox and the production environment. When you make changes in the editor, you are in a test environment.
To see those changes live on your actual URL, you must hit the publish button again. Only then will your production environment be updated with the newest features or design tweaks.
For the dashboard, you can customize what happens when no data is present. Instead of hiding a block, you can show an empty message like no projects found to improve the user experience.
Next, let's look at global data restrictions. While conditional filtering works on individual blocks, data restrictions are universal and apply to your entire application at once.
[.blog-callout]
Note from Softr: For project-heavy apps, check out our project management tools and the native Softr Databases for a seamless data experience.
[.blog-callout]
You can select a data source and a table, such as the projects table, and create a rule where users can only see records linked to them. This ensures security across every block in the app.
You can assign these restrictions to specific user groups, like clients. This makes it incredibly easy to manage permissions for viewing, creating, editing, or deleting data universally.
Softr also offers many built-in integrations. You can easily connect tools like Intercom or Google Analytics just by entering your ID into the settings section.
If you are on a specific plan, you also get a progressive web app. This allows users to save an icon to their phone and launch your application just like a native mobile app.
Finally, check out the App History section. If you ever make a mistake or want to go back to a previous version of your app, you can see all your historical changes right there.