Transcript
Welcome back. We are now ready to create our app and start bringing this data to life in Softr.
Here I am in my Softr dashboard, and I have different ways to start a new app. You can start from scratch, start with a template, or generate with AI.
[.blog-callout]
If you want to move even faster, try the AI co-builder. You can simply prompt for the app you want, and it will build your pages and database schema instantly.
[.blog-callout]
Since we are building this application together, we are going to start from scratch. Now we get to choose which database we want to start with.
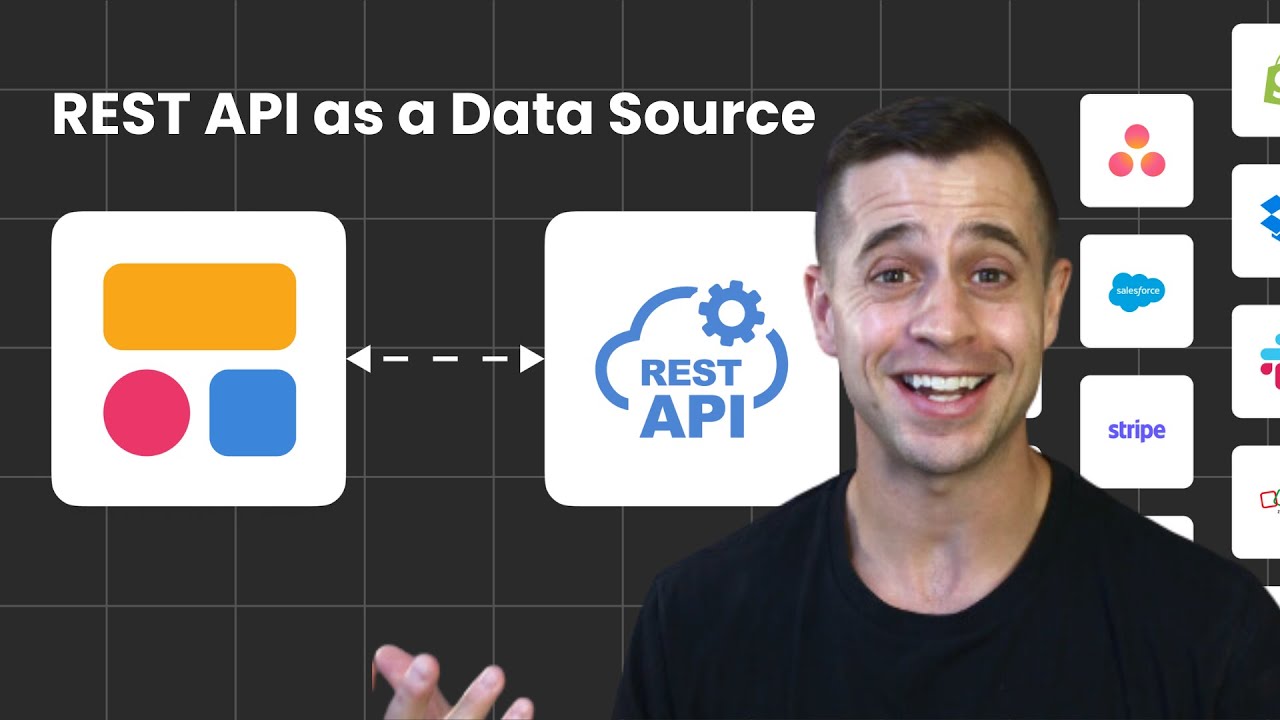
Softr has many different data sources. We have pre-built integrations for tools like Airtable and Google Sheets, and even our own native database solution.
[.blog-callout]
While Softr integrates with 17+ external sources, Softr Databases is the native way to manage your data directly within the platform for maximum performance.
[.blog-callout]
For this build, we are going to be using Airtable. We select our base, in this case, the inventory management demo, and choose which tables we want to sync.
You can see in the Softr preview that these tables have come to life as pages in our application. Softr is intelligently creating our application around the data connected via Airtable.
Here we are in our new application. On the left sidebar, we have our pages where you can view and make changes.
Softr has already created pages for users, products, and sales orders. We also see detail pages, which is a very important concept in Softr.
An item details block allows you to see more information for a specific record. If I click into a user, I can see all their specific information and take actions.
We also have utility pages, which are automatically created for us. These offer repeatable user flows, like a login page, which you can customize.
I want to change the image on this login page. I can go to the content area, remove the background image, and upload my own asset.
Next, we look at the theme area. This allows you to set global styles across the entire application, including button colors and accents.
I am setting a darker accent color that will be applied everywhere. This ensures the app looks consistent and professional.
You can also change fonts and app styles. You can adjust the roundness of elements, making them very round or squared off.
To update the branding, I go to settings and general. Here I can update the app name, the subdomain URL, and the logo.
We will name this Solar R Us and pick a sun icon since we are a solar company. Once saved, the branding updates across the app.
Now we can view our page navigation structure. By clicking the menu, we can see all the pages Softr generated.
I see some pages I do not need, like purchase order items, so I will remove them. I am also renaming the user page to Dashboard.
I will also update the products page to be named Inventory and change the icons for sales orders, purchase orders, and suppliers to match their purpose.
Now let's talk about page rules. By clicking into the pages area, we can set where users are redirected after key actions.
For example, after a user signs up, we want to send them to the dashboard page so they can see their key metrics immediately.
[.blog-callout]
You can use user groups to ensure different types of users see only the specific pages and data relevant to their role.
[.blog-callout]
Outside of navigation, we also have blocks. When adding a new block, you will see three types: dynamic, static, and container.
Dynamic blocks, like kanban or list blocks, connect directly to your data. Static blocks are great for things like quick links or landing pages.
[.blog-callout]
If a native block does not fit your needs, the Vibe-Coding block lets you prompt for a custom component and connects it to your database automatically.
[.blog-callout]
Container blocks allow you to create tab-like structures. This helps you organize data so users can toggle between things like inventory and purchase orders.
Softr has over a hundred different blocks, including charts, tables, and grids. This makes it easy to bring your data to life in a beautiful way.
Let's continue building this experience in the next lesson where we will dive deeper into block configurations.