Transcript
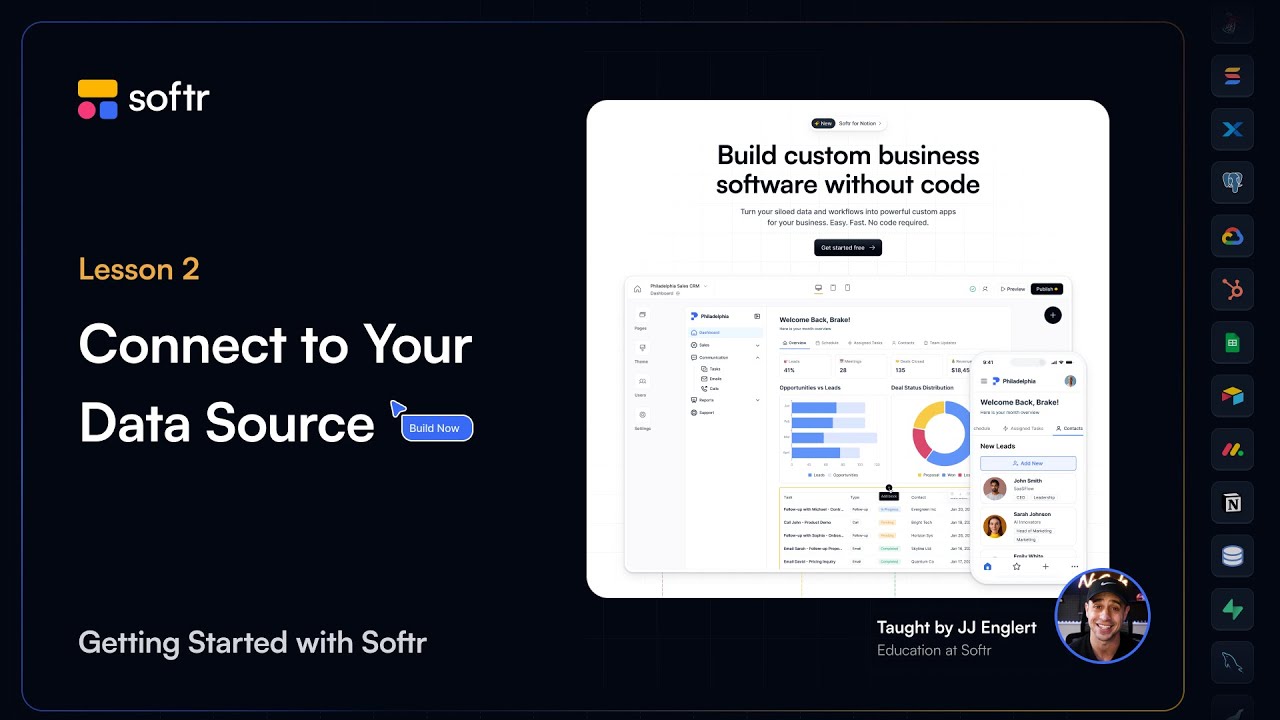
In this lesson, we're diving into one of Softr's core concepts, connecting your app to your data source. By the end of this lesson, you'll understand the different types of blocks, how to add them to your application, and how to connect them to your data source.
You will also learn how to map data fields to display them in your application and how to sync your user database for testing user-specific experiences. Let's get started by discussing the three main types of blocks available in Softr.
Dynamic blocks pull live data from your connected data source and update in real time. Examples include lists for displaying collections, tables for structured data, and calendars for events.
Static blocks display content that doesn't change unless you update it manually. Examples include hero banners, FAQ sections, and call-to-action buttons.
Container blocks help you organize and group other blocks to improve your layout and design. Some examples include tabs for related content and columns for side-by-side layouts.
Think of blocks as the building materials for your application, each serving a unique purpose. Now, let's add our first block.
Navigate to the pages area in the left-hand panel and open the page where you want to add your block. Click the Add Block button in the top right corner or the plus button in the center of the page. From the Block Library, choose a list block.
[.blog-callout]
Note from Softr: Instead of manually selecting blocks, you can use the AI co-builder to generate entire pages or database schemas instantly by simply describing what you need. It's a great way to jumpstart your design process.
[.blog-callout]
Lists are perfect for displaying collections of data like tasks, products, or clients. Now that we've added a block, let's connect it to your data source.
Click on the new list block and in the right-hand panel, navigate to the Source tab. Select your desired data source. Softr works with a wide variety of platforms, so you can easily connect to the tools you're already using.
For Airtable, it's a user-friendly database that's quick to set up and great for smaller data sets. Keep in mind it can get expensive and slower with larger data sets.
With Google Sheets, it's perfect for small, lightweight projects when you're just getting started with organizing data. Notion is ideal for managing team data and documents all in one place.
[.blog-callout]
Note from Softr: While Softr integrates with many external tools, Softr Databases is the native way to manage data directly within the platform. It offers high performance and keeps everything in one workspace.
[.blog-callout]
For HubSpot, it's a great option for sharing CRM-like data with clients. You can build secure, custom portals that sync directly with your CRM, providing a seamless two-way connection.
SQL databases handle large data sets efficiently while keeping your costs down. If your preferred tool isn't natively supported, you can connect virtually any data source through the REST API.
Once authenticated, decide which bases or documents you want to use in your app. Ensure the data is structured to match how it will be used in your Softr application.
Now it's time to map the data. Softr attempts to map fields automatically, but you'll want to review and fine-tune the setup in the Content tab to ensure everything is correct.
For each field in your list block, match it to the appropriate field in your data source. This includes selecting the right format, such as text for names or files for product photos.
Since data sources are mapped at the block level, you can connect multiple data sources within the same app. Simply follow the same steps for a different block and select a new data source.
[.blog-callout]
Note from Softr: If you find that a native block doesn't quite fit your needs, you can use the Vibe-Coding block to prompt for the exact custom component you want. It connects to your database just like any other block.
[.blog-callout]
To enable features like previewing as a specific user, you need to sync your user database with Softr. Go to the Users area and click the Sync with Data Source button.
Select the data source that contains your users, choose the appropriate table, and map the required fields like email and name. Once mapped, click Save and Sync.
Softr offers two environments for testing and sharing your app: Preview and Live. Preview is your testing environment for seeing how things function without making changes visible to users.
The Live environment updates the public version of your app. For now, focus on the preview mode to ensure everything is working as expected.
Click the Preview button to see your app in action. You can preview as different users using the drop-down menu to test logged-in experiences.
Navigate to the page with your list block and confirm that your data is displayed correctly. Testing in preview mode lets you confidently refine your app before sharing it.
Great work! You've connected to your first data source, mapped your data, and synced your user database. This foundational step opens the door to creating truly interactive applications.
In the next lesson, we'll dive deeper into all block types, including searching and filtering functionalities, and the powerful item details block for displaying record-specific information.