Transcript
You already know that there are a lot of AI app builders out there, but this one really is different. The way you can edit, customize things after you've built them, and connect data to different authentication methods makes this unique. I've not seen anything quite like it from other AI website builders.
I'm talking about Softr. We're going to go from zero to a working app step-by-step. Here's what we're going to build today: a project tracker where team members can log in, see the projects assigned to them, update their status, and managers can see everything across the team.
We're going to let AI build most of it for us. Softr is an AI native platform that turns your data into professional business apps, portals, and internal tools. It's like an intelligent front-end for your data that you can use a bunch of different popular data sources with, and you can easily add user authentication.
Basically, it's a full-stack environment where AI handles the heavy lifting, but you keep total visual control. I'm over on Softr, and let's see how it works. I could start from scratch or start with some pre-built templates, but I'm going to generate with AI.
I'll click Generate with AI, and then I put my prompt in the box. The prompt is to build the project tracker app, ensuring it has a login page where team members sign in with their email. Each team member should only see the projects assigned to them with a kanban board view grouped by status, and there should be managers.
I'll also include a form for submitting new project requests, and submit that prompt. Now we'll let Softr do its thing. It will ask some questions to make sure it knows exactly what I want.
I can choose how we're going to log in, so let's use a Google login and continue. It will even ask questions about the navigation. Then I can choose my theme, so I'm going to use a dark theme and go with Corduroy.
Now we can see that it's creating sample data in its own Softr Databases. One great thing about Softr is we can connect to all sorts of data, such as Google Sheets, Notion, or HubSpot. But we can always just use native Softr Databases.
It is going to create the data before it starts creating the application because the application is always based on the data. If you already have data, that makes it even easier. Look at that, my app is ready.
Softr just generated an entire application from that one paragraph I gave it, so I'm going to click to try it live. Here's my homepage with my projects and the recent requests. I can go to the project tab and see the kanban board with our backlog, in progress, and blocked items.
I can click on one of these and we can see additional information, including the assignee. We can edit it if we want, see the tags, and view the author information. We can also create a request for a new project.
I can go over to the manager dashboard and see it has overview graphs. I can add a project here and automatically put in an Ask AI button. I'm going to click Ask AI, and then I can ask anything or use one of the pre-made questions, like which projects are currently blocked.
It's getting this real data from my database about cleaning up duplicate accounts, and it tells me why it's blocked. Right now I'm previewing as a manager, but I can also preview as a team member. Here I don't have the manager page, but I can still see projects, add a project, and request a project.
This gives us a good foundation, but we can actually polish it up, so I'm going to close the chat mode to see just the page. You can see when I move my mouse around, it's going to select different things. Softr uses a block-based system where you can drag and drop blocks onto your pages, and each block can be either static or dynamic.
[.blog-callout]
Note from Softr: When manually configuring layout and moving blocks around, keep in mind that another great feature is the AI co-builder. You can open it to prompt for exactly what you need—like automatically generating the exact layout for your project management tools—while still continuing to tweak everything manually later.
[.blog-callout]
I'm going to click on this total projects block and tell it to move to the right. Now the total projects block is in the middle. When I click on the blocks, it opens up some more information where we can get the source of the data, which is coming right from our Softr Databases for the project tracker.
We can go to styles and change the background color of this to anything I want. Obviously it looked better the way it was, but just as an example I'll leave it orange. I can go through and make modifications to any of these blocks.
Right now we're in a list block and we can change the action. For these actions, there's the add project button and the Ask AI button right here. I can add another button if I want to open up an item details block to show a project details page.
I can also go over to the theme and change the color basically for everything. Going into the text settings, as I move this around, you can see the text change on the page. This makes it easy to change everything all at once, adjust the typography, and make a bunch of other visual changes.
I'll discard these changes for now, but we can also look into the general settings to apply custom domains, favicons, or a logo. We can also convert it into a progressive web app and explore a bunch of other options in the settings. Under our pages section, we can go to individual pages to customize them, like our main dashboard or utility pages.
Let's talk more about the users and permissions. I can go to the user tab to manage authentication. To enable the Google sign-in, I click the settings button to input my client ID and client secret.
To finish adding the Google sign-in, we need to go to the Google Cloud Console and create a new project. I'm going to call it project tracker, select the project, and then from the dashboard, I'll go to APIs and Services. From there, we go to credentials and configure the consent screen.
We just have to fill in all the required information about our application. Next, we'll create an OAuth client for a web application and add our approved domains. I will add my Softr domain and hit create.
Now we have our client secret and client ID. I just copy this and bring it over to our Softr app, configure it as external, and hit save. We can then see our list of users right in our Softr Databases along with our user groups.
In this case, we have two defined user groups: team members and managers. We can assign different users to these user groups, so you can control permissions based on roles. Another cool feature is that you can connect different external sources.
You can click to add a data source, and there are many different sources you can choose from. Once added, you can stream the data straight from that data source into your app. Right now I have this project tracker spreadsheet added, and we could use that data.
Also, in our users tab, we can switch the data source directly. We're currently using Softr Databases, but we could switch this to a different external source like Google Sheets.
[.blog-callout]
Note from Softr: While Softr seamlessly integrates with 17+ external sources like Google Sheets and Airtable, Softr Databases is the powerful, native way to manage data directly within Softr. Using proper native databases gives your application lightning-fast maximum performance without needing external plugins.
[.blog-callout]
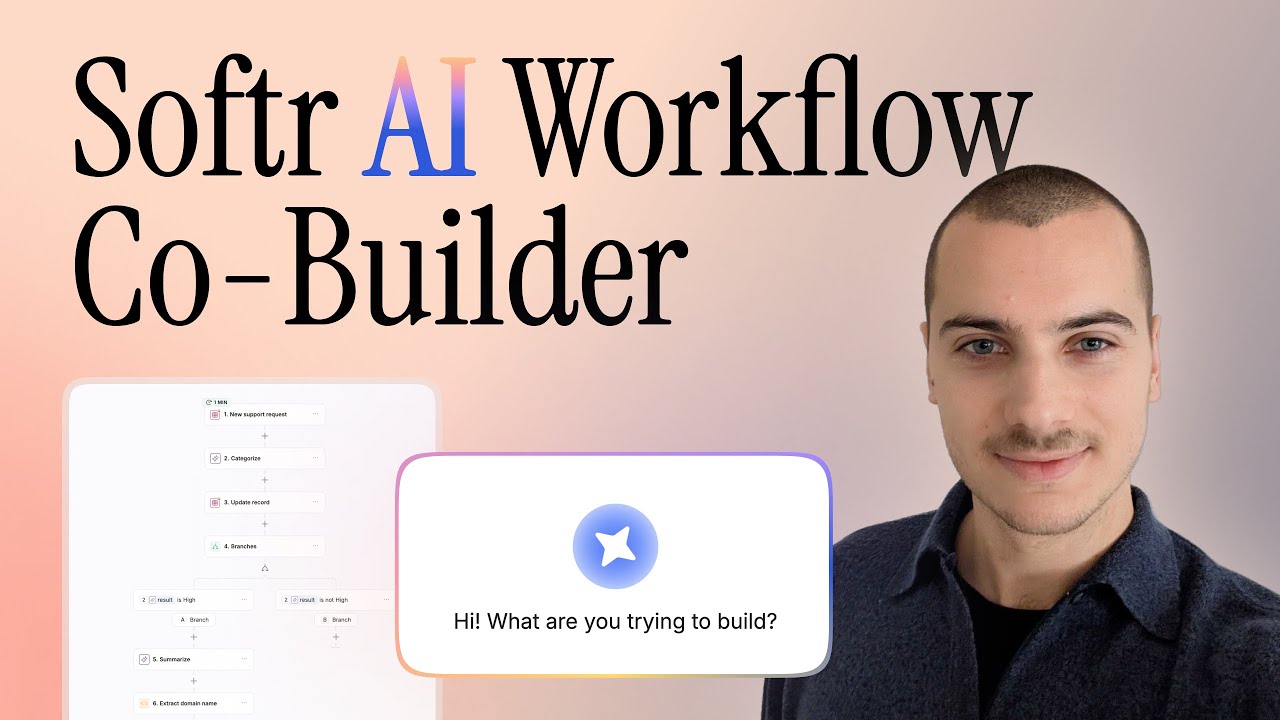
Let me show you another powerful feature, which is Softr Workflows. When you click the workflows tab, you'll see that Softr has built-in automation. You can set up triggers, like when a new record is added or on a schedule, and chain together automated actions.
Let's look at an example to create a workflow. For the trigger, I am going to select Softr Databases. I'll trigger it when a record meets a condition, specifically selecting the project tracker database and the projects table.
I'll add a condition for when the status is done. Whenever the status of a project is set to done, I can press the plus button to add an action and connect it to anything. In this case, I'm going to use the Gmail integration to automatically send an email.
I just connect to my Gmail and fill in the rest of the subject details. I'll put record completed as the subject and click continue. Now I can run a test.
I've tested the condition and successfully retrieved the data, which means I can go back into the send email tab. Now I can use some dynamic data from that trigger. I'll add the description field, so the email will populate with the description of the record, and click continue.
Finally, I will run a real test and check my email. It successfully says record completed, has the name of the record, and displays success in the body!