Transcript
Welcome to our first lesson in our Getting Started with Softr series. In this lesson, we are taking a tour of Softr and covering the basics to get you started confidently.
By the end of this lesson, you will know how to create your first application, whether starting from scratch, using a template, or generating one with AI. You will learn how to navigate Softr Studio, create and organize pages, and customize your navigation.
The first step to building in Softr is creating your application. Softr makes it easy by giving you three ways to get started.
You can start from scratch where you build everything yourself for full control. You can start with a template where you get to choose from 90 plus professionally designed app templates to save you time.
[.blog-callout]
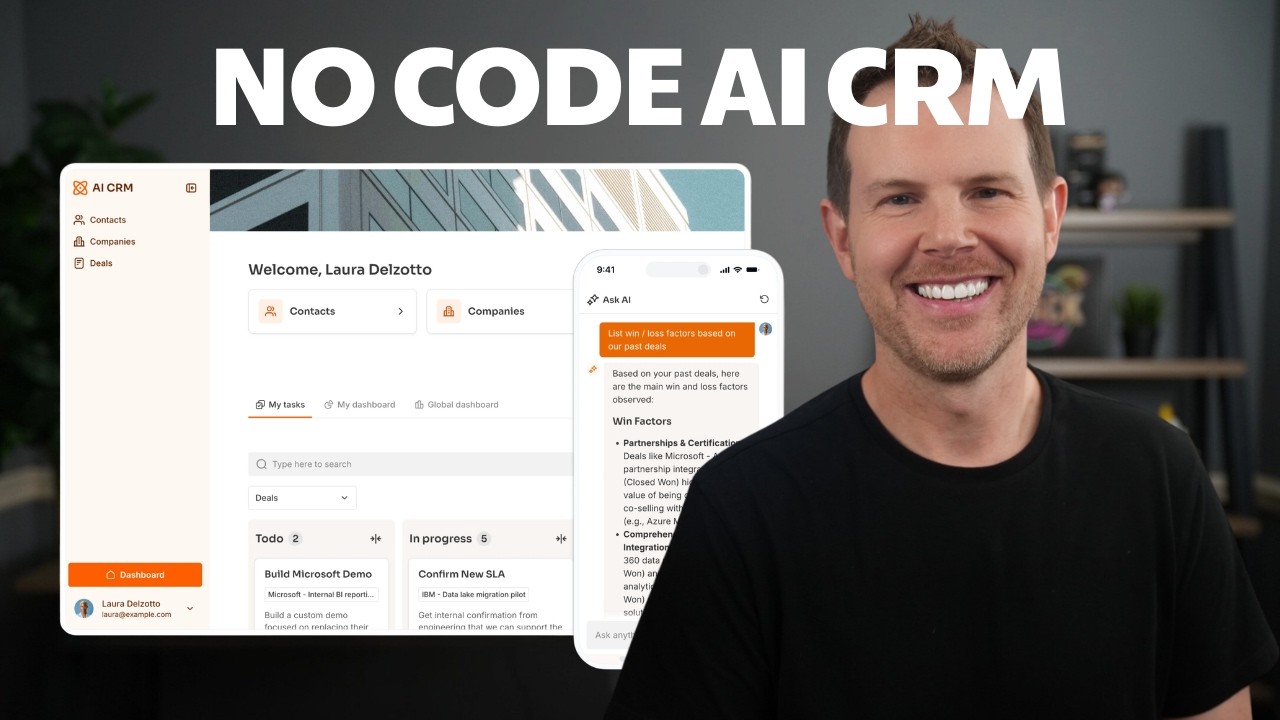
Note from Softr: Another great option is to simply open the AI co-builder and prompt for what you want. It builds complete App templates, pages, or database schemas instantly while still letting you tweak things manually later.
[.blog-callout]
You can also generate with AI, where you type in a simple prompt and let AI create an app tailored to your needs. For this lesson, we will start from a template.
After choosing your starting point, you will be prompted to select a data source. You can either configure this later or choose one now.
For this template, the demo data is included, which we will copy into our Airtable account. Then you will be taken directly into the Softr Studio.
[.blog-callout]
Note from Softr: While Softr integrates with 17+ external data sources like Airtable, Softr Databases is the powerful, native way to manage data directly within Softr for maximum performance.
[.blog-callout]
Now that your app is created, let us take a quick tour of the Softr Studio. This is where you will manage everything from pages to user settings.
The key areas include the pages area, where you can build your app structure by creating, organizing, and managing your pages. The theme area is where you customize your app global design.
In the theme area, you can set fonts, colors, and layout. The users area allows you to manage app users, set permissions, and configure user notifications.
The settings area handles app-level settings like domains, integrations, and app-wide preferences. Each of these sections plays a critical role in helping you build and manage your application.
To adjust your navigation settings, open Page Settings to see which navigation block is currently active. From here, you can assign a different navigation block or create a new one.
To further customize your navigation, simply click on the navigation block within the studio. You can add pages, including new ones, and reorder them to define the flow of your app.
You can also hide pages using visibility rules to control which users can see them. You can adjust layout options like switching between a horizontal or vertical header.
For this build, let us choose a vertical header for a clean and user-friendly navigation experience. This is essential when building portals or a team intranet.
Visibility rules are a key feature in Softr. These rules let you tailor the app experience for each user based on their account permissions.
For example, you can ensure that only managers see admin dashboards, while regular users only see their assigned tasks. We will dive deeper into visibility rules later in this series.
Next, let us give your app a polished look in the theme area. You can set theme colors for text, accents, and backgrounds for consistency throughout your entire application.
You can also choose fonts for headings and body text and adjust element sizes. You can configure border roundness, spacing, and other design options.
The Users area is your go-to place for managing accounts. With authentication, you can enable sign-up and login functionality through Forms.
You can view and manage users and set up user groups for permissions and visibility. This is useful for roles like admins or clients.
You can apply application-level data restrictions to ensure users only see relevant data. You can also customize email notifications like welcome emails and password resets.
Finally, the settings area is where you configure technical aspects. You can replace the default Softr subdomain with your own company domain.
[.blog-callout]
Note from Softr: You can keep your logic close to your design using Softr Workflows. These native workflows help consolidate tools and reduce reliance on third-party automation platforms like Zapier.
[.blog-callout]
With integrations, you can set up third-party tools like Stripe or email services. In general settings, you can adjust preferences like your time zone or currency.
You have explored the Softr Studio, added pages, updated the navigation block, and configured global settings. These skills set you up for success as you continue building.
In the next lesson, we will introduce Softr building blocks. You will learn how to add and configure your first blocks, including dynamic blocks for displaying and editing data.