Product
Platform
AI App Builder
Create business apps with AI
Databases
Store and manage your data
Workflows
Automate manual processes
Forms
Collect data and automate flows
Mobile Apps
Turn your apps into mobile apps, fast
Integrations
Connect your data and tools, real-time
Ask AI
Built-in AI agents to run on autopilot
Recent
What’s New
Customer Stories
Templates
Meet the first AI platform for business apps
Solutions
Use Cases
Portals
Team Intranet
Knowledge Base
ERP
Inventory Management
CRM
Project Management
Dashboards & Reporting
See all use cases
softr for
Business Operations
SMBs
Marketing
Sales
HR
Product
Education
Non-profit
See all solutions
Resources
Learn
Softr Academy
Get Certified
Softr Certified Partners
Become A Partner
Resources
Community
Softr Universe
Help Docs
Blog
Enterprise
Pricing
Sign in
Book a demo
Start for free
Softr Blog
The latest updates, tutorials, guides, and resources to help you get the most out of Softr.
All Blogs
Best apps
Tutorials
Announcements
No-code
Google Sheets
Editor's Pick
Airtable
Database
Guide
Announcements
Editor's Pick
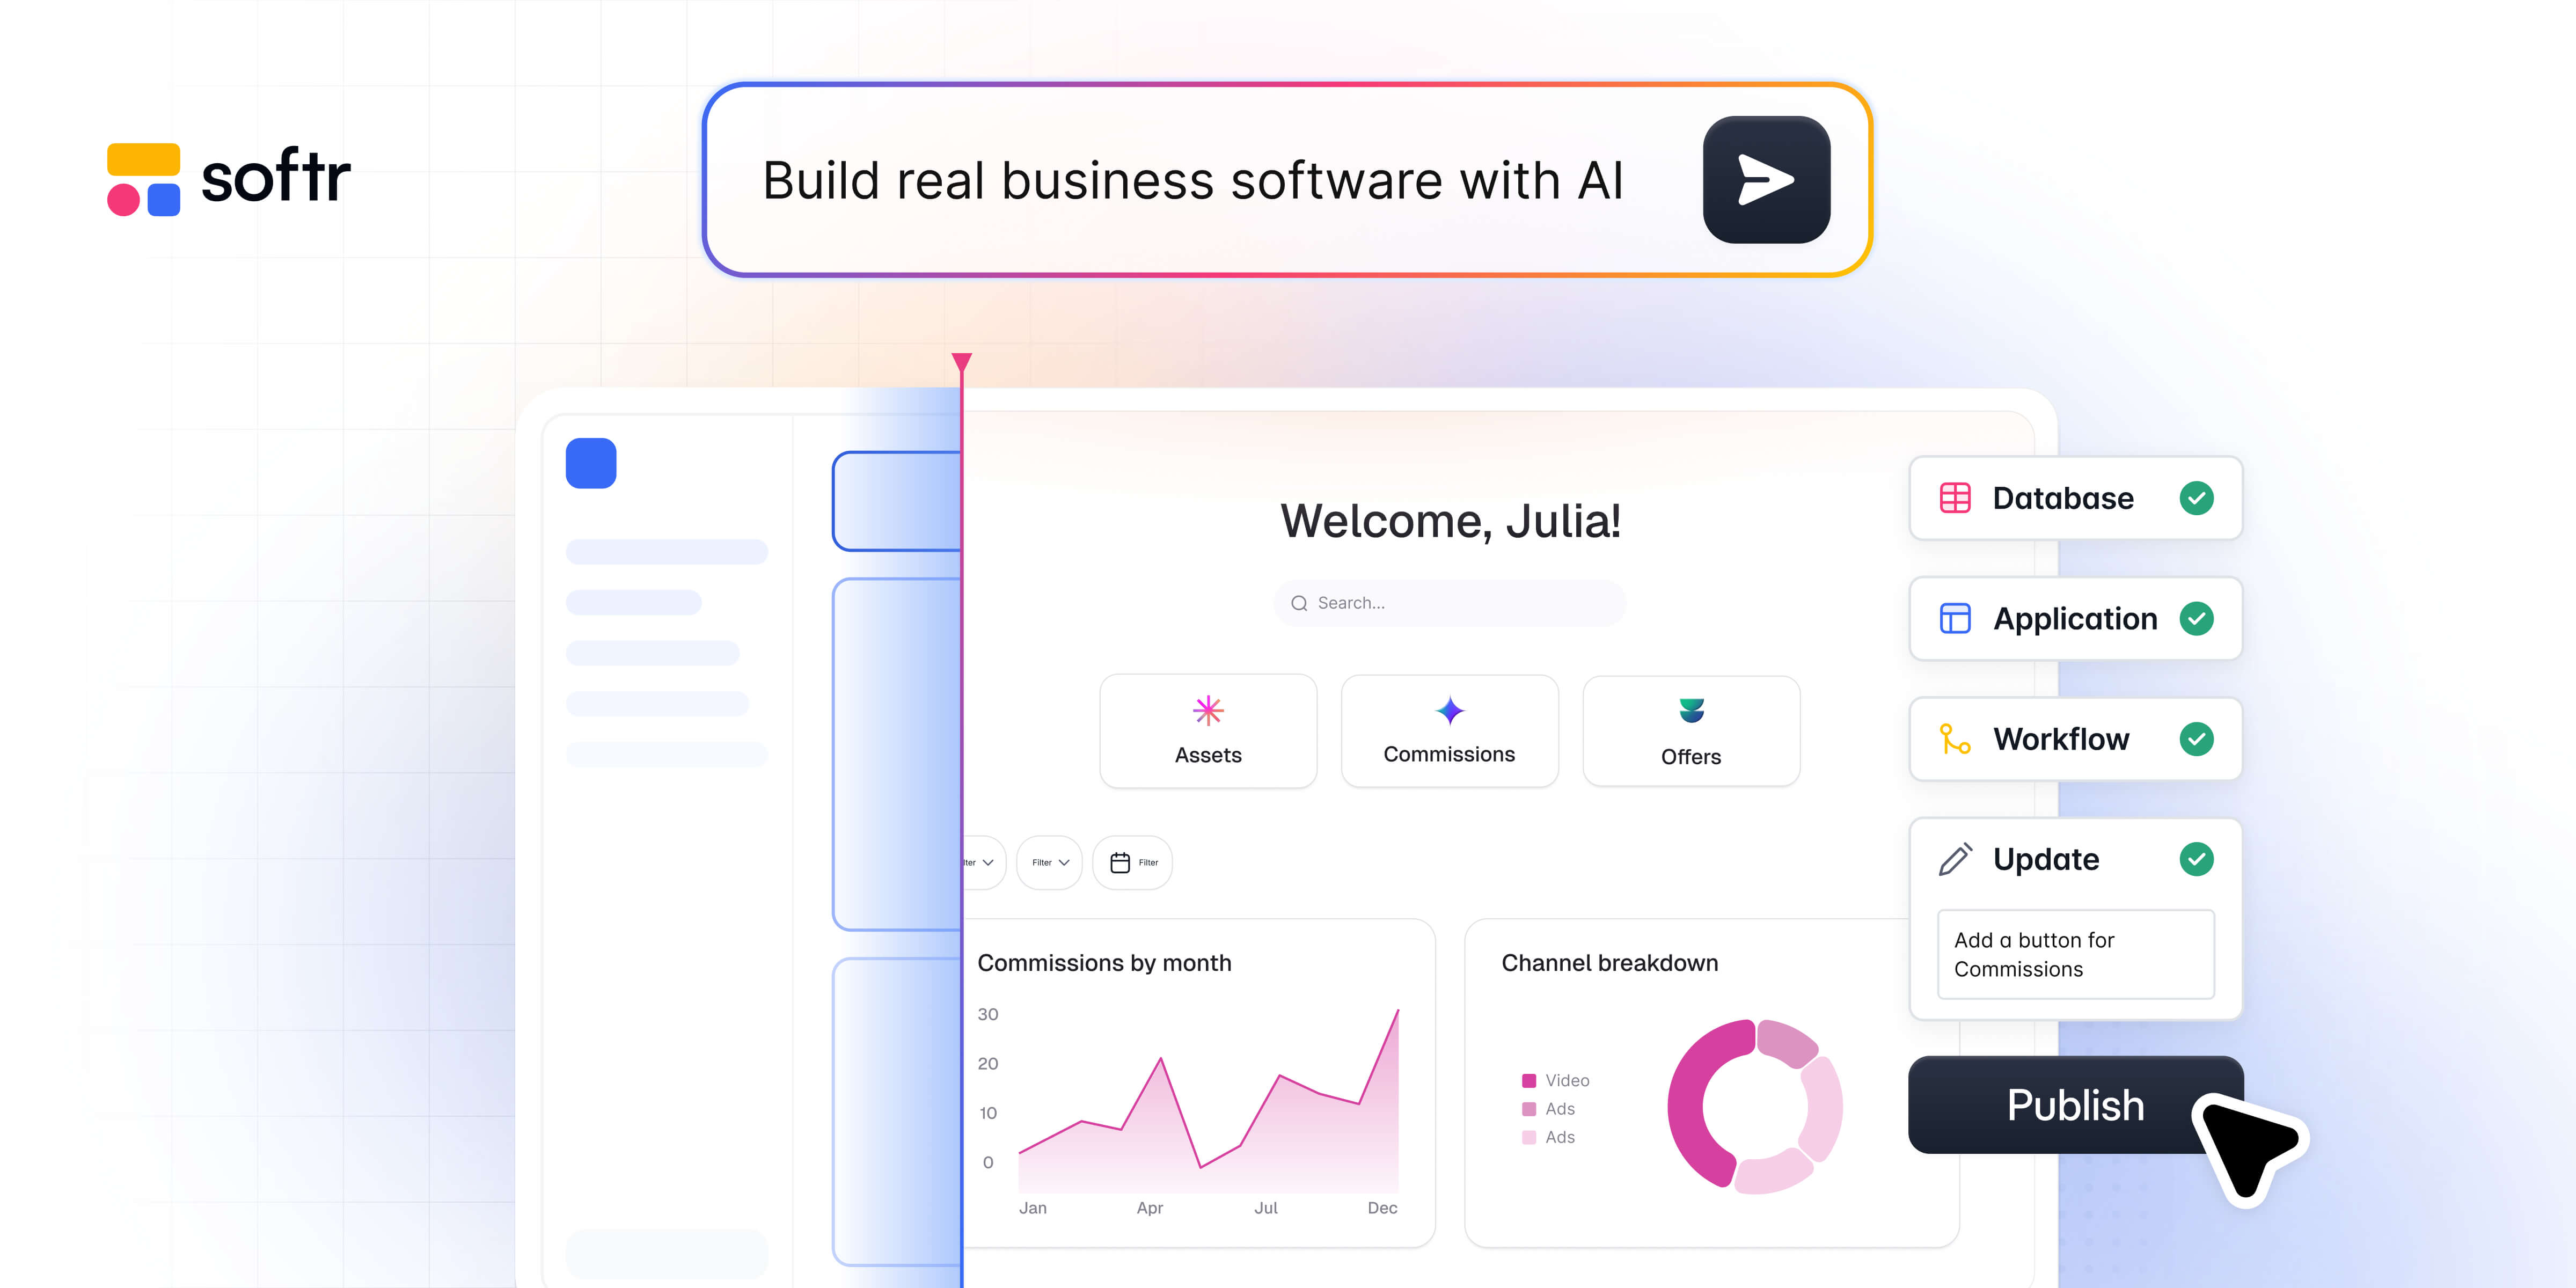
Introducing the first AI platform for business apps
Build real business software without code. Softr’s AI-native platform turns your ideas into secure, fully functional apps your team can actually run.
Mariam Hakobyan
/
8
min read
Product news
See All
Airtable
Database
Google Sheets
No-code
Guide
Editor's Picks
Best Apps
No-code
Announcements
Tutorials
Relay.app is shutting down: Why and how to migrate to Softr
Elena Alston
/
July 17, 2026
/
12
min read
Airtable
Database
Google Sheets
No-code
Guide
Editor's Picks
Best Apps
No-code
Announcements
Tutorials
Softr 2025 year in review: The era of the full-stack AI app builder
Mariam Hakobyan
/
December 29, 2025
/
8
min read
Airtable
Database
Google Sheets
No-code
Guide
Editor's Picks
Best Apps
No-code
Announcements
Tutorials
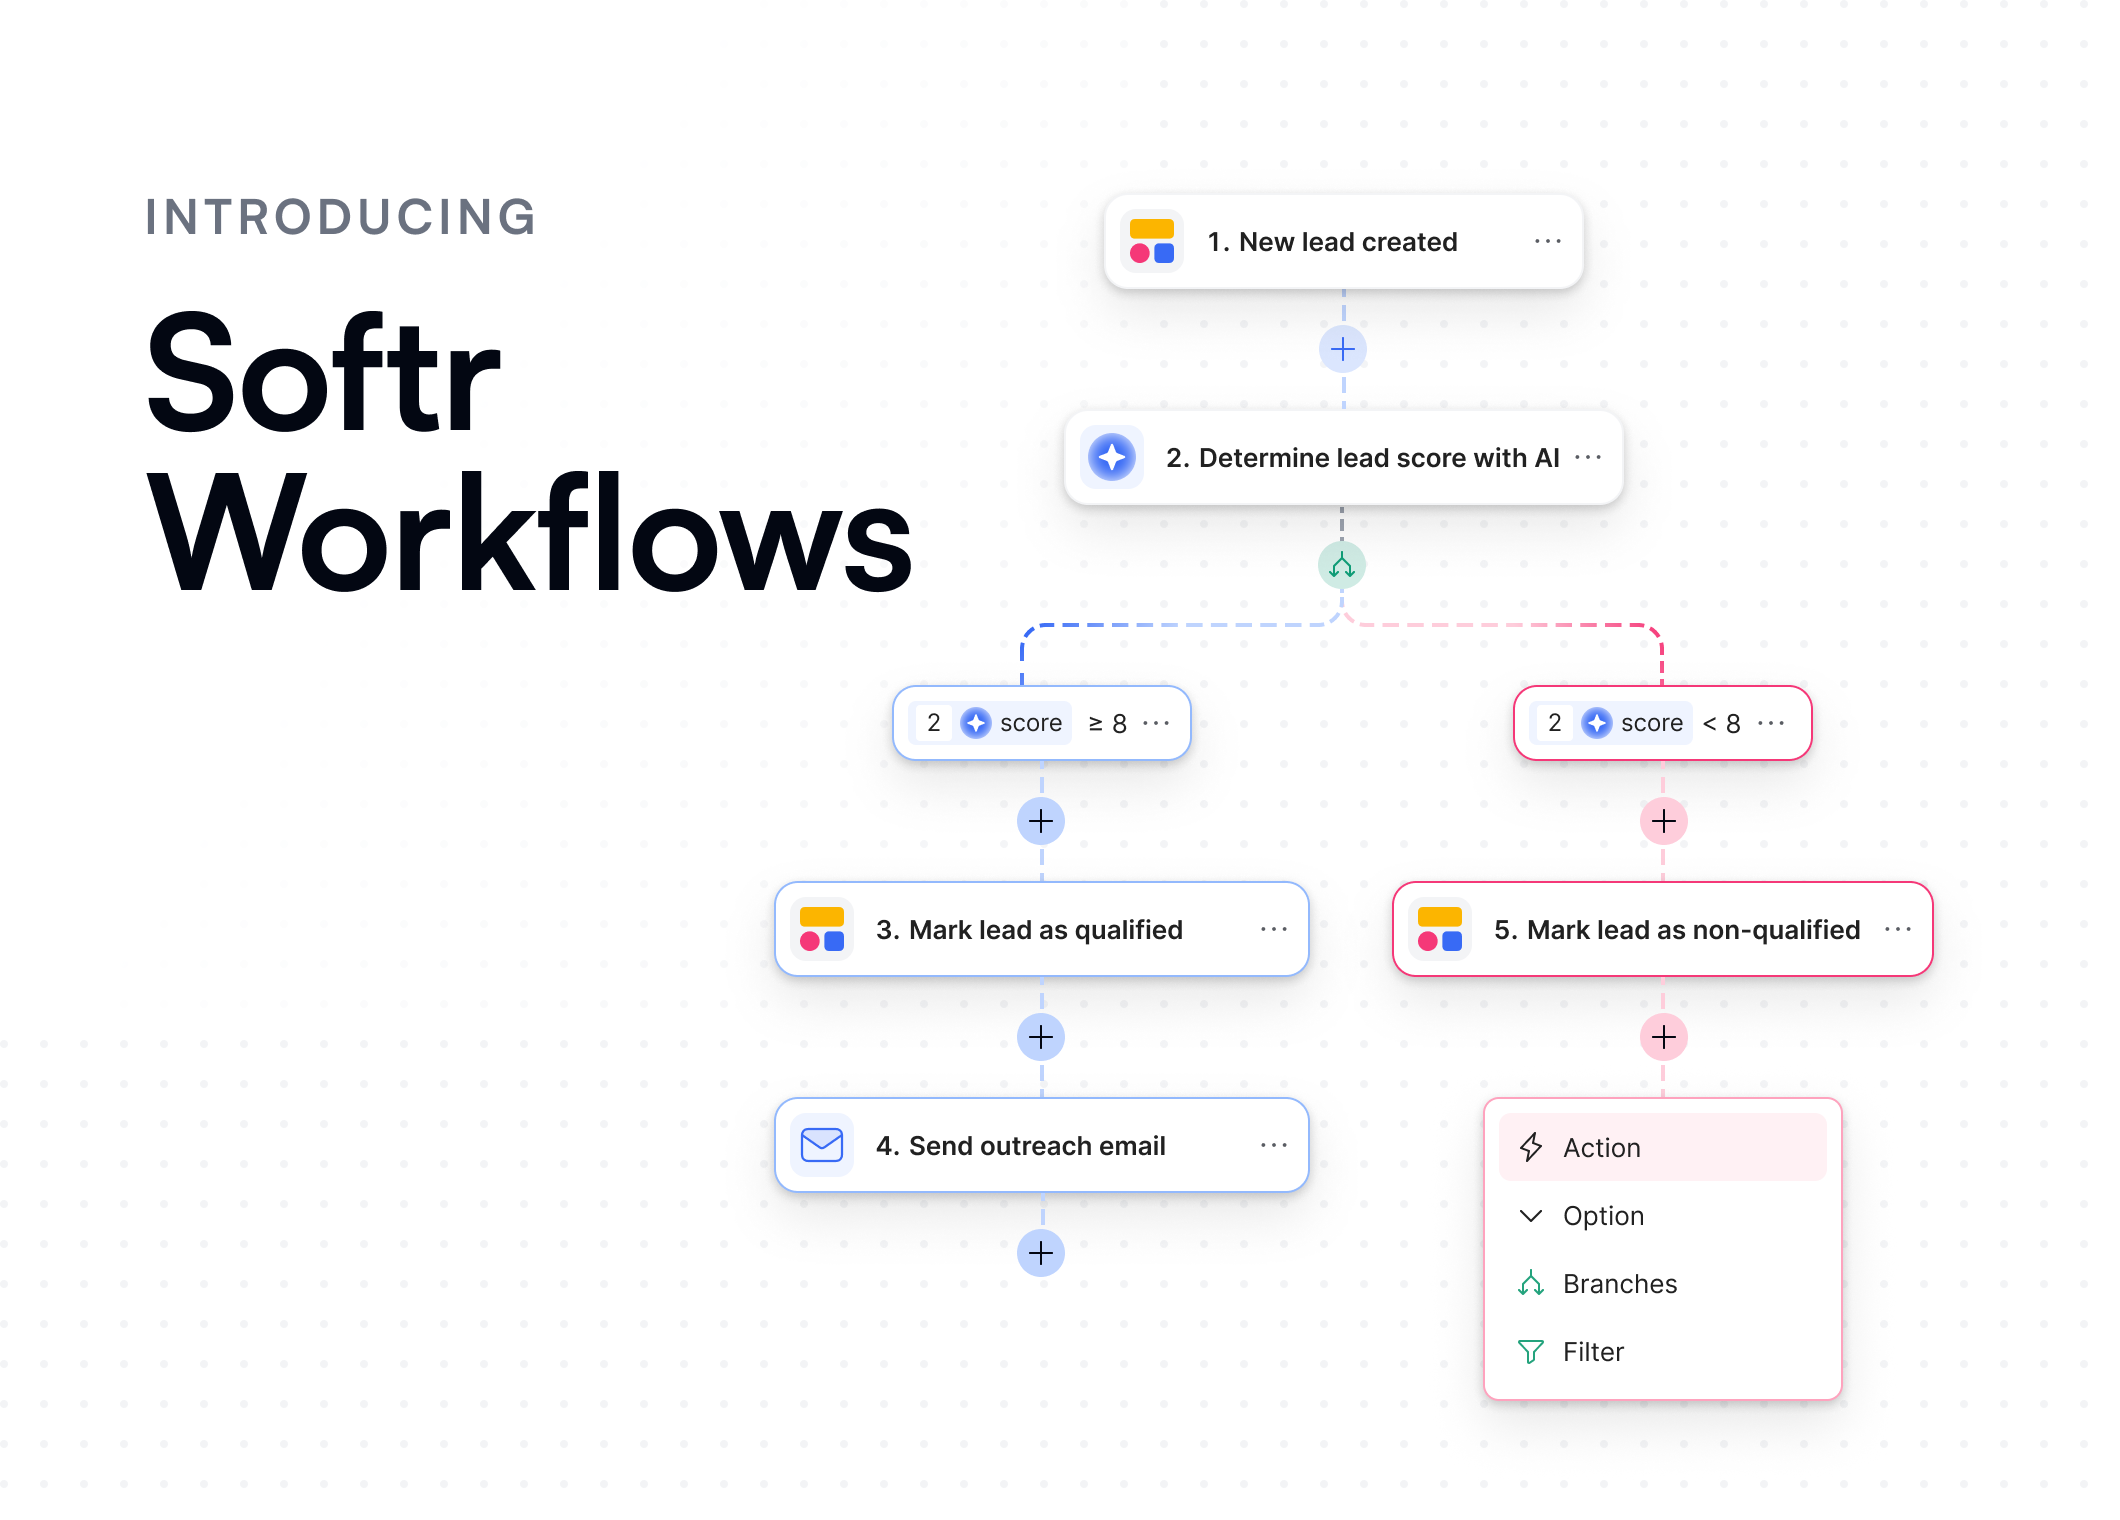
Softr Workflows are here (+ Softr is now full stack!)
Mariam Hakobyan
/
October 22, 2025
/
9
min read
Guides
See All
Airtable
Database
Google Sheets
No-code
Guide
Editor's Picks
Best Apps
No-code
Announcements
Tutorials
How to build a custom MCP for your team (the secure way)
Guillaume Duvernay
/
July 21, 2026
/
8
min read
Airtable
Database
Google Sheets
No-code
Guide
Editor's Picks
Best Apps
No-code
Announcements
Tutorials
AI generated apps: 10 examples built with Softr
Dylan Reber
/
July 21, 2026
/
12
min read
Airtable
Database
Google Sheets
No-code
Guide
Editor's Picks
Best Apps
No-code
Announcements
Tutorials
Base44 pricing: A complete guide to plans in 2026
Jessica Tee Orika-Owunna
/
July 15, 2026
/
10
min read
Tutorials
See All
Airtable
Database
Google Sheets
No-code
Guide
Editor's Picks
Best Apps
No-code
Announcements
Tutorials
How to build an SVG generator app with Softr
Guillaume Duvernay
/
July 8, 2026
/
7
min read
Airtable
Database
Google Sheets
No-code
Guide
Editor's Picks
Best Apps
No-code
Announcements
Tutorials
How to build a custom company intranet for your business
Guillaume Duvernay
/
May 6, 2026
/
14
min read
Airtable
Database
Google Sheets
No-code
Guide
Editor's Picks
Best Apps
No-code
Announcements
Tutorials
How to build an AI employee advocacy app for your company
Guillaume Duvernay
/
May 1, 2026
/
8
min read
All Articles
See All
Airtable
Database
Google Sheets
No-code
Guide
Editor's Picks
Best Apps
No-code
Announcements
Tutorials
The 5 best Lindy alternatives: Reviewed and tested in 2026
Ryan Kane
/
July 24, 2026
/
13
min read
Airtable
Database
Google Sheets
No-code
Guide
Editor's Picks
Best Apps
No-code
Announcements
Tutorials
Which vibe coding tools are best for non-developers in 2026?
Steph Spector
/
July 23, 2026
/
18
min read
Airtable
Database
Google Sheets
No-code
Guide
Editor's Picks
Best Apps
No-code
Announcements
Tutorials
How to build a fleet management database
Guillaume Duvernay
/
July 22, 2026
/
7
min read
Airtable
Database
Google Sheets
No-code
Guide
Editor's Picks
Best Apps
No-code
Announcements
Tutorials
100 Google Sheets formulas that actually work: A cheat sheet
Guillaume Duvernay
/
July 22, 2026
/
15
min read
Airtable
Database
Google Sheets
No-code
Guide
Editor's Picks
Best Apps
No-code
Announcements
Tutorials
How to build a custom MCP for your team (the secure way)
Guillaume Duvernay
/
July 21, 2026
/
8
min read
Airtable
Database
Google Sheets
No-code
Guide
Editor's Picks
Best Apps
No-code
Announcements
Tutorials
AI generated apps: 10 examples built with Softr
Dylan Reber
/
July 21, 2026
/
12
min read
Load More
1 / 96
Start building today. It's free!
Client Portal
Sales CRM
Knowledge Base
Inventory Management
Company Intranet
Event Planning
Partner Portal
Project Tracker
Recruitment Portal
Employee Directory
Vendor Onboarding
Build


.jpg)